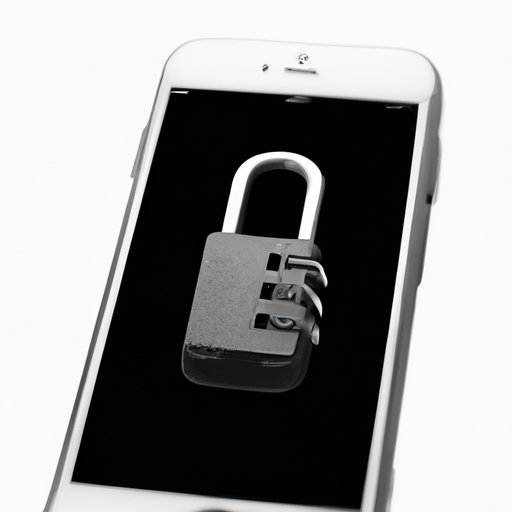
Introduction
If you are tired of entering your passcode every time you want to use your iPhone, you are not alone. Many iPhone users choose to keep a passcode for added security, but it can often be frustrating and time-consuming. In this article, we will explore the process of how to turn off passcode on iPhone, simplifying your security and maximizing your iPhone’s potential.
We will provide you with a step-by-step guide, simplified instructions, benefits of turning off a passcode, and a quick solution. So, let’s get started.
Step-by-Step Guide: How to Disable Passcode on Your iPhone
Disabling the passcode on your iPhone is a quick process that can be done in a few easy steps. Here’s how:
- Open the Settings app on your iPhone.
- Tap on Face ID & Passcode (Touch ID & Passcode for older devices).
- Enter your current passcode if prompted.
- Scroll down and tap on Turn Passcode Off.
- Enter your current passcode to confirm.
Once you have completed these steps, your iPhone will no longer require a passcode to unlock it.

Simplifying Security: Turning Off Your Passcode on iPhone
Apple iPhones already have several security measures like Face ID, Touch ID, and two-factor authentication provided to their users. These measures help ensure that your data is as safe as possible. Passcodes can be helpful, but disabling the passcode can make access to the iPhone faster and more convenient.
Unlock Your iPhone with Ease: Disabling your Passcode
Disabling your passcode can help users easily unlock their iPhone and access their data without frustration. In fact, studies show that passcodes can cost users up to a minute or more each day in entry time. By removing this barrier, users can have faster, more seamless access to their iPhones.
Why You Should Consider Turning Off Your Passcode on iPhone
There are several reasons why you should consider disabling your iPhone’s passcode. For one, it can save time and make accessing your phone more convenient. Additionally, with other security measures in place, the passcode is not as necessary as it once was. Finally, passcodes can be a barrier to use, and can frustrate users when they need to access their phone quickly.
A Quick and Easy Solution to Disabling Your iPhone’s Passcode
Disabling the passcode on an iPhone is an incredibly easy process that can be done quickly and easily. Simply follow the steps mentioned earlier, and you can disable your iPhone’s passcode in a matter of seconds. It can also be turned back on at any time if you change your mind.
One thing to keep in mind when disabling passcodes is that it can potentially reduce security. Without a passcode, someone can easily access your phone if it gets lost or stolen. So, be sure to weigh the pros and cons and choose a solution that’s right for you.
Maximizing Your iPhone’s Potential: How to Turn Off Your Passcode
If you’re looking to maximize the potential of your iPhone by reducing barriers, disabling the passcode is a great place to start. With other security measures in place, you can have the convenience and ease of use that you need. So, give it a try, and see how much time and frustration you can save.
Conclusion
As we have seen, turning off your passcode on iPhone is a quick, easy solution to a common problem that many iPhone users face. By disabling the passcode, you can have faster access, convenience, ease of use, and the relative security of Apple’s other security measures. So, why not give it a try?
With this guide, you can easily disable your iPhone’s passcode and reduce the barriers that you may be facing. We hope that this article has been helpful, and that you now have a better understanding of how to turn off passcode on iPhone.


