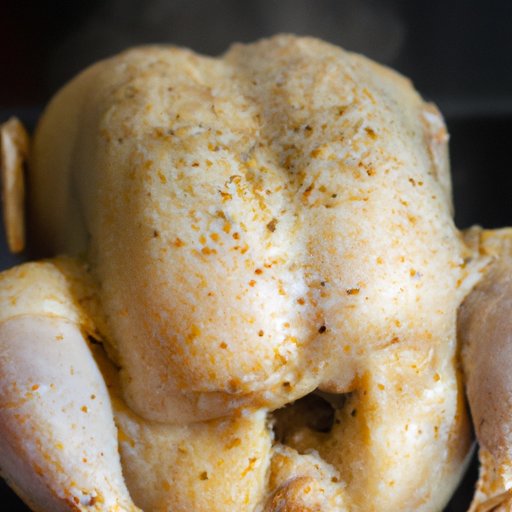
Introduction
Trussing a chicken is an essential step in cooking the perfect roast chicken. Trussing involves tying the legs and wingtips of the chicken together to create a compact shape, which ensures even cooking. In this article, we will walk through a step-by-step guide to trussing a chicken, offer tips and tricks, show variations on trussing techniques, and give cooking tips to help you achieve a delicious, perfectly cooked chicken every time.
A Step-by-Step Guide to Trussing a Chicken
Preparation
Before trussing the chicken, clean and prepare it for cooking. Remove the giblets, wings, and excess fat. Rinse the chicken with cold water and pat dry with paper towels.
Tying the Legs
To tie the legs, cross the chicken’s legs over each other, making an X-shape. Tie the legs together tightly with cooking twine. Make sure the knot is secure to hold the legs in place.

Tucking the Wings
To tuck the wings, fold them under the chicken, and tuck them between the body and the legs. Use cooking twine to tie the wings in place to keep them from flapping around.

Tying the Breast
To tie the breast, place a length of cooking twine under the chicken’s body and pull the ends up and around the legs. Cross the twine over the top of the legs, pull it tight, and tie it securely. This will help the chicken cook more evenly and maintain its shape.

Final Adjustments
Make sure there are no loose parts of the chicken that could burn or overcook. Adjust the twine to create a snug, evenly shaped bird. Cut off any excess twine if necessary.
Tips and Tricks for Trussing a Chicken
Common Mistakes
One of the most common mistakes when trussing a chicken is tying the twine too tightly. Make sure it is snug but not cutting into the flesh. Another mistake is not tucking the wings enough, leaving them to flop around, which could lead to uneven cooking.
Useful Tools
Invest in a good pair of kitchen shears for cutting the twine and trimming excess fat; it will make the process much easier and more efficient. Alternatively, consider using silicone bands or metal skewers to truss the chicken.
Working with a Partner
If you are struggling to manage the chicken and tie it at the same time, consider working with a partner. One person can hold the chicken in place, and the other can tie it up tightly.
Alternative Techniques
There are alternative methods for trussing a chicken. You can use stuffing inside the chicken as a weight to keep everything in place, or use a roasting rack that supports the bird’s weight.
A How-To Video on Trussing a Chicken
For a visual guide to trussing a chicken, check out this helpful video:
The video walks you through each step of the process, including close-up shots of specific tying techniques.
Variations on Trussing a Chicken
There are different ways to tie a chicken using knots. The traditional knot is simple and easy to learn. The butcher’s knot provides better control of the chicken’s shape. Finally, the slip knot is adjustable and useful for unevenly shaped birds.
Check out these images to see the different knot techniques:


Cooking Times and Techniques for a Perfect Chicken
Before cooking, season the chicken with salt, pepper, and any herbs or spices you prefer. Stuff the bird with aromatics like garlic, onion, or lemon for a more complex flavor. Marinating the chicken overnight can also add depth to the flavor.
Trussing a chicken helps it cook more evenly by compacting its shape and keeping the heat where it’s needed. When roasting chicken, place it in a preheated oven at 375°F. Roast for 20 minutes per pound, or until the internal temperature reaches 165°F in the thickest part of the bird.
Let the chicken rest for at least 10 minutes before carving to allow the juices to redistribute.
Conclusion
Trussing a chicken may seem intimidating at first, but with practice, it’s an easy way to ensure even cooking and a beautiful presentation. Don’t be afraid to try different tying methods or enlist a friend’s help. Remember, the perfect roast chicken is within your reach!
Additional tips include using silicone bands or metal skewers for trussing. The different types of knots include the traditional knot, butcher’s knot, and slip knot.


