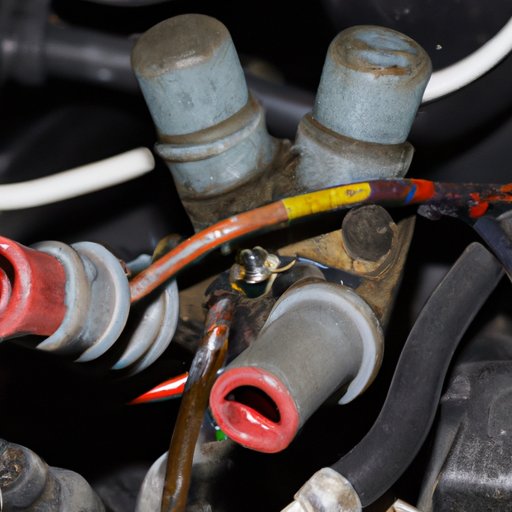
Introduction
Ignition coils play a crucial role in your car’s performance, providing the spark that ignites the air-fuel mixture in the engine’s combustion chamber. Without a working ignition coil, your car may experience a range of problems, from misfires to engine stalling. In this article, we will provide you with a DIY guide on how to test ignition coils in a few simple steps, along with troubleshooting tips to help you identify and fix common issues.
But first, let’s take a closer look at the common symptoms of a faulty ignition coil.
DIY Guide: How to Test Ignition Coil in a Few Simple Steps
Testing your ignition coil is a simple process that you can do at home without needing any specialty tools. Before starting, you will need a multimeter, which you can purchase at any auto parts store, and the car’s service manual to locate the ignition coil.
The steps involved in testing an ignition coil are as follows:
- Step 1: Turn off the engine and disconnect the ignition coil’s electrical connectors
- Step 2: Set the multimeter to the resistance range and connect it to the positive and negative terminals of the ignition coil
- Step 3: Compare the multimeter readings with the values specified in the car’s service manual
- Step 4: Replace the ignition coil if the readings are outside the specified range
Troubleshooting Ignition Coils: How to Quickly Determine If It’s Faulty
If you suspect that your ignition coil is faulty, look out for some signs that may indicate a problem. These include:
- Misfires and rough running engine
- Difficulty starting the engine or engine stalling
- Increased fuel consumption
- Inconsistent engine performance
If you experience any of these problems, use a multimeter to test the ignition coil as described in our DIY guide. If the readings are outside the specified range or there is no reading at all, it’s time to replace the ignition coil.
The Importance of Testing Your Ignition Coil – Here’s How to Do It
A bad ignition coil can have a range of negative impacts on your car’s performance and safety. In addition to the symptoms mentioned above, a faulty ignition coil can also cause poor acceleration and reduced power. Testing your ignition coil regularly is essential to ensure that your car is running smoothly and avoid costly repairs in the future.
To test your ignition coil, follow the steps described in our DIY guide above. It’s a simple process that you can do at home, and it can save you money on car repair costs.
Save Money on Car Repair: Learn How to Test Your Ignition Coil
If you take your car to a mechanic to test and replace an ignition coil, the cost can vary from $50 to $250, depending on your car’s make and model. By learning how to test and replace the ignition coil yourself, you can save money on car repair costs and have a better understanding of your car’s maintenance needs.
Follow the steps in our DIY guide to test your ignition coil at home. If the coil needs replacement, buy a new one from an auto parts store and replace it following the instructions in the car’s service manual.
Step-by-Step Guide: Test Your Ignition Coil and Get Your Car Running Smoothly Again
Testing your ignition coil with a multimeter is a simple process that you can do at home. Follow these step-by-step instructions:
- Turn off the engine and locate the ignition coil. Refer to your car’s service manual for guidance if needed.
- Disconnect the electrical connectors from the coil.
- Set the multimeter to the resistance range and connect it to the positive and negative terminals of the ignition coil.
- The multimeter readings should be within the range specified in the service manual. If they are outside this range, it’s time to replace the ignition coil.
- If the readings are normal, reconnect the electrical connectors and start the engine to check whether the coil is working correctly. If you continue to experience problems, consult a mechanic.
Don’t Wait Until You’re Stranded: How to Test Your Ignition Coil and Prevent Breakdowns
Regular maintenance is essential to avoid unexpected breakdowns and keep your car running smoothly. Testing your ignition coil regularly is an important part of car maintenance, as a faulty ignition coil can have a range of negative impacts on your car’s performance and safety. Follow the steps in our DIY guide to test your ignition coil at home, and consult a mechanic if you continue to experience problems.
To maintain your ignition coil, ensure that the connectors are clean and free from debris, inspect the ignition wires for signs of wear and replace them if necessary, and keep your battery in good condition by checking the water levels and charging it regularly.
Conclusion
Testing your ignition coil is a simple process that you can do at home with a multimeter and the car’s service manual. By learning how to test and maintain your ignition coil, you can save money on car repair costs and avoid unexpected breakdowns. If you experience any symptoms of a faulty ignition coil, follow our troubleshooting tips and test the coil using our DIY guide. Regular maintenance is essential to keep your car running smoothly, and understanding your car’s maintenance needs can help you avoid costly repairs in the future.


