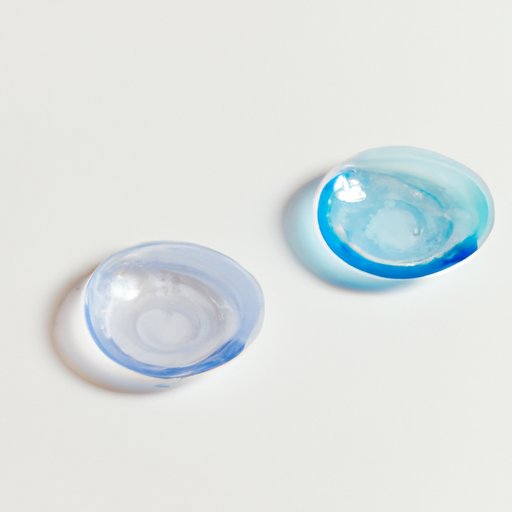
The Basics of Removing Contacts: Step-by-Step Guide for Beginners
Removing your contacts might seem like a daunting task, but with practice, it will become second nature. Properly removing and caring for your contacts is essential to protecting your eye health and keeping your vision sharp. In this article, we’ll walk you through the process of safely and effectively removing your contacts step-by-step.
Section 1: Preparing for Contact Removal
Before you begin removing your contacts, make sure you’re working in a clean, well-lit space. Use a mirror to help you see what you’re doing. Additionally, it’s crucial that you wash your hands thoroughly. This will help minimize the risk of any bacteria getting into your eyes and causing an infection.
Here’s how to wash your hands effectively:
- Wet your hands with warm running water.
- Apply soap and lather your hands by rubbing them together with the soap.
- Be sure to lather the backs of your hands, between your fingers, and under your nails.
- Rub your hands together for at least 20 seconds.
- Rinse your hands well under running water.
- Dry your hands using a clean towel or air-dry them.
Section 2: Removing the Contact
The first step in removing your contacts is to stabilize your eye. Use your non-dominant hand to hold open your eyelid while using your dominant hand to remove the contact. Here’s the process step-by-step:
- Look upward with your eyes, while holding your eyelashes down with your fingers.
- Put your index finger and thumb on the outer edge of the contact lens and squeeze it gently.
- Slide the contact down to the white part of your eye (the sclera).
- Gently pinch the lens between your thumb and index finger to remove it.
- Inspect the contact lens for any rips or tears.
- Repeat the process for the other eye.
If the contact lens seems to be stuck to your eye, don’t panic. This can happen from time to time, but there are a few tricks you can try to help release the lens:
- Keep your eye open and look up while tugging gently on the skin below your eye. Then, try to slide the lens down to the lower part of your eye and remove it as normal.
- Moisten your index finger with saline or contact lens solution and gently pinch the contact lens through your eyelid. Then, lift your eyelid away from the lens and remove it.
- Apply a drop of saline or contact lens solution to your eye and blink. This can help loosen the lens from your eye.
Section 3: Post-Removal Care
After removing your lenses, it’s crucial to clean and store them properly. Clean them using a solution recommended by your eye doctor. Follow these steps to keep your contacts in top shape:
- Place one of your contacts in your palm and add a few drops of solution.
- Gently rub the contact with your fingertip, paying special attention to any debris or buildup.
- Rinse the contact with solution to remove any remaining debris.
- Place the contact in your clean contact lens case and fill it with fresh solution.
- Repeat the process for your other contact.
Conclusion
Now that you know how to remove your contacts safely and effectively, it’s important to practice good hygiene and care when handling your lenses. By following these steps, you’ll minimize the risk of infection, protect your eye health, and maintain clear vision. If you have any questions or concerns about removing your contacts, be sure to speak with your eye doctor.


