Introduction
The Xbox One controller is an essential part of any Xbox One gaming setup. Not only is it crucial to have a functioning controller, but you also want it to be customized to your preferences. Sometimes, however, your controller may break down or become unresponsive, which can be frustrating. In this article, we will offer a step-by-step tutorial on how to take apart your Xbox One controller and offer some useful tips and tricks. By the end of this article, you will know precisely how to do it yourself, which can save you time and money.
Step-by-Step Tutorial
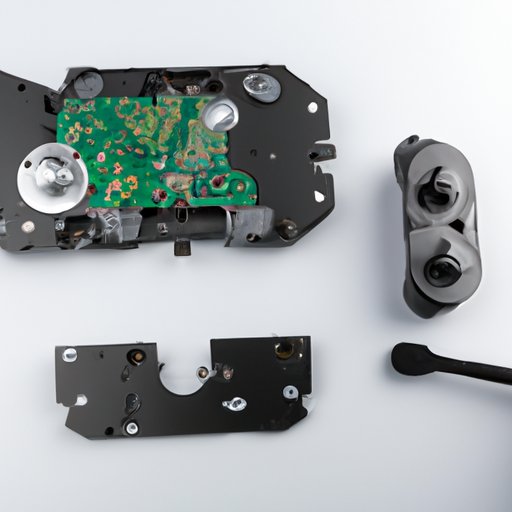
The first step to dismantle an Xbox One controller is to remove the battery. Then, proceed to take off the six screws at the back of the controller using a T8 Security screwdriver. Once the screws are removed, pry the two halves of the controller apart gently, starting from the bottom of the controller and working your way up. Remove the buttons, triggers, and rumble motors, as needed. Replacing these parts is straightforward and only requires reversing the process of dismantling. For more details, refer to the video tutorials available on YouTube.
Tools Needed
Before you start, make sure you have the tools necessary to dismantle your controller. You will need a T8 Security screwdriver, a Tri-wing Y0 screwdriver, a spudger, a soldering iron, isopropyl alcohol, and a flat-head screwdriver. You will also need gloves, safety glasses, and an anti-static wristband to stay safe during the process. These tools can be easily purchased at your local electronics store or ordered online.
Common Issues
One of the most common problems people face when taking apart their Xbox One controller is not careful enough when removing the screws holding the controller together. Another issue is that some cables may be challenging to detach or reattach. Different online forums have solutions to these problems, where people discuss their previous experiences. If you run into any issues, consult these forums, or ask for help from a technician or professional.
Safety Precautions
It is essential to take safety precautions when dismantling an Xbox One controller. Before you start, disconnect the controller from any power source, and wear gloves, safety glasses, and an anti-static wristband. Make sure you have a clean, well-lit workspace and use an ESD mat to minimize static electricity. Take your time and do not rush, as this can lead to unnecessary damage to the controller.
Benefits of Taking Apart a Controller
There are several reasons for taking apart your Xbox One controller. First and foremost, it allows you to customize the controller to your liking. You can change the color of the buttons, the triggers, and the thumbsticks so that your controller looks different from others. Additionally, dismantling your controller can save you money over time as you can replace broken parts, such as the thumbsticks, triggers, and buttons rather than replace the entire controller. Lastly, dismantling your controller and thoroughly cleaning it can improve performance and ensure that the controller remains in good working condition for a long time.
Expert Tips and Tricks
When disassembling a controller, it is always helpful to get expert tips and tricks. Experienced technicians or gamers can best provide these insights. For example, one of the best methods to disassemble a controller is to use a spudger instead of a flat-head screwdriver to avoid damaging the controller’s delicate parts. They may also provide bonus tips on how to customize your controller or hacks to improve controller performance.
Conclusion
Taking apart your Xbox One controller can be daunting, but it is easy to accomplish. With the correct tools and a step-by-step tutorial like the one we provided, you will learn how to take apart your controller quickly and safely. We encourage you to try it out and improve your gaming experience by personalizing your controller. Remember that safety is crucial when undertaking any DIY projects, so take the necessary precautions to ensure that no harm comes your way. If you run into any issues, do not hesitate to consult online forums or reach out to a technician or professional for help.


