Introduction
Do you love sending messages on your iPhone but wish there was a way to add a personal touch? Look no further than audio messages, which allow you to send a recorded spoken message to your recipient. Not only does this add an extra level of warmth and personality to your conversations, it’s also an easy and efficient way to communicate. In this article, we will provide step-by-step instructions on how to send audio messages on your iPhone, along with tips and tricks, an exploration of voice memos, and a beginner’s tutorial.
Step-by-Step Guide: How to Send Audio Messages on iPhone
Sending an audio message on your iPhone is a simple process – just follow these five easy steps:
Step 1: Open the Messages app
The Messages app is a green icon with a white speech bubble, located on your home screen.
Step 2: Select the recipient
Tap on the conversation with the intended recipient or create a new message.
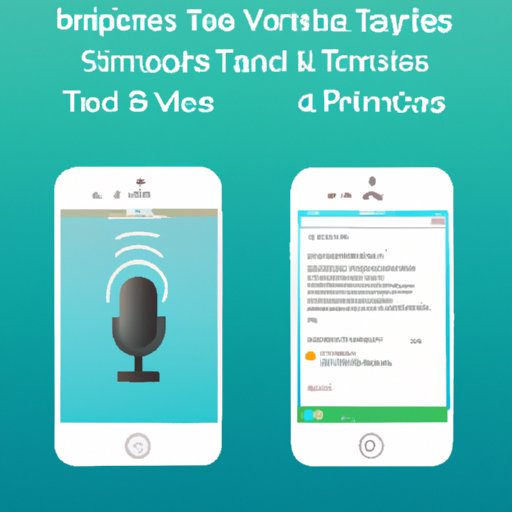
Step 3: Tap and hold the microphone icon
To begin recording your message, tap and hold down the microphone icon that appears to the right-hand side of the text field. A waveform will appear on the screen, indicating that recording is in progress.
Step 4: Record your audio message
When you’re ready to begin speaking, simply start talking. Keep in mind that there is a time limit of two minutes for recording an audio message.
Step 5: Send the audio message
To send the audio message, simply tap the upward-facing arrow to the right of the waveform. Your message will then be sent to the recipient.
Mastering Audio Messaging on iPhone: Tips & Tricks
Once you’ve mastered the basics of sending audio messages on your iPhone, there are a few tips and tricks you can use to make the process even smoother:
How to Play Back an Audio Message
To play back an audio message, simply tap the message in the conversation. The waveform will appear, and the audio will begin playing automatically. If you need to pause the message, simply tap the waveform again.
How to Delete an Audio Message
To delete an audio message, swipe left on the message and tap the trash icon that appears. You will be given the option to either delete the audio message for yourself or for everyone in the conversation.
How to Save an Audio Message
To save an audio message, tap and hold the message until a menu appears. From there, select “Save.” This will save the audio message to your phone’s storage so you can listen to it later.
How to Share an Audio Message
To share an audio message with someone else, first play back the message and tap the “Share” button that appears to the right of the waveform. You’ll then be given the option to share via text, email, AirDrop, and more.
How to Adjust Audio Message Settings
To adjust audio message settings on your iPhone, go to “Settings,” then “Messages,” and scroll down to the “Audio Messages” section. From here, you can change the audio quality for messages, set messages to expire after a certain amount of time, and more.
5 Easy Steps to Send Audio Messages on your iPhone
To sum up the steps of sending audio messages on iPhone:
Step 1: Open the Messages app
Step 2: Choose your contact
Step 3: Tap and hold the microphone icon
Step 4: Record your message
Step 5: Send the message
Everything You Need to Know About Sending Voice Memos on iPhone
What are Voice Memos?
While audio messages are a feature within the Messages app, Voice Memos is a separate app on your iPhone that allows you to record longer audio files to save on your iPhone or share with others.
How to Record a Voice Memo
To record a voice memo, open the Voice Memos app and tap the red “Record” button. To finish recording, tap the gray “Stop” button.
How to Listen to a Voice Memo
To listen to a voice memo, simply tap on the file within the Voice Memos app. This will open the file and allow you to listen to it.
How to Edit a Voice Memo
To edit a voice memo, tap on the file within the Voice Memos app, then tap the three dots in the bottom left corner. From there, select “Edit Recording,” and you will be able to trim, rename and add filters to the file.
How to Share a Voice Memo
To share a voice memo, tap on the file within the Voice Memos app, then tap the share button in the bottom left corner. You’ll then be given the option to share via text, email, AirDrop, and more.
iPhone Audio Messaging for Dummies: A Beginner’s Tutorial
What are Audio Messages?
Audio messages allow you to send a spoken message to a recipient via the Messages app.
How to Send an Audio Message
To send an audio message, open the Messages app, select your intended recipient, and tap and hold the microphone icon to record your message.
How to Listen to an Audio Message
To listen to an audio message, simply tap on the message in the conversation. The waveform will appear, and the audio will begin playing automatically.
How to Manage Audio Messages
To manage audio messages, swipe left on the message and select the desired action, such as deleting, saving or sharing.
Frequently Asked Questions and Troubleshooting Tips
If you’re experiencing issues with audio messages on your iPhone, Apple Support has a variety of resources on their website, including a troubleshooting guide and frequently asked questions.
Conclusion
We hope this comprehensive guide has provided you with all of the information you need to start sending audio messages on your iPhone easily and efficiently. Whether you’re a beginner or well-versed in the technology, there are always tips and tricks to make the experience smoother. You can explore even further by taking advantage of the Voice Memos app, which offers even more functionality for recording, editing, and sharing audio files.
If there are still questions or concerns that you have, be sure to check out Apple Support’s resources or connect with your Apple Care team for further assistance.


