Introduction
Screen capture, more commonly known as a screenshot, is the process of capturing an image of the computer screen, which can be used in various ways, including troubleshooting, creating documentation, and sharing information. Taking a screenshot is simple and easy, but for those who are new to the process, it can be a daunting task. This article will provide a step-by-step guide, video tutorial, software comparison, tips and tricks, and common mistakes to avoid when taking a screenshot on a MacBook Air.
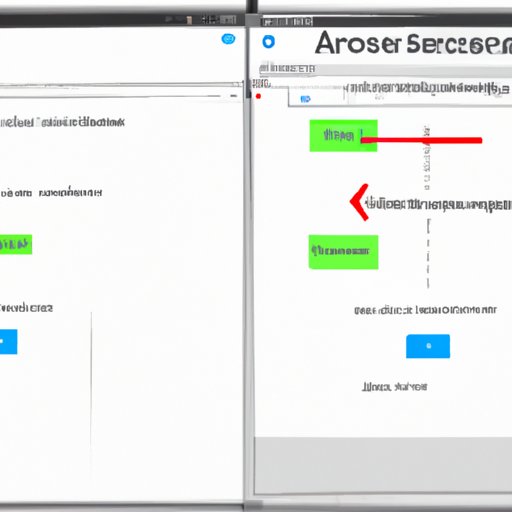
Step-by-Step Guide
There are different methods for taking screenshots on a MacBook Air. The first is using keyboard shortcuts, which are easy and quick to use. The second method is using the Grab application, which provides more options for capturing a screenshot. Follow these simple steps to take a screenshot using keyboard shortcuts:
- Press Command + Shift + 3 simultaneously to take a screenshot of the entire screen.
- Press Command + Shift + 4 simultaneously to take a screenshot of a selected area of the screen.
- Press Command + Shift + 5 simultaneously to see more options, such as recording the screen or taking a screenshot of a selected window.
If you prefer to use the Grab application, follow these easy steps:
- Open Grab by searching for it in Spotlight Search or in the Utilities folder.
- Select the type of screenshot that you wish to take, whether it is a full-screen image or a selected window.
- Save the screenshot to your desired location, including the desktop or the cloud.
If the screenshot does not work, try restarting your MacBook Air or check if there’s enough storage space. Remember, it is better to troubleshoot minor issues first before moving on to work on something else.
Video Tutorial
Visuals can be the best way to understand how to take great screenshots on a MacBook Air. Here, a simple video tutorial can help guide you through the process and give you a better idea of what to expect while taking screenshots. The tutorial should include step-by-step visuals for taking a selected area of the screen or a full-screen capture and show editing and sharing options.
Comparison of Different Screenshot Software
There are various software available for taking screenshots on a MacBook Air. Software like Snagit, Lightshot, and Monosnap are all popular choices. The best software comes with advanced features that include editing, annotation, sharing, and capturing options. It is important to know the benefits of each software to choose the best one for your needs. For example, Snagit is a great tool for editing screenshots, Lightshot is an easy-to-use tool for a quick screenshot, and Monosnap is a recommended tool for sharing and collaboration. It is important to compare the pros and cons of each program to find which software will work best for you.
Tips and Tricks for Effective Screenshots
Screen capturing is much more than just pressing a button. It is important to capture the right information and the right way. Below are some tips and tricks to make your screenshots look more professional and effective:
- Use keyboard shortcuts to capture the specific area you need.
- Organize your screenshots and save them in the appropriate format.
- Use annotation tools, including arrows, text, boxes, highlights, and lines, to guide the viewer on the screenshot.
- Use screenshots for efficient communication and documentation with your team.
Common Mistakes
There are various common mistakes people make while taking screenshots on a MacBook Air. The first mistake is not saving the screenshot in the right location, which can lead to confusion when trying to locate the screenshot later. The second mistake is not choosing the right format for the screenshot, leading to difficulties when sharing or exporting it. Lastly, people often ignore the editing options, making the screenshot less effective than intended. It’s crucial to avoid these mistakes while taking screenshots on a MacBook Air, but if these mistakes still occur, troubleshooting tips are available online.
Conclusion
Taking a screenshot on a MacBook Air is a simple and effective way to capture and share information. Using keyboard shortcuts or using a software like Grab, Snagit, Lightshot or Monosnap, are great ways to capture screenshots. Whether using screenshots for documentation, communication with co-workers, or social media, it is important to use these tools effectively and to avoid common mistakes while doing so. By following the step-by-step guide, watching the video tutorial and applying the tips and tricks, anyone can take a screenshot confidently and effectively.


