I. Introduction
With the rise of remote work and online learning, screen recording has become an essential tool for Mac users. It allows individuals to record their screen activities and share them with others, making it an effective way to communicate complex ideas or create instructional videos. If you’re new to screen recording on a MacBook Air, you’re in the right place. In this article, we’ll show you how to use the built-in screen recording feature, provide troubleshooting tips, and compare it with third-party apps in the market.
II. Step-by-step tutorial
The MacBook Air comes with a built-in screen recording feature that allows you to capture high-quality videos of your screen activities. Here are the steps to access and use this feature:
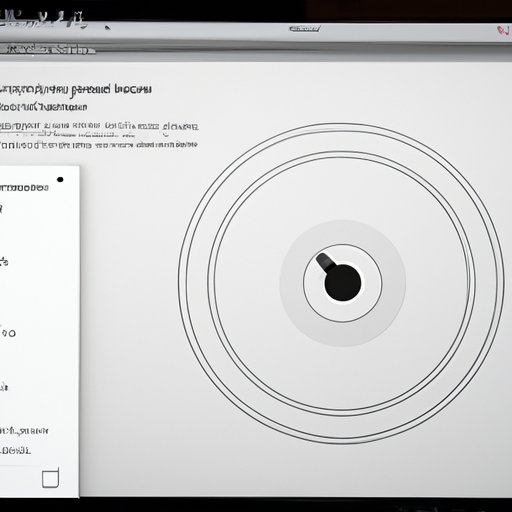
- Press Command + Shift + 5 to open the screen recording controls.
- Choose whether you want to record the entire screen or a portion of it by selecting the corresponding options in the control panel.
- Click the “Options” button to customize settings such as the save location, timer, microphone, and mouse visibility.
- Click “Record” to start the recording and “Stop” to end it. The video will be saved to the designated location.
When using the screen recording feature, it’s important to keep in mind some tips to use it effectively:
- Make sure you have enough storage space in your Mac to capture and save the video.
- Consider using an external microphone for better audio quality.
- Use keyboard shortcuts to control the recording process more efficiently.
- Edit the recorded video with built-in tools or third-party software.
III. Video Tutorial
For visual learners, watching a video tutorial may be more effective in learning how to screen record on MacBook Air. Check out this short instructional video for a step-by-step guide:
IV. Listicle format
List-style articles are a great way to present information in a concise and structured manner. Here are 6 simple steps to screen record on MacBook Air:
- Open the screen recording controls by pressing Command + Shift + 5.
- Select the area of your screen you want to record.
- Customize your recording options by clicking the “Options” button.
- Click “Record” to start the recording.
- Click “Stop” to end the recording.
- Find your recorded video on your desktop or in the designated save location.
Now let’s take a closer look at each step:
V. Troubleshooting guide
While screen recording on MacBook Air is generally straightforward, there may be some common issues you might face. Here are some tips to troubleshoot these problems:
- No sound in the recorded video: Ensure that the microphone audio is enabled in the recording options. You can also check the audio output settings and select the right device.
- Recording is lagging or choppy: This could be due to insufficient CPU performance. Try closing apps that are running in the background to free up resources.
- Recorded video has poor quality: Check the recording settings to ensure that you’re capturing the video at the desired resolution and frame rate. Adjust the settings if necessary.
- Can’t find the recorded video: Make sure you’ve selected a designated save location before starting the recording. You can also try searching your Mac using the file name or date of recording.
By keeping these troubleshooting tips in mind, you’ll be able to avoid common issues and make the most out of screen recording on your MacBook Air.
VI. Comparison & Review
While the built-in screen recording feature on MacBook Air is sufficient for most users, some might prefer using third-party apps for more advanced settings or additional features. Here are some of the most popular screen recording apps in the market:
- Camtasia: This is a comprehensive screen recording and video editing software that offers advanced features such as multi-track editing, animations, effects, and quizzes. It’s available for both Mac and Windows users.
- Screencast-O-Matic: This is a user-friendly screen recording and video editing tool that’s suitable for beginners. It offers features such as webcam recording, captions, and audio dubbing. It’s available for Mac, Windows, and Chromebook users.
- ScreenFlow: This is a powerful screen recording and video editing app that’s popular among Mac users. It offers features such as audio and video filters, motion graphics, and green screen effects.
While these apps offer more flexibility and control over your screen recordings, they also come at a cost. In most cases, the built-in screen recording feature on MacBook Air is sufficient for most tasks. However, if you need to create professional-grade videos or require specific features, it may be worth considering these third-party apps.
VII. Conclusion
Screen recording is a valuable tool for Mac users that can help communicate ideas effectively and efficiently. By following the steps outlined in this article, you’ll be able to use the built-in screen recording feature on MacBook Air with ease. Remember to keep in mind the troubleshooting tips and consider third-party apps if needed.


