I. Introduction
Repainting cabinets is a budget-friendly way to update your kitchen or bathroom and give it a fresh, new look. Refinishing cabinets may seem daunting but with the right preparation and materials, it can be an easy and satisfying DIY project. In this article, we will provide you with a step-by-step guide on how to repaint cabinets, tips on choosing the right color and paint type, and ideas for refinishing techniques.
II. Step-by-Step Guide to Repainting Cabinets
The first step in repainting cabinets is to obtain all the necessary supplies and tools. These include a screwdriver, sandpaper, wood filler, cleaning solution, primer, paint brushes, rollers, and paint. After you have obtained the necessary supplies, you can follow these detailed instructions to repaint cabinets:
- Remove all cabinet doors, hinges, handles, and drawers.
- Clean the surfaces with a grease-cutting solution and let them dry completely.
- Fill any holes or gaps with wood filler and sand them smooth.
- Sand the surfaces with 120-grit sandpaper to create a rough surface and remove any existing gloss or varnish.
- Apply primer to the cabinet surfaces with a paintbrush or roller and let it dry.
- Paint the surfaces with a paintbrush or roller, being careful not to leave brush strokes. You may want to apply a second coat of paint for extra durability.
- Reinstall cabinet doors, handles, and hinges, and enjoy your newly refinished cabinets!
III. Importance of Choosing the Right Paint for Cabinets
The type of paint and durability are significant when refurbishing cabinets. Kitchens and bathrooms have high humidity levels, so choosing a paint that can withstand these conditions is essential. A high-quality paint with a semi-gloss or gloss finish is recommended since it is durable and easy to clean. When selecting paint, consider the brand, coverage, and color options.
IV. Preparation of Cabinets for Painting
The preparation of cabinets for painting is essential and affects the final result. This step ensures that there is no dirt or residue on the surfaces, the surfaces are smooth, and the paint can adhere properly. Here is a detailed guide on how to prepare your cabinets for painting:
- Remove all cabinet doors, hinges, handles, and drawers.
- Clean surfaces with a grease-cutting solution and let them dry completely using a clean cloth.
- Fill any cracks, holes with wood filler, and let it dry for 15 minutes.
- Sand surfaces with 120-grit sandpaper to create a rough surface. Make sure to sand the areas in the direction of the grain until it is smooth.
- Clean the surfaces again by using a vacuum to remove dust particles or debris.
- Apply primer to the cabinet surfaces with a paintbrush or roller, let primer coat dry per manufacturer instructions.
- Apply two coats of paint to the cabinet surfaces, leaving an ample amount of time in between coats.
V. Ideas for Cabinet Paint Colors
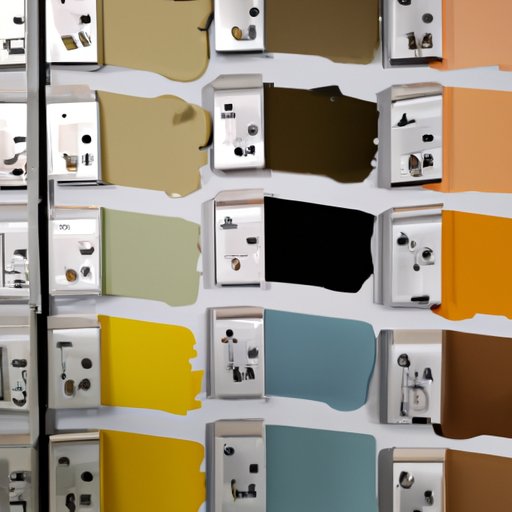
The color of your cabinets can set the tone for the entire room and influence your mood. When selecting paint colors for your cabinets, consider trends, neutrals, and popular paint choices that complement your space. Here are some suggestions for popular cabinet paint colors:
- White or cream cabinets: create a clean, classic, and timeless look
- Gray cabinets: ideal for creating a modern, sleek look in your kitchen
- Black cabinets: work great for contrasts in a room and can add a pop of color to the interiors
- Navy blue cabinets: add a calm yet stylish touch to your space
- Muted green or blue shades: add a pop of color to neutral spaces and complement other hues in the interiors
VI. Painting Supplies
Choosing the right painting supplies are just as important as the painting techniques. Here is a list of the best painting supplies for the task:
- Paintbrushes: Choose high-quality brushes that are designed for use with oil-based or water-based paints.
- Rollers: Use a roller to apply primer and paint quickly and evenly.
- Sandpaper: Use sandpapers with 120-grit or higher for sanding before painting.
- Paint sprayers: Paint sprayers are increasingly popular as they can distribute paint evenly into tight crevices and nooks.
VII. Refinishing Techniques
If you want to give your cabinets a unique and personalized look, refinishing techniques such as glazes, distressing, or aging can be perfect. These techniques can create depth in colors while enhancing the aesthetics of the cabinets. Follow these tips:
- Paint and distress the edges of the cabinets to add texture and depth.
- Add glaze or a wash to add warmth and age to your cabinets.
- Stencil cabinets with your favorite patterns or designs to create interest.
VIII. Budget-Friendly Ways to Repaint Cabinets
You don’t have to break the bank when repainting your cabinets. Here are some budget-friendly ways to repaint your cabinets:
- Use paint you already have in the house or in personal storage.
- Apply chalk paint, which is cheap and doesn’t require sanding or priming.
- Change out the hardware on your cabinets, which can make a massive impact. Drop handles or more luxurious knobs or handles can make a world of difference.
- Finish visible ends and edges of your cabinets with wood veneer to create a better finish for less money.
- Use paint sprayers to get more coverage and control over your project.
IX. Conclusion
In conclusion, with the right preparation, tools, and a bit of creativity, refinishing cabinets can take your kitchen or bathroom to another level. Repainting cabinets is a budget-friendly, yet effective way to add value to your home while creating a new look for your space. Remember to follow our step-by-step guide, use high-quality paint, choose paint colors that complement your space, and consider different refinishing techniques. Get started on the project and enjoy the transformation of your cabinets.


