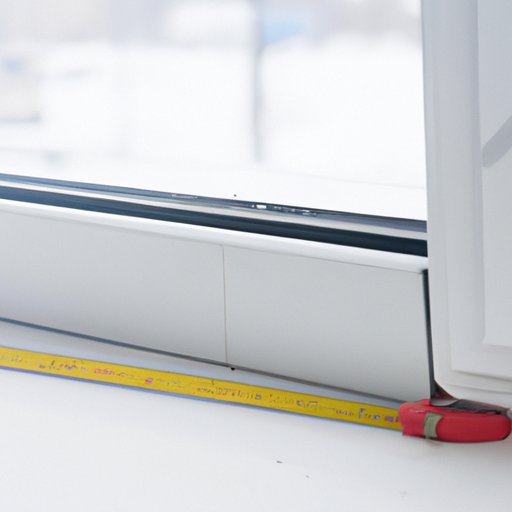
I. Introduction
When it comes to replacing windows, accuracy is key. Measuring for replacement windows requires precision to ensure that the new windows fit properly and function as intended. Inaccurate measurements can lead to windows that leak, are difficult to open or close, or simply don’t fit. This guide provides a step-by-step process for measuring replacement windows accurately, as well as common mistakes to avoid and expert tips to follow.
II. Step-by-Step Guide to Measuring for Replacement Windows
Before you begin measuring for replacement windows, you’ll need a few tools:
- Tape measure
- Pencil and paper
- Square or level
- Step ladder (if needed)
To measure accurately, follow these steps:
- Start by measuring the window’s width. Measure from the inside of the window frame at three locations: the top, middle, and bottom. Record the smallest measurement of the three.
- Next, measure the height of the window. Again, measure from the inside of the window frame at three locations: the left side, middle, and right side. Record the smallest measurement of the three.
- Measure the depth of the window frame from the inside edge to the outside edge. This will ensure that you choose replacement windows that fit snugly into the existing frame.
- Check the window opening for squareness. This means that the window opening is perfectly rectangular with four 90-degree angles. Use a square or level to confirm this.
- Record your measurements carefully and clearly. Label them according to width, height, and depth.
With these steps, you’ll be able to provide accurate measurements for replacement windows. But, there are some tips and tricks you can follow to make this process even easier. Here are a few:
- Measure twice to confirm your measurements and ensure accuracy.
- Wear comfortable shoes and clothing to make it easier to climb ladders or move around your house.
- Enlist a helper to hold the tape measure or assist with measuring tricky areas.
III. Common Mistakes to Avoid When Measuring for Replacement Windows
Despite following these steps and tips, there are still some common mistakes that people make when measuring for replacement windows. Here are a few to avoid:
- Measuring the old window instead of the window opening.
- Failing to measure in multiple places to account for uneven walls and other factors.
- Forgetting to measure the depth of the window frame.
- Miscalculating the amount of space needed for installation.
- Mixing up width and height measurements.
To avoid these mistakes, use a checklist or guide like this one, measure at least twice, and confirm your measurements with a professional if necessary.
IV. DIY vs. Professional Window Measuring: Know What’s Best for You
Now, you may be wondering whether you should measure for replacement windows yourself or hire a professional. There are pros and cons to each option, and it ultimately depends on your skill level, time, and budget.
DIY measurement may be a good option for those who are handy and have the necessary tools. It saves money on labor costs and allows you to control the process. However, if you make mistakes in measuring, it can cost you more in the long run.
Hiring a professional ensures that your measurements are accurate, and they have experience working with various window types and installments. However, it will cost more money upfront, and you may have less control over the process.
Before deciding which option is best for you, consider the cost, your skill level, and the complexity of the project.
V. The Importance of Accurate Window Measurements
It’s important to stress the importance of accurate window measurements when replacing windows. Even small errors can lead to significant problems in the long run, such as air leaks or windows that don’t open or close properly.
The measurements also affect the type of replacement window you can choose. Choosing a window that is too small or too big for the frame can result in a less energy-efficient home, leading to higher utility costs.
VI. Expert Secrets for Measuring Your Windows Like a Pro
We spoke with Joe, a window replacement expert with over 20 years of experience, to gather some tips on measuring replacement windows like a professional. Here’s what he had to say:
“One of the most common mistakes I’ve seen is not measuring in multiple locations to account for uneven walls. I always measure the width, height, and depth in three different locations and take the smallest measurement.”
Here are a few other tips he shared:
- Use a laser level to ensure accurate measurements and squareness.
- Check to see if there are any obstacles, such as screens or storm windows, that need to be accounted for.
- Measure to the sixteenth of an inch for the most accurate measurements.
VII. Conclusion
Measuring for replacement windows may seem daunting, but it’s an important step in making sure your new windows fit perfectly and work properly. With this step-by-step guide, you’ll have everything you need to measure accurately and avoid common mistakes. Remember, accuracy is key when it comes to window replacement, and even small errors can lead to significant problems down the line.
Take your time, follow these tips, and if all else fails, consider enlisting a professional to help you with the process.


