Introduction
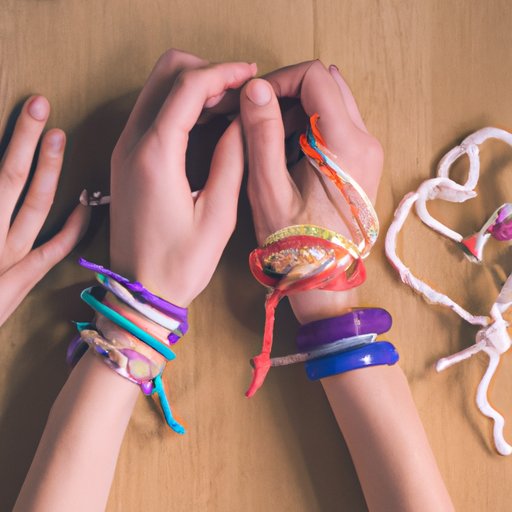
String bracelets are a fun and creative way to accessorize any outfit. Not only can they be made quickly and easily, but they can also be tailored to fit anyone’s unique style and personality. In this article, we’ll provide a step-by-step tutorial on how to make your own string bracelets, as well as tips, tricks, and personalized ideas to inspire your creativity.
Materials and Tools
To make string bracelets, you will need the following materials:
- Embroidery floss or cotton thread (you can use as many or as few colors as you like)
- Scissors
- Tape
- Beads (optional)
Embroidery floss or cotton thread can be found at most craft stores. When choosing your thread, make sure to select colors that complement each other well. You can also mix and match different textures and thicknesses of thread to add some variation to your bracelets.
Step-by-Step Tutorial
Now that you have your materials ready, here is a step-by-step tutorial on how to make string bracelets:
- Pick out the colors of thread you want to use.
- Cut a piece of thread that’s about 10 inches long and fold it in half. Tie a knot at the end of the folded thread, leaving a small loop at the top.
- Tape the loop down to a flat surface, like a table or a clipboard.
- Separate the two threads so that one is on the right and one is on the left.
- Start with the thread on the left side. Make a “4” shape with the thread, looping it over the other thread and under the loop on the right side.
- Bring the thread up and through the loop on the left side.
- Pull both threads to tighten the knot. Make sure to hold onto the loop on the right side to keep it in place.
- Repeat steps 5-7 until your bracelet is the desired length.
- To finish off your bracelet, knot the threads together and tie a bow at the end.
It’s as simple as that! You can add beads or other embellishments to your bracelet by sliding them onto the threads before tying the knots together.
Listicle of Designs
There are a variety of different designs you can try out when making string bracelets. Here are a few ideas:
- Friendship bracelets: These are usually made with a chevron or diagonal pattern and can be personalized with your friends’ favorite colors.
- Braided bracelets: These are made by braiding together multiple strands of thread and can be easily customized by using different color combinations.
- Beaded bracelets: These are made by adding beads to your bracelet as you knot it together. You can use a variety of different shapes and sizes to create a unique design.
Remember, the possibilities are endless when it comes to designing your own string bracelets. With a little imagination, you can come up with a design that’s completely unique to you!
Tips and Tricks
Here are some tips and tricks to keep in mind when making your own string bracelets:
- Keep your knots tight to prevent your bracelet from unraveling.
- Use a clipboard or tape to secure your bracelet while you work on it for easier knotting.
- Experiment with different color combinations and patterns to create unique designs.
- Use a beading needle to help string beads onto your bracelet more easily.
Personalizing Your Bracelet
Personalizing your string bracelet is a great way to make it truly your own. Here are some ideas to inspire your creativity:
- Incorporate your favorite colors into your design.
- Add your initials or a symbol that’s meaningful to you using beads or charms.
- Create a pattern that reflects your personality or interests.
Remember, the best part about making your own string bracelet is that it can be completely tailored to your own unique style and personality.
Make it a Fun Group Activity
Making string bracelets is a fun activity to do with friends or family members. Here are some ideas to turn it into a group bonding activity:
- Host a bracelet-making party where everyone brings their own materials and designs.
- Exchange bracelets with each other as a way to commemorate the fun time you spent together.
- Make bracelets as a way to raise money for a charity or organization you care about.
Remember, the goal is to have fun and enjoy the creative process of making your own unique string bracelets.
Conclusion
String bracelets are a fun and creative way to add some personality to your accessories. By following the steps in our tutorial and incorporating the tips, tricks, and personalized ideas we’ve outlined, you can make your own unique string bracelets that truly reflect your style and personality.


