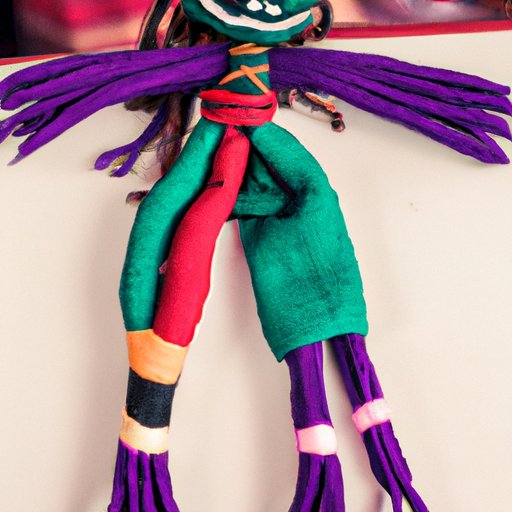
I. Introduction
Voodoo dolls have been a source of curiosity and intrigue for generations. These dolls are believed to carry the power to influence the actions and wellbeing of an individual. In this article, you will learn how to create your voodoo doll, what materials you will need, and safety precautions to take.
II. The History and Cultural Significance of Voodoo Dolls
Voodoo is a religion that has its origins in West Africa, and it became popularized in Haiti and New Orleans. One of the key features of this religion is the use of dolls in rituals and spells. These dolls are believed to represent an individual and are used for various purposes including healing, protection, and cursing. However, many contemporary variations of voodoo dolls have emerged that focus more on their use as a charm or decoration.
III. Materials and Tools Required
To make a voodoo doll, you will need cloth, thread, pins, stuffing, scissors, and glue. You can typically find these materials at a local craft store. In addition, you may want to add personal touches to your doll by using hair or clothing that belongs to the person you want to represent.
IV. Different Types of Voodoo Dolls
There are many different types of voodoo dolls, and each has its unique purpose and style. Some examples of voodoo dolls include healing dolls, love dolls, and protection dolls. The materials used to make these dolls can vary based on their intended purpose. For instance, a healing doll may be made with materials that are believed to have healing properties.
V. Step-by-Step Instructions
Creating your voodoo doll is a simple, yet time-consuming process. Here are the steps to make a voodoo doll:
- Select the material you want to use for your doll. It can be any color or texture.
- Cut the material into a rectangular shape that is twice the length of your desired doll height.
- Fold the material in half with the patterned side facing inward and cut out the doll’s shape.
- Sew the two halves of the doll together, leaving a small opening where the stuffing will be inserted.
- Stuff the doll with your chosen material and sew up the rest of the opening.
- Personalize the doll by adding hair, clothing, or other personal items to make it unique to the person you want to represent.
- Add facial or personal details with the use of paint, markers, or stitching.
- Use pins to add any further intentions or detail, such as a good luck charm or a specific intention such as calming or protection.
With each step, you can continuously refine and personalize your doll to match your vision for its purpose.
VI. Safety Considerations
When working with sharp tools such as scissors or needles, it is important to take necessary precautions to prevent injury. Always store your tools in a safe place away from children and pets. When using a glue gun, be aware that the glue can be hot and cause burns or injury if used improperly. When finished, be sure to store any leftover materials in a secure place away from pets or children.
VII. Variations and Personalization
Creating your voodoo doll can be a highly personal experience, and there is no right or wrong way to do it. You can create a doll that represents a specific person or situation or create a charm for general purposes. You may find that certain materials or techniques resonate with you more than others, so don’t be afraid to experiment and get creative!
VIII. Conclusion
In conclusion, creating a voodoo doll can be a fun and rewarding experience. It provides a way for you to channel your energy and intentions into a physical object that represents your desires. By following these steps, you can create a personalized charm that will bring positive energy to your life.


