I. Introduction
Crochet is an activity that has been passed down through generations. One essential part of crocheting is how to make a slip knot crochet. A slip knot crochet is a type of knot used in crocheting to start your project. In this article, we will be explaining how to make a slip knot crochet, its importance in the crocheting process and how you can achieve it easily.
II. Step-by-Step Tutorial
To make a slip knot crochet, you will need a few materials:
- A crochet hook
- Yarn of your choice
Follow these simple steps to start your crochet project:
1. Tying the Slip Knot
Take the yarn and create a loop by placing the tail end of the thread in your left hand and the working end in your right hand. Cross the tail end over the working end, forming a loop. Hold on to the point where the two ends cross with the thumb and forefinger of your left hand.
Next, using your right hand, pick up the working end of the yarn and feed it under the loop, starting from the back. Bring the working end over the loop and then around to the back. If done correctly, you should have a loop with a twist in it.
2. Placing the Slip Knot on Crochet Hook
Insert the crochet hook through the loop and pull the end with the yarn attached, pulling the loop down tightly around the hook. The loose, dangling end of the yarn should be in the back.
3. Tightening the Knot
Secure the slip knot by pulling gently on the loose end of the yarn. The loop will tighten around the hook, locking it in place. You should have a slipknot that is secure and tight enough that you can begin to crochet.
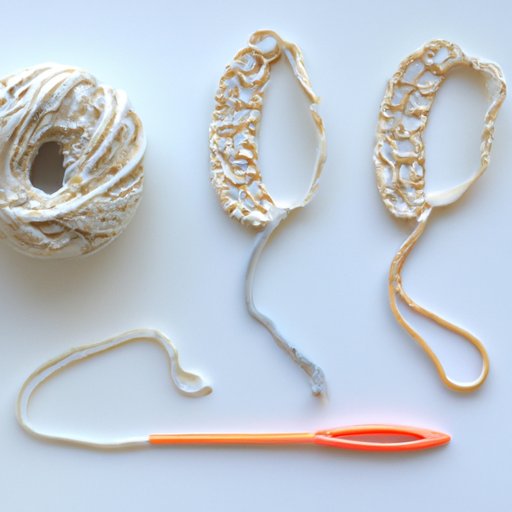
III. Visual Guide
Visual aids can be very helpful for beginners in crocheting. Below is a series of photographs with clear instructions and tips on how to make a slip knot crochet.

Troubleshooting Suggestions
If you are having difficulties making a slipknot, it could be due to the type or weight of yarn you are using. Thicker yarn may require a larger hook size, or you may need to reduce your tension when tying the loop. Similarly, using lighter weight yarn means you may need to tighten your slip knot more than usual to keep it in place and prevent slippage.
IV. History and Purpose
The slip knot has been used in crocheting for centuries. Its use dates back to the early 16th century, where it was used by sailors for tying knots aboard ships. The purpose of the slip knot in crocheting is essential in that it is the starting point for all crochet stitches. Without the slip knot, it would be impossible to create a secure foundation for your work.
In crocheting, there are different types of projects that require a slip knot. This includes garment-making, blankets, and home décor items like doilies, table runners, and placemats.
V. Common Mistakes to Avoid
A slip knot crochet may seem like a simple process, but certain mistakes are common. Here are some common slip knot crochet mistakes to avoid:
- Loose or oversized slip knots that slip from your hook
- Tight slip knots that make it difficult to crochet
- Loops that twist or tangle
Visual Examples of Each Mistake

Troubleshooting Explanations for Each Mistake
If your slip knot is too loose or oversized, you may want to try pulling the working end of the yarn tighter to control the size more efficiently. Similarly, if you have a tight slip knot, you may need to adjust your tension while forming the loop. To prevent twisted or tangled loops, try to make sure there are no twists in your yarn while forming your loop.
VI. Practice Exercises
The best way to improve your slip knot crochet skills is through practice exercises. Here’s a practice exercise to help you build your skills:
Step-by-Step Guidance for Practice Exercises
- Take a piece of yarn, wrap it around your finger, and complete three slip knots.
- Next, take a crochet hook and practice placing the slipknot on the hook, repeating this process until it feels comfortable.
- After completing this exercise, try making slip knots using different types of yarn and hook sizes to adjust your tension if needed.
VII. Advanced Techniques
Once you’ve mastered the foundational slip knot crochet, there are advanced techniques and variations you can learn. Here are some examples:
- Slip Knot for Foundation Chain Stitch
- Adjustable Slip Knot
- Magic Ring Slip Knot
These advanced techniques can help you create unique and stunning crochet projects.
VIII. Conclusion
In conclusion, the slip knot crochet is an essential process before starting any crochet project. Having a secure and tight slip knot can help you create beautiful crochet work with ease. To achieve a perfect slip knot every time, make sure to follow the steps carefully and take note of helpful tips and troubleshooting suggestions. Remember, practicing is key to building your slip knot crochet skills and taking on more advanced projects.


