I. Introduction
If you have cherished photographs and artwork that deserve to be displayed, making a picture frame can be the perfect solution. Not only does it provide the perfect way to showcase your treasured memories, but it also allows you to create custom frames that perfectly complement the content. In this article, we will provide you with a step-by-step guide to making a picture frame, designed to help everyone from novices to experienced woodworkers. We will also provide tips and tricks, video tutorials, and creative ideas to help you make the most of your picture frame projects.
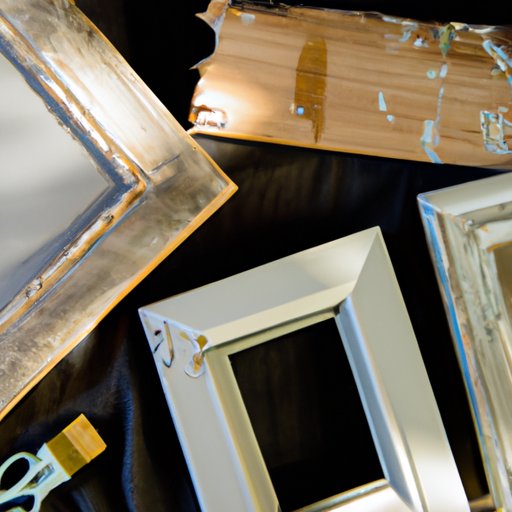
II. A Step-by-Step Guide to Making a Picture Frame
When it comes to making a picture frame, the process may seem daunting to those unfamiliar with woodworking. However, with the right materials, tools, and techniques, creating a custom picture frame can be an enjoyable and rewarding experience. Here is a step-by-step guide to help you along the way:
- Choose the wood: Select the type of wood that best suits your project, whether you want a natural or painted finish. Consider the size of the frame and the thickness of the wood when choosing your materials.
- Measure and cut the wood: Use a miter saw to cut the wood to the size required for your picture frame. A 45-degree angle cut is standard, but you can change the angle to suit your project.
- Sand the wood: Sand the edges of your cut wood so that they are smooth and straight.
- Assemble the frame: Apply glue to each corner of your frame. Use a clamp to ensure the wood sticks together until the glue dries.
- Add finishing touches: Sand the corners of the frame to ensure they are smooth and the edges align. Apply stain or paint to the frame as desired.
- Add backing and hanging accessories: Once the frame is dry, attach the backing of your choice, such as foam board. Attach hanging hardware to the back of the frame.
III. Beginner’s Guide to Making a Picture Frame
If you are new to woodworking, making a picture frame can seem intimidating. Here is a simplified version of the step-by-step guide:
- Choose a pre-cut wooden frame kit or cut your own using a handsaw.
- Sand the edges of the wood to remove any roughness or splinters.
- Assemble the frame by applying glue to the corners and using clamps to hold them together while they dry.
- Once dry, use a sanding block to sand the corners so that they are uniform and smooth.
- Apply paint, stain, or other finishes in a well-ventilated area.
- Attach backing and hanging hardware.
This simplified guide requires fewer tools and less precision to help new woodworkers get started.
IV. Expert Tips and Tricks for Making Picture Frames
If you’re an experienced woodworker looking to take your picture frame projects to the next level, try these expert tips and tricks:
- Use hardwoods for a more substantial and classic look, like oak or walnut.
- Use multiple layers of wood, making sure the grain pattern aligns to create a visually interesting frame.
- Consider using hand-cut joinery techniques, such as dovetail joints or mortise and tenons, for a precise and sturdy frame.
- Create a unique design by embossing the wood or adding decorative elements like metal accents or carved details.
- Use a dado blade to add a groove to the back edge of the frame so that the artwork or photo can sit flush against the wall.
V. Video Tutorial for Making a Picture Frame
For visual learners, we recommend following along with a video tutorial to help guide you through the process. This YouTube tutorial by The Wood Whisperer provides a clear and concise demonstration of making a picture frame:
VI. Creative Frame Ideas and Inspiration
Picture frames don’t have to be boring rectangles! Here are some creative ideas for picture frames that can make your artwork pop:
- Try a circular frame to add a unique look to your artwork.
- Use reclaimed wood to create a rustic or vintage look.
- Add color-blocking to your frame for a modern twist.
- Create a hand-carved or hand-painted design on your frame for a personalized touch.
- Use cardboard or foam board to create three-dimensional frames for an extra creative touch.
When creating a custom frame, the possibilities are endless. Use these ideas as inspiration to create a one-of-a-kind frame that perfectly suits your style and artwork.
VII. Upcycling Picture Frames
Using reclaimed wood or other materials is a great way to reuse resources and reduce waste. If you’re interested in upcycling picture frames, here are some tips:
- Find free or low-cost materials on websites like Craigslist or Facebook Marketplace.
- Remove any old finishes or varnishes using sandpaper or a chemical stripper.
- Sand the wood to ensure it’s smooth and free of splinters.
- Apply a new finish or paint to the frame to bring it back to life.
Upcycling a picture frame not only is an eco-friendly option, but it also creates something unique and charming.
VIII. Conclusion
Making a picture frame is an enjoyable and rewarding project that allows you to showcase your artwork and photographs in a custom and unique way. Whether you’re a novice or an experienced woodworker, this step-by-step guide, expert tips and tricks, video tutorials, and creative ideas can help you create picture frames that perfectly fit your style.


