I. Introduction
Have you ever wondered how to make a kite? There’s something magical about getting a kite to take flight, and it’s something that people have been doing for thousands of years. In this article, we’ll provide a detailed guide on how to make a kite, as well as some alternative approaches to make the process more engaging for kids or to learn about the cultural significance of kites. Our goal is to help you make a kite that can soar through the sky with ease.
II. Step-by-Step Guide
The first step in making a kite is to gather your materials. You’ll need:
- 1 sheet of paper or plastic (for the kite sail)
- 2 wooden dowels or sticks (for the kite frame)
- String or twine
- Scissors
- Tape or glue
Once you have your materials, follow these steps:
- Cut the dowels or sticks to the desired length (usually around 90-100cm for the vertical stick and around 110-120cm for the horizontal stick).
- Cross the two sticks about one-third of the distance from the top of the vertical stick.
- Tie the crossed point with your string or twine.
- Attach the string or twine to the bottom of the vertical stick with tape or glue.
- Cut your paper or plastic into a shape of your choice and attach it to the frame with tape or glue.
- Tie a string or twine to the bottom of the vertical stick and attach it to the kite tail. This helps the kite to stay stable while in flight.
- Finally, tie a string or twine to the top of the vertical stick and wind it around a spool. You’re now ready to take your kite out for a spin!
While the steps themselves are relatively simple, there are some tips and techniques you can use to ensure your kite is well-made and can fly through the sky with ease. For example:
- Make sure your materials are lightweight. Heavy materials can weigh your kite down and make it harder to fly.
- Try to keep the string or twine as straight as possible when tying it to the kite frame. This helps to keep the kite stable in the air.
- Make sure your kite tail is long enough. A longer tail helps to stabilize the kite and make it easier to control.
III. Video Tutorial
If you’re more of a visual learner, following a video tutorial can be incredibly helpful when learning how to make a kite. This video tutorial, created by Into the Dirtshop, provides a detailed step-by-step guide on how to make a simple kite.
One of the benefits of following a video tutorial is that you can see each step in action, which can make it easier to understand what you need to do. You can also pause or rewind the video as needed, which can be especially helpful if you’re struggling with a particular step.
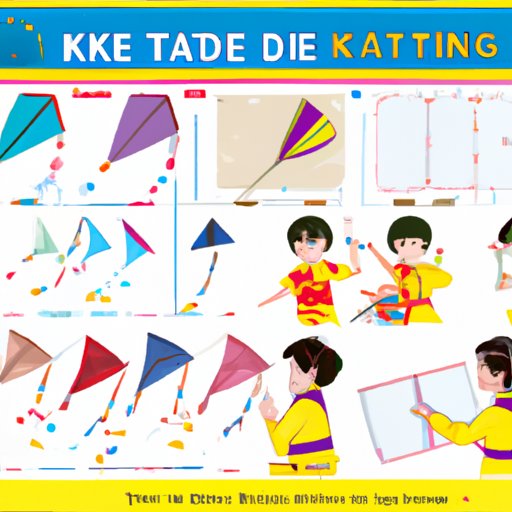
IV. Photo Essay
For those who prefer a visual guide, a photo essay can be a helpful resource. The following photo essay provides a step-by-step guide to making a kite, complete with captions that provide additional context for each image.
As you can see from the images, the process of making a kite can be incredibly rewarding. It’s a hands-on activity that allows you to create something from scratch, and the end result is a beautiful, functional object that can provide hours of entertainment.
V. Template-Based Guide
For those who want an easier way to get started, using design templates can be incredibly helpful. Here are a few kite design templates you can download and print:
Once you’ve printed out your template, follow these steps:
- Cut out your template and trace the shape onto your paper or plastic.
- Cut out the shape and then fold over the edges, using tape or glue to attach them to your kite frame.
- Follow the rest of the steps outlined in the Step-by-Step Guide to finish your kite.
Using templates can be a great way to start making kites, as it eliminates the need to come up with a design from scratch. It can also help you learn the basics of kite-making before moving on to more complex designs.
VI. Creative Guide for Kids
If you’re making a kite with kids, it can be helpful to take a more creative approach to the process. Here are a few ideas:
- Use colorful materials: Instead of plain white paper or plastic, try using brightly colored materials to make your kite stand out.
- Add decorations: Use markers, crayons, or stickers to decorate your kite once it’s complete.
- Create a story: Encourage kids to come up with a story or a character that their kite represents. This can make the process more engaging and help to spark their imaginations.
- Create a kite-making kit: Put together a kit that includes all the necessary materials and instructions, so kids can make their own kite at home.
Kite-making is a great way to get kids involved in a hands-on activity that can help to improve their motor skills and encourage creativity. By taking a more creative approach, you can make the process even more engaging and enjoyable for kids.
VII. History of Kites and How to Make One
In addition to the practical steps involved in making a kite, it can also be interesting to learn about the history and culture of kites. Kites have been used for religious, cultural, and scientific purposes for thousands of years in countries around the world. Here are just a few examples:
- In China, kites were first used as military signaling devices around 3,000 years ago. Over time, they became associated with prosperity and good luck.
- In Japan, kites were used for religious purposes, and specific designs were associated with different gods and goddesses.
- In India, kites were traditionally flown during the festival of Makar Sankranti, which marks the transition of the sun into Capricorn.
To make a kite using traditional materials and techniques, follow these steps:
- Select bamboo as the frame and silk or rice paper as the sail. Bamboo stems provide the required strength and flexibility whereas silk or rice paper being extremely light is best suited as sail material.
- Join two bamboo sticks of one size with one of a smaller size that is about two-thirds of the way down the length of the longer sticks.
- Unroll your silk or rice paper, place the frame over it, and trace its outline onto the silk/paper. Cut out the shape, leaving a margin of around 2cm around the edge.
- Use a thin adhesive like rice paste or glue to attach the sail onto the frame. Spread the paste or glue on the margin before turning it over to cover the bamboo frame.
- Attach a bridle to the kite by joining a length of twine to the center of the cross stick and fastening it to the corners of the kite.
- Attach your kite line to the bridle and let it fly.
The kite-making process described above is much more complex than the process outlined in the step-by-step guide. However, it can be an interesting way to learn about different cultures and their traditions.
VIII. Conclusion
Whether you choose a simple step-by-step approach or a more creative approach, making a kite is a fun and rewarding activity. By following the tips and techniques outlined in this article, you can create a kite that’s not only beautiful but also functional, able to take flight and soar through the sky.


