I. Introduction
Christmas time is the perfect opportunity to let your creative side take over. When talking about Christmas decoration, bow-making comes to mind as one of the most important. You can add a pop of color and show your personal style by making your own handmade Christmas tree bows. In this article, you will learn various techniques to create beautiful and high-quality bows for your tree. Throughout the article, readers will find tutorials, DIY tips, video tutorials, and more.
II. A Step-by-Step Guide to Making a Christmas Tree Bow
The first technique we will cover is the classic way to make bows. Here are the step-by-step instructions:
- Choose the right ribbon. When choosing the right ribbon for your bow, you should keep in mind the size of your tree and your personal style. A wired ribbon is the easiest to work with and adds structure to the bow.
- Cut the ribbon to the desired length. You should begin by cutting the ribbon to the size that will fit your tree the best. This length will depend on how big your tree is as well as how much ribbon you have.
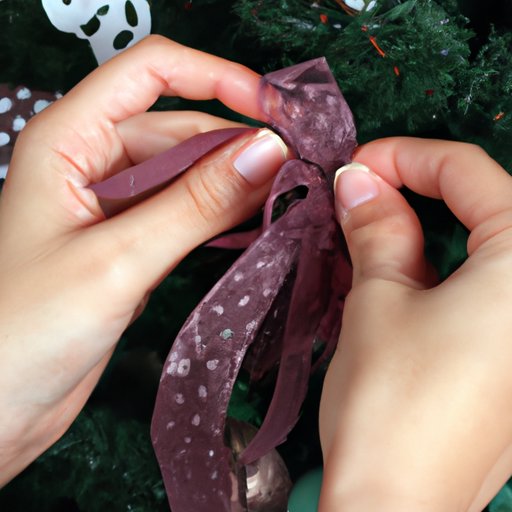
- Create a loop. You should be holding both ends of the ribbon in one hand and make a tiny loop by folding the ribbon at the center. Keep the loop on the top and use your thumb to hold it in place.
- Make another loop. You now create another loop of the same size next to the first one. Hold this loop with your pinkie finger of the same hand that was holding the starting loop.
- Cross the two loops. Take the top loop and bring it down to touch the bottom one, then twist the loop so the right side of the ribbon is facing upwards. Hold this new middle with the fingers from both hands.
- Create two more loops. Take the right one and fold it the same way as the initial two loops and hold it, repeat with the left loop.
- Repeat. To create an even and full-looking bow, continue creating loops on both sides, crossing them in the middle, and holding them into place.
- Tie it up. After you have created the size bow you desire, you need to tie a knot around the middle of the bow with the remaining ribbon, leaving enough to tie it around the tree branch.
This basic tutorial is simple and classic. However, you don’t need to stop there. You can create many different variations of a bow. Here are a few tips to help you personalize your own:
- Layering different colors and textures of ribbon is always a great option.
- Adding small ornaments can add to the festive look.
- Choose embellishments that match your color scheme.
III. DIY Christmas Decor: How to Make Your Own Christmas Tree Bow
Now that you’ve got the basics down, it’s time to get creative! Here are some ideas for how to make your own custom Christmas tree bows:
- Try using burlap or other textured fabrics to create a rustic-looking bow.
- Add glitter or sequins to a brightly-colored ribbon for a more glam look.
- Layer ribbons of different widths and textures to create a fun, eclectic bow.
- Wire-edged ribbon allows bows to hold their shape and loops well—try using different colors of wired ribbon together for even more variations.
These are just a few ideas to get your creative juices flowing. With these tips, you can start making custom bows for all your holiday decorating needs!
IV. Video Tutorial: Making a Christmas Tree Bow
If you learn better through sight and sound, here is a great video tutorial that shows you how to make your own classic Christmas tree bow.
https://www.youtube.com/watch?v=NAvmXVCiDlw
In this tutorial, you will be shown exactly how to make your own bow, from selecting the right ribbon to tying the final knot. You’ll also receive tips and tricks for making your bow look perfect.
V. The Different Types of Christmas Tree Bows
There are various styles of bows from traditional bows to simple loops and spirals, and many others. Choosing the right type of bow depends on your tree size and the overall decor style. Here are some suggestions to make things easier:
- Traditional bows: These are perfect for trees with classic, formal decorations and go well with more elegant ornaments.
- Loops: These are more modern and can go well with almost any style of decoration including traditional or more modern decor. Loops add a playful touch to the tree.
- Spirals: This type of bow adds an extra touch of fun to the tree and is perfect for more playful decorating schemes.
Try using different types of bows together to create a cohesive look, or mix it up for a fun, eclectic style.
VI. No-Sew Christmas Tree Bow Tutorial
If you don’t have any sewing skills, or just prefer to avoid it, here is a simple tutorial on how to create a no-sew bow:
- Take a longer piece of ribbon and fold it back and forth like an accordion, creating 4-5 loops of equal size.
- Wrap a twist tie around the center of the loops, twisting tightly to hold the accordion in place.
- Trim the ribbon ends on an angle.
- Fluff out the loops individually to form a spherical shape.
There you go, a simple and fast option is done!
VII. Decorating with Christmas Tree Bows
You can incorporate Christmas bows in numerous ways onto your holiday decor:
- Wreaths: Add a bow to your wreaths to add extra dimension and color.
- Garlands: A well-placed bow on your Christmas garland can add a touch of elegance to your walls or mantel.
- Stockings: Tying a bow around the opening of a stocking makes a great finishing touch.
Try using bows of different sizes and colors in different types of decor to create a fun, unique style to match your holiday decorating scheme.
VIII. Tips and Tricks for Styling Perfect Christmas Tree Bows
To perfect your Christmas tree bows, here are some key tips:
- Choose the right size ribbon for your tree. A wider ribbon is best for larger trees.
- Use wired ribbon to help keep your bow in shape.
- Cut your ribbon a bit longer than you think you’ll need to give yourself plenty of options for adjusting the bow once you tie it.
- Double (or triple) up! If you want your bow to look extra full and lush, create multiple bows and layer them on top of each other.
And don’t forget to experiment with different types of ribbon and decorations to create your own unique style!
IX. Conclusion
In conclusion, you now have a step-by-step guide on how to create festive Christmas tree bows for your holiday decoration. Whether you prefer a more classic or modern look, there is a perfect bow waiting to be made out there!
Don’t be shy; let your creativity shine through. Use this article and its various tips and techniques to make bows that will impress your guests this holiday season.


