I. Introduction
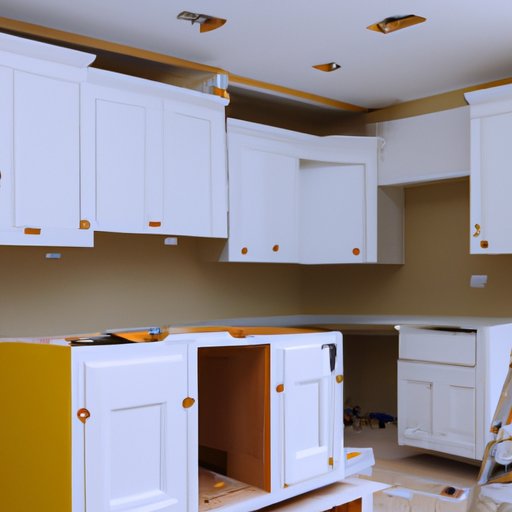
If you’re looking to renovate your kitchen, one of the most significant changes you can make is installing new cabinets. While this may seem like a daunting task, it’s actually something you can do yourself with some planning, patience, and know-how. In this article, we’ll provide you with a comprehensive guide on how to install kitchen cabinets, from the different types available to practical tips for troubleshooting common issues.
This article is aimed at DIYers who have some experience with construction projects or those who want to learn how they can save money on home renovations. By the end of this article, you’ll have the confidence to tackle this project on your own.
II. Cabinet Types
Before you get started with cabinet installation, it’s essential to choose the right type of cabinets for your space, budget, and lifestyle. You can get pre-made cabinets from home improvement stores or opt for custom-made cabinets if you have specific requirements. The different types of kitchen cabinets available include:
- Stock Cabinets
- Semi-Custom Cabinets
- Custom Cabinets
Stock cabinets are the most affordable, semi-custom cabinets offer some degree of customization, and custom cabinets provide complete customizability with a higher price tag. As you choose between these options, consider factors like size, material, finish, and storage capacity.
III. Tools and Materials
Now that you have an idea of the type of cabinets you want to install, it’s time to gather the necessary tools and materials. Here’s a list divided into beginner and advanced categories:
Beginner:
- Tape measure
- Level
- Screwdrivers
- Drill/Driver with Bits
- Hardware
- Stud finder
- Wood shims
Advanced:
- Miter saw or circular saw
- Jigsaw or table saw
- Cordless finish nailer or pneumatic nailer
- Countertop saw for countertop installation
- Crown molding saw for crown molding installation
IV. Preparing for the Installation
Before you start installing the cabinets, you need to prepare the installation area. This involves removing the old cabinets, cleaning the area, and fixing any damaged surfaces. Here’s a step-by-step guide:
- Empty cabinets of all contents and remove doors and drawers.
- Unscrew the cabinets from the walls and remove them from the kitchen.
- Clean and vacuum the area where the new cabinets will go.
- Check the walls and floor for any damage or unevenness. Fix it using wood filler or leveling compound accordingly.
Remember to have a clean and level base before installation, as this will make the installation process easier and result in a more professional look.
V. Step-by-Step Guide for Cabinet Installation
Now that you have everything prepared, it’s time to start installing your cabinets. Follow these steps:
Step 1: Determine Cabinet Placement and Height
Use a tape measure to find the height of the base cabinets and mark this height on the wall. This ensures that they will be level when you install them and that there will be no gaps between the countertop and the cabinets.
Step 2: Install Support Boards
Install 2×4 support boards where the bottom of the cabinets will rest. Screw them into the wall studs and make sure they are level.
Step 3: Hang the Upper Cabinets
Starting from the corner of the wall, hang the upper cabinets according to the manufacturer’s instructions. Make sure you screw them into the support board and wall studs. Use shims to level them and adjust them until they are even.
Step 4: Install the Lower Cabinets
Place the lower cabinets on the support board and secure them into place using screws. Check to make sure they are level and even with the upper cabinets.
Step 5: Attach the Countertop and Finish Up
Install the countertop and attach the doors and drawers to the cabinets. Apply any finishing touches like crown molding or trim. Clean the area and admire your newly installed cabinets!
VI. Troubleshooting Tips
During your cabinet installation, you may run into some common issues like leveling, uneven walls, or warped materials. Here are some practical solutions:
- If your walls are uneven, use shims to level the cabinets.
- If your cabinets aren’t lining up correctly, double-check your measurements, and make sure you’re using the right screws and nails.
- If you have warped materials, contact the manufacturer for a replacement.
VII. Video Tutorial
If you’re a visual learner, check out this comprehensive video tutorial that covers every step of the cabinet installation process:
VIII. Conclusion
Installing your kitchen cabinets can be an exciting project that adds significant value to your home. By following this step-by-step guide, you can install your cabinets like a pro in no time! Remember to pay attention to detail, take necessary precautions, and reach out to professionals if you need help. With the right tools and a little patience, you can have the kitchen of your dreams.


