I. Introduction
Have you ever tried to hang a picture, only to have it come crashing down moments later? This frustrating problem can be solved by installing a drywall anchor, but many people aren’t sure how to do it. In this article, we’ll provide a step-by-step guide to installing drywall anchors, as well as tips for avoiding common mistakes and using anchors for innovative decorations. By the end of this article, you’ll be able to install drywall anchors with confidence.
II. Step-by-Step Guide
Before you get started with your installation, you’ll need a few tools and materials. These include a drill, a hammer, a pencil, a level, a screwdriver, and the drywall anchor itself. Once you have all of your supplies, you can begin the installation process.
- Start by identifying the spot where you want to hang your item. Use the pencil to mark the spot on the wall.
- Next, use the drill to create a pilot hole in the spot where you marked. The pilot hole should be slightly smaller than the size of the anchor.
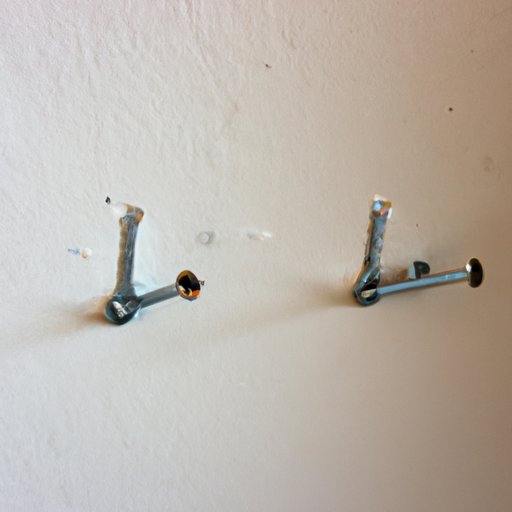
- Gently tap the drywall anchor into the pilot hole using the hammer. The anchor should be flush with the surface of the wall.
- Screw the screw into the anchor until it is snug against the wall. Use the screwdriver to ensure that the screw is tight.
- You can now hang your item on the screw in the anchor. Congratulations – you’ve successfully installed a drywall anchor!
III. Video Tutorial
For those who prefer visual learning, a video tutorial can be an excellent resource for installing drywall anchors. A video tutorial can provide a step-by-step demonstration of the installation process, as well as helpful tips and tricks for avoiding mistakes.
To create a video tutorial for drywall anchors, you’ll need a camera and basic video editing software. Start by filming each step of the installation process, ensuring that the video is clear and easy to follow. Then, use the editing software to cut the video into manageable segments and add captions or voiceover instructions to guide the viewer. Finally, post the video tutorial to a video-sharing platform, such as YouTube, for easy access by viewers all over the world.
To ensure that your video tutorial is effective, you might consider adding visual aids, such as illustrations or animations, to accompany the video. These can help viewers understand the process more clearly and make it easier to follow along.
IV. Comparison Article
With so many types of drywall anchors on the market, how can you know which one to choose for your project? In a comparison article, you can explore the benefits and drawbacks of each type of anchor, allowing readers to make an informed decision.
When comparing drywall anchors, consider properties such as weight capacity, ease of installation, and cost. You might also consider the type of material the anchor is designed to hold, such as drywall or concrete.
Once you’ve identified the most popular types of anchors, create a side-by-side comparison chart that lists the pros and cons of each. This can help readers quickly compare and contrast different options, making it easier to choose the right anchor for their project.
V. Common Installation Mistakes and How to Avoid Them
Like any DIY project, installing drywall anchors can be fraught with potential mistakes. By understanding common mistakes and how to avoid them, you can streamline the installation process and ensure a successful outcome.
Some common mistakes to watch out for include selecting the wrong size or type of anchor, failing to use a level, over-tightening the screw, or placing the anchor too close to the edge of the drywall. To avoid these mistakes, take your time, read the instructions carefully, and double-check your work at each step of the process.
You might also consider using hacks or tips to make the installation process easier. For instance, you could use a piece of masking tape to hold the anchor in place while you screw it in, or use a business card to hold the screw in place while you screw it into the anchor.
VI. Inspiration for Decorations
Drywall anchors can be used for more than just hanging pictures or shelves – they can also be used to create innovative decorations on your walls. From hanging planters to string lights, there are countless creative ways to use drywall anchors to make your walls more interesting.
In this section, we’ll provide several photographs of decorations that can be made using drywall anchors, along with clear instructions on how to install the anchor for each type of decoration.
VII. Conclusion
Now that you know the ins and outs of installing drywall anchors, you’re ready to tackle any hanging project with confidence. Whether you’re using anchors to hang pictures, shelves, or innovative decorations, these simple but effective tools can ensure a successful outcome. By following the step-by-step guide in this article and avoiding common mistakes, you’ll be well on your way to mastering this essential DIY skill.


