How to Install Baseboard: A Step-by-Step Guide
In any home renovation or decorating project, baseboards are essential to achieving a polished finished look. Baseboards not only cover the joint between the flooring and walls, but they also protect walls from wear and tear. While hiring a professional to install baseboards may seem like the only option, it is actually a project you can tackle as a DIY enthusiast. In this article, we’ll provide a step-by-step guide on how to install baseboards while avoiding common mistakes and achieving a professional finish.
Step-by-Step Guide on Installing Baseboard like a Pro
Before diving into the installation process, there are a few important decisions to make:
1. Measure your walls to determine the amount of baseboard you need
The first step in installing baseboards is to determine how much material you will need. Measure the length of each wall in the room, add all of the lengths together, and then multiply by 10%. This will give you the total amount of baseboard material you will need, accounting for waste and miscalculations.
2. Choose the appropriate baseboard material and style
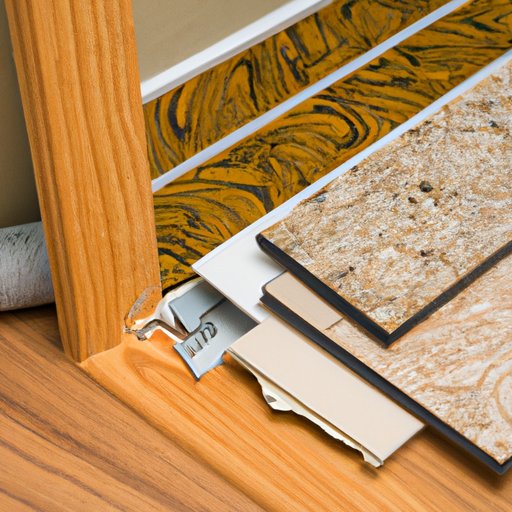
There are many different types of baseboard materials to choose from, such as wood, vinyl, or MDF (medium-density fiberboard). Consider your preferences, the style of your space, and your budget when deciding which material to use. In addition, baseboards come in various styles, such as simple square-edged or decorative profiles. It is essential to choose the style that will complement your room’s decor.
3. Make sure to prepare your walls before installation
Preparing the walls before baseboard installation makes the project much easier and will result in a cleaner finish. Fill any nail or screw holes in the wall and sand them smooth. If necessary, apply wood filler to gaps between the floor and wall. Sand down any rough patches, and wipe the wall down with a damp cloth to remove dust.
4. Cutting baseboards to fit around corners, doorways, and other obstacles
Before cutting the baseboards to the appropriate size, take into account any corners, doorways, or other obstacles that the baseboard will need to fit around. Make sure to measure twice, cut once, and leave extra material to spare. You want the fit to be tight while still maneuvering around any challenging obstacles.
5. Install the baseboards using nails or adhesive
Installing the baseboard can be done by either using nails, adhesive, or both. Starting in the corner of the room, nail the baseboard loosely into the wall, placing an additional nail every 12 to 16 inches along its length. Take the time to ensure that each length joins together tightly and securely before finishing the process.
6. Caulk and paint the baseboards for a seamless look
Once the baseboards are installed, use wood putty or caulk to fill in nail holes, gaps, or other imperfections. When the final filler application is dry, use a primer and paint the baseboards using a paintbrush and fine-grit sandpaper for a smooth finish. And voila! You now have professionally installed baseboards.
DIY: How to Install Baseboard without Professional Help
Baseboard installation is typically a task that can be achieved without professional help. With a little bit of knowledge and some elbow grease, you can quickly become adept at this DIY project.
1. Why baseboard installation is a DIY-friendly task
The installation of baseboards requires few delicate steps, and it’s easy to fix any mistakes that may arise. Having little expertise with power tools is perfectly fine, and with a careful eye for detail, there’s no need to hire a professional.
2. Benefits of DIY installation
By undertaking this project yourself, you can save money and hone your DIY skills. It’s a satisfying feeling to walk into a room and know that you accomplished the project on your own.
3. Tips to make the process easier and more efficient
Studying YouTube tutorials or reading DIY blogs before starting any new project is always a good idea. Additionally, it’s crucial to invest in high-quality tools such as a miter saw and level, as these will ultimately make the process smoother, efficient, and aesthetically pleasing. When dangling, use a second person to help with holding and cutting the length needed accurately, making for less invasive nail holes.
Baseboard Installation: A Beginner’s Guide
If you’re a beginner and have never installed baseboards, it is easy and straightforward. Follow these steps:
1. Tools and materials required for baseboard installation
The essential tools needed for baseboard installation, include a saw (manual, jigsaw, or compound miter saw), high-quality adhesive, nails, studs, level, putty knife, wood filler, and sandpaper.
2. Steps to be followed for baseboard installation
The installation process starts with the prep work, measuring, and finding the right baseboard size and type that fits your home’s aesthetic. You can then cut the baseboards to the appropriate size, accounting for any corners or obstacles. You can then install the baseboards by nailing or using adhesive, fill any gaps or nail holes with wood putty, and paint or caulk for a seamless finish.
3. What to expect
You can expect to enjoy learning a new skill and the satisfaction of completing a project on your own. Be aware that mistakes may happen, but these mistakes are fixable, and you can quickly learn from them.
Tools You Need for Installing Baseboard and How to Use Them
With the right tools, baseboard installation becomes much more manageable and satisfying. Here are the essential tools, how they work, and their benefits:
1. Saw (manual, jigsaw, or compound miter saw)
A saw is necessary for cutting baseboards to fit the correct size precisely. While a manual saw may be suitable for small projects, it is advisable to invest in a jigsaw or compound miter saw for bigger jobs, where precision is vital.
2. High-quality adhesive, nails, studs, and level
Adhesives and nails are the most common ways of installing baseboards. Similarly, studs and a level help support the installation process and ensure that the placement is adhering to a straight line. A high-quality adhesive, nails, studs, and level is the standard requirement for successfully installing baseboards.
3. Sandpaper
Sandpaper is used to smooth out any slight bumps, harsh edges, or wood fillers left after installation. High-quality sandpaper comes in a variety of grits, allowing for a silkier finish.
Mistakes to Avoid When Installing Baseboard for a Seamless Look
Installing baseboards can be an easy task, but there are common mistakes that many beginners make. Here are some to avoid:
1. Measuring only once
Always measure twice and cut once. Measure with precision, double-checking your measurements to avoid any costly mistakes.
2. Poorly Cut Corners
Corners and doorways are one of the most challenging aspects of baseboard installation. Avoid unsightly gaps by cutting the baseboards precisely at 45-degree angles so that each length fits together seamlessly.
3. Over- or Under-drilling Nails
When using nails to install baseboards, pay attention to the depth of the nail hole. Too shallow and the baseboard will be loose; too deep, you’ll need to fill the hole. Ensure the nail goes in approximately 3/16th of an inch into the baseboard.
Customizing Baseboard Installation to Fit Your Home Decor
Baseboards are not just functional; they are also an element of style and design. There are many ways to customize your baseboards to complement your home’s aesthetic:
1. Choose the best material and style for your home decor
When choosing a baseboard material, consider the following: cost, durability, and appearance. WOOD baseboard gives an upscale feeling, matches well with any kind of decor, whereas MDF, which typically costs less and is dependable but not as durable, may be a useful option. Similarly, selecting the right style of baseboard that matches your home decor is crucial
2. Paint or Stain to match your decor
Once the baseboards are installed, consider painting or staining them to match your home’s decor. You can even try incorporating unique color patterns, such as a two-tone effect or a bold color to draw attention to the baseboards.
Conclusion
Installing baseboards might seem like a daunting task, but with the right tools, materials, and knowledge, it is an easy job to accomplish. Now that you have a step-by-step guide on how to install baseboards, go forth with confidence and tackle your project. Baseboard installation will not only increase your home’s value and protect the walls from wear and tear but also give your space a polished, finished result.
Resources and tips for further reading:
For additional resources and tips, there are plenty of online tutorials and DIY blogs. If you’re a visual learner, tutorials from YouTube’s can help you understand the entire process better.


