Introduction
Hydro dipping, also known as water transfer printing, is a popular decorating technique that involves transferring a design onto an object’s surface using a water transfer film. This technique can be used on various surfaces like metal, plastic, and even wood. The results are stunning and unique because no two designs are ever the same. In this article, we will guide you through the process of hydro dipping. We’ll cover everything from the equipment you need to the step-by-step process, and tips and tricks to avoid mistakes. We’ll also provide some inspiring DIY ideas and trends that you can try out. So let’s get started!
Step-by-step guide
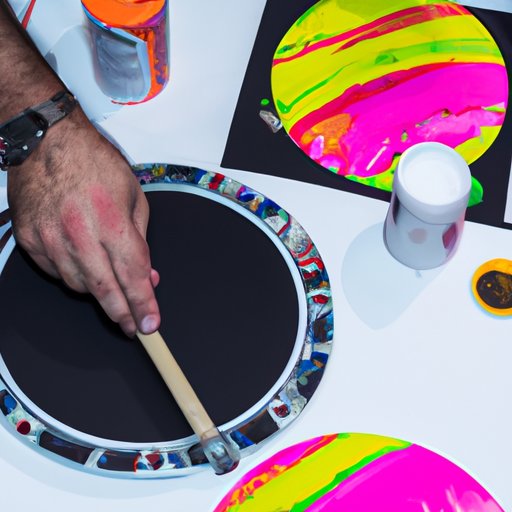
The first step in hydro dipping is gathering all the necessary equipment. You’ll need a base coat, activator solution, dipping tank, water, and the object you want to dip. The base coat is sprayed onto your object’s surface, providing the base color for your design. The activator solution is added to the dipping tank to activate the printed film.
Once you have all the necessary equipment, you can start preparing the base coat. Apply the base coat to your object’s surface, smoothing out any bubbles or uneven areas. Allow the base coat to dry completely before proceeding with the next step.
Next, fill your dipping tank with room temperature water. Slowly pour in the activator solution, stirring the solution well to ensure even distribution. Once you have thoroughly mixed the solution, you’re ready for the next step.
Stretch your hydrographic film across the surface of the water in the dipping tank. Allow the film to settle for a few seconds before spraying the surface with your base coat. The base coat will adhere to the film, creating a pattern or design on the film’s surface.
Once your desired pattern is created, grab your object by the edges or use a tool to hold it. Dip the object at about a 45-degree angle into the water, submerging it until it’s fully immersed in the water. Gently twist and turn the object to ensure that the film is fully wrapped around it. Once the object is completely coated, slowly lift it out of the water and let it sit for 20-30 seconds.
After 30 seconds, rinse the object with water to get rid of the excess film. Allow it to dry for 24 hours before using it. And there you have it, your first hydro-dipped object!
Top tips
When hydro dipping, it’s essential to try out and learn what works best for you. However, below are some tips to help you avoid common mistakes as a beginner:
- Ensure that the base coat is applied evenly and the entire object is dry before dipping.
- Choose a dipping film that correlates with your base coat material and color.
- Slowly dip your object into the dipping tank. Don’t be in a hurry. Take your time and move gently.
- After dipping, wait at least 24 hours for your object to dry and cure before use.
DIY projects
There are countless DIY hydro dipping projects that you can embark on. Here are some of the best things to start with:
- Phone cases
- Skateboard decks
- Automotive parts like rims and bumpers
- Mugs and cups
- Gun parts or hunting equipment
Hydro dipping is the perfect way to give these objects new life and personality. You can explore various colors and patterns to fit your style or your customer’s preferences.
Trends and inspiration
There are several styles and trends in hydro dipping that you can draw inspiration from. For instance, you can experiment with metallic finishes, snake skins, galaxy patterns, or bold colors. Some of the most inspiring designs in recent times include the “Rainbow” and “Galaxy” patterns.
You can create the Rainbow pattern by using a white base coat with a film that has a spectrum effect. When dipped, the resulting combination is an exceptional and colorful effect. The Galaxy pattern is in high demand because of its vivid and mystical nature. This pattern involves using dark blue or black base coat with a film that has bright white and light blue specks on it.
Safety tips
Safety is crucial when it comes to hydro dipping. Here are some safety tips to keep in mind:
- Choose a well-ventilated workspace. Hydro dipping chemicals can be harmful, so ensure that your workspace has enough ventilation to protect you from fumes.
- Wear protective gear. Always wear gloves and a respirator mask to protect yourself from chemicals.
- Dispose of hazardous waste properly. Some hydro dipping chemicals and paints can be hazardous waste, so be sure to dispose of them properly.
Conclusion
Hydro dipping is a fun and creative craft that allows you to personalize any object and make it stand out. With a bit of guidance and practice, you can become a pro and create stunning designs on any surface. From the step-by-step guide to the top tips and DIY ideas, and trends and safety tips, we hope this article provides all the information you need to try hydro dipping for yourself.


