Introduction
Are you tired of the annoying sound of a leaky bathtub faucet? Do you want to save money on your water bills and improve the look and functionality of your bathroom? You’re in the right place. In this article, we will guide you through a step-by-step process of fixing a leaky bathtub faucet, no matter if it’s dripping or constantly flowing. This comprehensive guide includes troubleshooting tips, product reviews, and common mistakes to avoid. You don’t need to be a plumbing expert to follow this guide, but you do need a few tools and a willingness to learn. So let’s get started.
Step-by-Step Approach
Before starting, turn off the water supply both hot and cold. Learning how to repair a leaky bathtub faucet is an easy task you can accomplish even if you have no experience in plumbing. Here are the steps:
Identifying the Problem
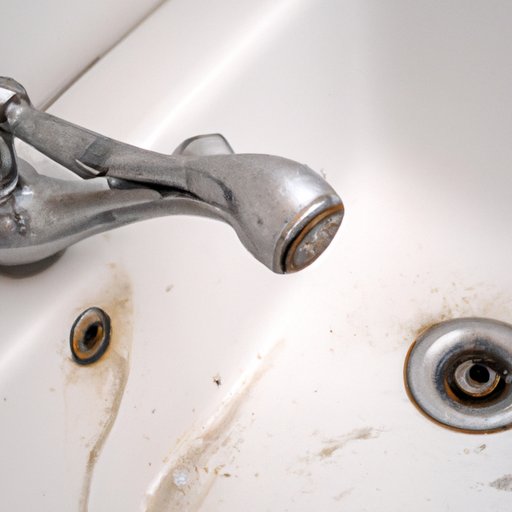
A dripping bathtub faucet is a common issue that can waste thousands of liters of water, while a constantly flowing faucet can ruin your plumbing and increase your water bills. First, identify the problem by turning off the water supply to the bathtub and removing the faucet handle by unscrewing the screw that holds it in place.
Diagnosing the Issue
Once you have access to the faucet assembly, you should check the washer, the O-ring, or the valve seat for any signs of wear and tear. If the washer or O-ring is damaged, then replacing them by simply taking them out and install the new one is all you need to do. Check each part carefully and evaluate if it needs to be replaced or cleaned.
Purchasing the Necessary Tools
Before starting the repair process, make sure you have the necessary tools on hand. This includes an adjustable wrench, a flathead screwdriver, pliers if needed, and a replacement kit for the worn-out parts if necessary. You may also want to have some plumber’s tape or sealant on hand in case you need to seal any gaps or leaks.
Disassembling the Faucet
To disassemble the faucet, start by removing the handle. Unscrew the mounting screws and inspect the stem, where you will find the washer or O-ring that needs to be replaced. Now, using pliers or wrench, remove the valve seat and inspect it for any damage or signs of wear. If it’s damaged, simply put a new one, and if it’s just dirty, clean it up.
Fixing the Leak
If you have identified the leaky component, then all you need to do is replace it with a new one in its place. For faucet repair, a universal replacement kit can help simplify the process. Make sure to tighten the mounting screws or bolts and turn on the water supply. Test your faucet to ensure it’s working correctly.
Video Tutorial
Sometimes, it’s easier to learn visually when someone shows you a step-by-step video tutorial. If you’re a visual learner, you can create your own video tutorial using your phone or camera. Make sure to include close-ups and clear instructions for easier understanding.
Product Reviews
Choosing the right product to repair a leaky bathtub faucet can be overwhelming when there are several choices. We have tested and reviewed some of the most popular products like sealant, plumber’s tape, or faucet repair kits. Outlining the pros and cons of each product can help you decide which one is best for your needs.
Troubleshooting Guide
Identifying the source of the leak is easier when you follow a systematic approach. We have created a comprehensive guide that provides troubleshooting tips for fixing different types of leaks. It will help you determine the cause of the leak and take the necessary steps to fix it.
Common Mistakes
Fixing a leaky bathtub faucet is a simple task, but it’s easy to make common mistakes like not turning off the water supply before starting work or overtightening parts. Make sure to follow our guide and avoid these mistakes.
Expert Advice
We’ve interviewed plumbing experts to gain their insight into tips, tricks, and best practices for fixing a leaky faucet. Reading about their expertise can help you feel more confident in tackling this project.
Conclusion
Fixing a leaky bathtub faucet is a quick and easy task that anyone can do with a little bit of knowledge and the right tools. Turning off the water supply, identifying the problem, diagnosing the issue, purchasing the necessary tools, disassembling the faucet, and fixing the leak is a step-by-step process that will fix your faucet. We encourage you to follow this guide and fix your leaky faucet yourself. And, at the end of the day, if you don’t feel comfortable doing it yourself, it’s always wise to call a professional plumbing service.


