Introduction
A dripping faucet is not only annoying but can also waste a significant amount of water, driving up your water bill. It can also lead to more serious problems if not addressed promptly. In this article, we will provide you with a step-by-step guide on how to fix a dripping faucet, including a DIY video tutorial, an infographic, a trouble-shooting checklist, expert opinions, and sustainable solutions.
Step-by-Step Guide
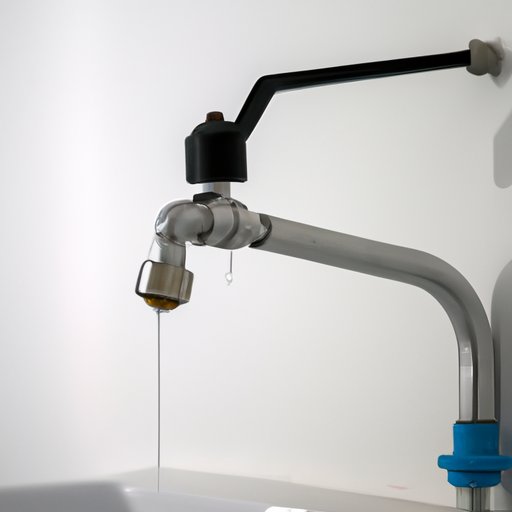
The first step in fixing a dripping faucet is to gather the necessary tools, including a screwdriver, pliers, adjustable wrench, and a washer and gasket set. Next, identify the type of faucet you have – compression, ball, cartridge, or ceramic disk – and take the faucet apart accordingly. Troubleshoot any issues you encounter, such as corrosion and mineral buildup. Replace any faulty parts, such as washers and O-rings. Finally, put the faucet back together and test it for leaks.
DIY Video Tutorial
We have created a DIY video tutorial to help you follow along with the faucet repair process. It demonstrates the different steps involved in fixing a dripping faucet and highlights important details and tips.
Infographic
We have also created an infographic to summarize the essential steps of faucet repair. It includes colorful images and concise descriptions that offer useful tips to troubleshoot common issues.
Common Mistakes to Avoid
One of the most common mistakes made by DIYers when fixing a dripping faucet is not turning off the water supply before starting the repair. Ensure that you turn off both the hot and cold water supplies before proceeding. Other mistakes include reusing old O-rings and washers, failing to clean the faucet before reassembling it, and over-tightening the parts. Be sure to avoid these mistakes to ensure that your repair is done correctly and efficiently.
Trouble-Shooting Checklist
We have provided a handy checklist of common issues that can cause a dripping faucet, including worn-out parts, a damaged seal, and mineral buildup. We also offer diagnostic procedures to help you identify the cause of the problem and guide you through the necessary steps to repair it.
Expert Opinion
We sought the opinion of a professional plumber to provide expert insights and advice for fixing a dripping faucet. They answered common questions that readers may have, such as cost, time efficiency, and long-term durability.
Sustainable Solutions
We explored cost-effective and eco-friendly solutions to fix a dripping faucet, such as installing low-flow aerators or upgrading to a water-efficient faucet. These solutions can help readers save money on their water bills while reducing their environmental impact.
Conclusion
In conclusion, fixing a dripping faucet is important to save water, reduce your water bill, and prevent more serious problems from developing. Using our step-by-step guide, DIY video tutorial, infographic, and other resources, you can fix your faucet efficiently and effectively. Remember to avoid common mistakes, use our trouble-shooting checklist, seek expert advice, and explore sustainable solutions to minimize your environmental impact. Take action today to fix your faucet and contribute to a healthier planet.


