Introduction
Leather armor has been used by warriors for centuries, providing protection and style in equal measure. While traditional leather armor may come in a range of natural hues, many enthusiasts prefer to dye their armor for a customized look. However, dyeing leather armor can be tricky business. Getting the dye just right requires some skill and attention to detail. In this article, we’ll explore everything you need to know about dyeing leather armor. From beginner tips to advanced techniques, we’ll cover it all!
A Beginner’s Guide to Dying Leather Armor
If you’re new to dyeing leather armor, it can be helpful to start with the basics. Here are the materials and steps you’ll need to follow for a successful dye job:
Materials:
- Leather armor
- Dye (see section II for choosing the right dye)
- Water
- A sponge or brush
- A clean towel
- Gloves
- Wax (optional)
Step-by-step guide:
1. Choosing the Right Dye
Before you start the dyeing process, you’ll need to choose the right dye for your leather armor. Not all dyes are created equal, and some may damage your armor or produce unwanted results.
2. Preparing the Leather
Once you’ve selected your dye, it’s time to prepare the leather armor. Make sure it’s clean and free of any debris or dust. You may also want to apply wax to protect any metal hardware or buttons.
3. Applying the Dye
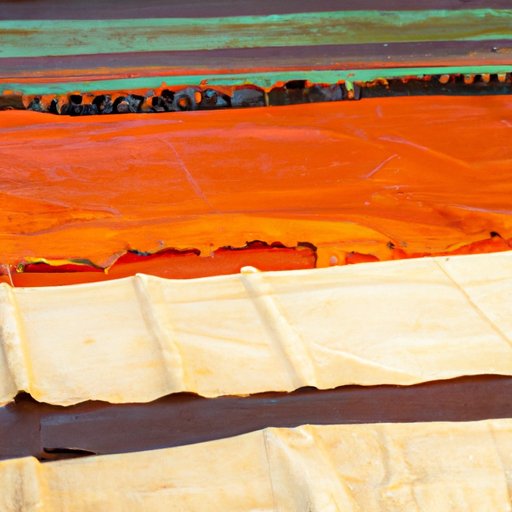
Now it’s time to apply the dye. Start by wetting the leather with a sponge or brush. Then, use the same tool to apply the dye evenly across the surface of the armor. It’s important to work in small sections, ensuring that the dye doesn’t dry out before you’ve finished.
4. Finishing the Leather
After you’ve applied the dye, use a clean towel to wipe away any excess. Then, let the leather dry completely before wearing or storing. You may want to apply a leather conditioner or wax to preserve the color and texture.
5. Tips for Achieving a Smooth and Even Finish
Dyeing leather armor can be a challenge, especially if you’re aiming for a smooth and even finish. Here are some tips to help you achieve the best results:
- Practice on a small piece of leather before tackling your full armor.
- Apply the dye in thin, even layers to avoid streaks or splotches.
- Work in a well-ventilated area to avoid fumes and ensure even drying.
- Take your time and be patient – rushing the process can lead to mistakes!
DIY Leather Armor Dying: Save Money and Customize Your Look
One of the main benefits of dyeing your own leather armor is that it can save you money. Rather than buying pre-dyed armor or paying someone else to do the job, you can customize your look at home for a fraction of the cost.
Another perk of DIY dyeing is that it allows you to experiment with different colors and designs. Whether you want something bold and bright or subtle and classic, the sky’s the limit. You can also add unique accents or patterns to your armor to create a truly one-of-a-kind piece.
Leather Armor Dying Tips and Tricks from the Pros
When it comes to dyeing leather armor, industry professionals know all the tricks of the trade. Here are some advanced techniques and troubleshooting tips to help you achieve the best results:
- Use a sealant to prevent the dye from rubbing off or fading over time.
- Mix dye colors to create custom shades that aren’t available in stores.
- Try different application methods, such as airbrushing, to achieve unique effects.
- If your leather cracks after dyeing, try applying a leather conditioner or wax to restore flexibility.
Natural Dyes for Leather Armor: Achieving Beautiful Colors with Earth-Friendly Materials
In recent years, there’s been a growing interest in natural dyes for leather armor. Using ingredients like berries, roots, and flowers, you can achieve beautiful colors without relying on chemical dyes. Plus, natural dyes are often more sustainable and eco-friendly than their synthetic counterparts.
When working with natural dyes, it’s important to do your research and experiment with different formulas. Here are some tips to get you started:
- Choose natural materials that are readily available in your area.
- Experiment with different mordants (substances that help the dye bond to the leather) to achieve the desired color and saturation.
- Be prepared for variations in color and texture – natural dyes can be unpredictable!
Top 5 Mistakes to Avoid When Dying Leather Armor
Even with all the best advice and tips, there are still some common mistakes that beginner armor dyers make. Here are the top 5 mistakes to avoid:
- Not testing the dye on a small patch before applying to the entire armor.
- Using the wrong type of dye for your leather.
- Not preparing the leather properly (e.g. removing old dye or wax).
- Applying too much dye at once, leading to uneven or streaky results.
- Not letting the leather fully dry before wearing or storing.
Conclusion
Dyeing leather armor may seem like an intimidating task, but with the right materials and techniques, it can be a fun and rewarding DIY project. Whether you’re looking to save money, customize your look, or experiment with natural dyes, there’s something for everyone. Just remember to take your time, follow the steps carefully, and don’t be afraid to ask for help or advice if you get stuck.
For more information on dyeing leather armor, check out online forums, tutorials, and YouTube videos.


