Introduction
Drywall is a go-to material for finishing walls and ceilings, but it requires a precise installation process to achieve a smooth and professional-looking finish. Whether you’re renovating a room or building a new home, understanding the drywall installation process is essential for DIYers seeking to save costs on home improvement projects. This article will cover the process of hanging and finishing drywall, from preparation to common problems and solutions.
Preparing for Drywall Installation
Before starting your drywall installation project, it’s essential to prepare the area thoroughly. Begin by cleaning the walls and ceiling, removing any debris, and ensuring the surface is dry to prevent moisture damage. Cover floors and furniture with drop cloths and protect fixtures and outlets with tape or plastic sheets to prevent damage from drywall dust and debris.
You’ll also need to gather the necessary tools and equipment for drywall installation, which include a drywall lift, power drill, chalk line, utility knife, tape measure, and T-square. Having the right tools on hand will make the process much easier and efficient.
Types of Drywall and Choosing the Right One
Choosing the right drywall for your project is essential for achieving the desired result. Drywall comes in various types, including moisture-resistant, fire-resistant, and lightweight, with each designed for specific purposes. Moisture-resistant drywall is ideal for high-moisture areas like bathrooms, while lightweight drywall is easier to install on walls and ceilings. It’s also important to choose the right size and thickness for the project, depending on the wall or ceiling’s specifications.
Hanging Drywall
The process of hanging drywall involves measuring, cutting, and screwing the drywall onto the studs or joists. Proper installation of drywall requires accuracy and attention to detail and can be achieved using a few simple techniques. Start by cutting the drywall to size, using a T-square to ensure accuracy. Next, use a chalk line to mark the position of the studs or joists and screw the drywall into place, ensuring the screws are set flush with the surface of the drywall. Finish by applying drywall tape to seams, corners, and edges, which will be covered with joint compound later.
For beginners, hanging drywall can be a daunting task, but with practice and patience, it can be achieved successfully. Be sure to use proper safety equipment, including gloves and goggles, to avoid injury during the process.
Applying Joint Compound
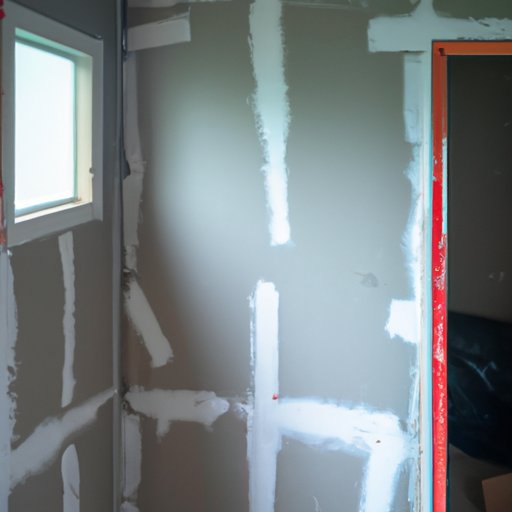
After hanging the drywall, the next step is to apply joint compound, also known as mud, to create a smooth surface. The process of applying joint compound involves several steps, including taping, mudding, and sanding. Start by applying joint tape over the seams and using a taping knife to smooth the tape and remove any air bubbles. Next, apply the mud using a wider knife or trowel, spreading it evenly over the tape and the screw holes. After the mud has dried, sand the surface with a fine-grit sandpaper to create a smooth finish.
Applying joint compound can be a messy job, so be sure to cover floors and furniture with drop cloths and wear protective gear to prevent inhaling dust or debris.
Common Drywall Problems and Solutions
Drywall installation may not always go as planned, and some common issues that may arise include bubbles, cracks, and uneven surfaces. To fix bubbles, use a razor knife to cut the bubble and fill it with mud, smoothing the surface with a trowel. For cracks, use a mesh tape and mud to fill the crack, sanding the surface to achieve a smooth finish. Uneven surfaces can be fixed by carefully applying mud to the surface in layers, allowing time to dry and sanding between each layer.
By understanding these common problems and solutions, you’ll be prepared to handle any challenges that may arise during the drywall installation process.
Conclusion
Drywall installation requires careful planning, preparation, and execution. By following the steps outlined in this article, you can achieve a smooth and professional-looking finish on your walls and ceilings. Don’t be afraid to take on this DIY project, as mastering the drywall installation process can save you money and provide a sense of satisfaction. With practice and patience, you’ll be able to tackle drywall installation with ease, and create a beautiful finish on your home’s walls and ceilings.


