I. Introduction
Hydrangeas are a stunningly beautiful flower that make for a beautiful addition in any home. The only problem is, fresh flowers don’t last forever. That’s where drying hydrangeas comes in. Drying hydrangeas is a cost-effective way to enjoy the beauty of these blooms beyond their fresh-cut lifespan. In this article, you’ll learn how to dry hydrangeas properly and some tips and tricks to ensure they look their best for as long as possible.
II. Step-by-Step Guide
When it comes to drying hydrangeas, timing is everything. The ideal time to cut hydrangeas for drying is when they are fully developed, but not yet old or withered. Once they’re ready, you can begin breaking down the process of air-drying or water-drying your hydrangeas.
Air-drying your hydrangeas is a straightforward process. Bundle them up loosely and hang them upside down in a cool, dry spot like a closet or pantry. Be sure to keep them out of direct sunlight, so they don’t lose their color. Drying times will vary depending on humidity levels, but they usually take up to an entire week to dry completely.
Alternatively, you can water-dry your hydrangeas by placing them in a vase of water. The water’s surface area will be reduced to a minimum, ensuring that the hydrangeas dry gradually without wilting or losing their form. Simply cut the stems, place them in the vase, and wait for the water to evaporate before transferring them to a vase placed in a cool, dry spot. Be patient, as the drying process may take up to two weeks.
III. Material List
To properly dry hydrangeas, you will need some essential materials, including pruning shears, a vase, and silica gel or borax. After you’ve removed the leaves, prune the stems before commencing drying. When using silica gel or borax, make sure to coat the flowers with the material, ensuring the flowers are completely enveloped before placing in a container for several days. The gel or borax mixture will absorb any moisture in the petals and eliminate the need for air-drying altogether.
IV. Best Practices
Choosing the perfect vase is crucial when trying to dry your hydrangeas correctly. A vase with a narrow opening will allow the stem to support the weight of the hydrangea heads, preventing them from drooping or breaking. Make sure to replenish the water regularly to ensure proper evaporation. Aim for a water to flower ratio of three to one, meaning that the vase should contain three parts water to one part flowers. Drying hydrangeas require a spot that is cool and dry, away from direct sunlight that could cause the petals to fade.
V. Aesthetics
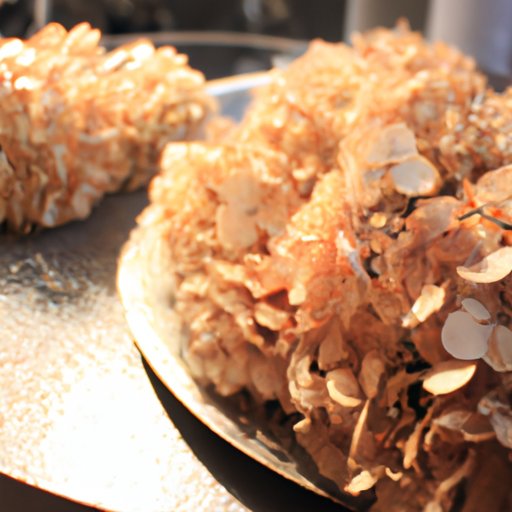
Dried hydrangeas can be presented in various ways. You can display them, for instance, in a simple jar or vase or as part of a larger floral display. They are versatile and suited to match any home decor theme. Put dried hydrangeas in a dried grass vase for a natural look, basket for a rustic look or in wood slab décor to elevate your floral design. Hydrangea wreaths and arrangements are also visually stunning and can be used in any season.
VI. Troubleshooting
Even after following the steps mentioned above, a few snags might arise during the drying process. Wilted flowers are one of the most common problems experienced when drying hydrangeas. You can solve this by giving them a good soak in cold water or by misting them with room-temperature water. Molding may occur when you haven’t dried the hydrangeas well enough; it should be avoided for sure by checking on the drying process regularly.
VII. Stand-Out Flowers
Some hydrangeas are better suited to drying than others. These include the “Annabelle” variety, the “Limelight” variety, and the “Pee Gee” hydrangea. In general, hydrangeas that bloom in late summer or early fall are the best for drying. The type of hydrangea you’re drying will also affect the duration and process of drying. Remove all the leaves and then cut the stem, and you can turn the hydrangeas into a striking piece of home decor.
VIII. Conclusion
Now that you have learned how to dry hydrangeas, fill your home with these exquisitely dried flowers. Follow the steps mentioned in this guide to ensure you end up with beautiful, long-lasting blooms that brighten up your home in style for months to come.


