I. Introduction
Drawing the moon is a timeless and captivating endeavor for many artists. As an object in the sky that is both mysterious and familiar, the moon offers artists an exciting challenge in capturing its beauty and essence on paper. In this article, we’ll provide a comprehensive guide to drawing the moon, suitable for both beginners and experienced artists. We’ll cover everything from necessary materials and tools to tips on shading, highlighting, and creating texture. We’ll also offer a video tutorial, an infographic, and a historical context for how artists have depicted the moon throughout history. Finally, we’ll explore some fun lunar art projects that you can try.
The Importance of the Moon in Art
The moon has been a popular subject in art for centuries, with depictions in cave paintings dating back over 15,000 years. From the Romanticism movement with its emphasis on the power of nature to the Impressionist desire to capture the play of light, artists have been fascinated by the moon’s beauty and symbolism. As such, learning to draw the moon is an important skill for any artist who wants to explore the complexities of light and shadow, nature and culture in their work.
The Audience and Purpose of This Article
This article is aimed at artists, students, hobbyists, and anyone who wants to learn how to draw the moon. Our purpose is to provide a comprehensive guide that covers everything you need to know to create stunning lunar art. We aim to offer techniques and tips that are easy to follow for beginners but also useful for more experienced artists who want to perfect their lunar art skills.
II. Step-by-Step Guide
Necessary Materials and Tools
Before you begin drawing the moon, you’ll need to prepare some materials and tools. Here’s what you’ll need:
- Paper (any type you like, we recommend using thicker paper to prevent smudging)
- Pencil (an HB or 2B would work well)
- Kneaded eraser
- Blending tool (such as a blending stump or a piece of tissue paper)
- Drawing board (optional but can come in handy to keep your paper in place)
Step One: Draw a Circle
Start by drawing a large circle that will serve as the outline for the moon. This circle will serve as your guide for the rest of the drawing process, so make sure it’s as round as possible.
Step Two: Add Texture
Using your blending tool, add some texture to the circle to create a surface similar to the moon’s surface. You can do this by gently rubbing the blending tool across the paper in a circular motion. This will create a grainy, textured surface that mimics the moon’s craters and imperfections.
Step Three: Shade the Moon
Using your pencil, begin shading in the moon. Start with a light layer of pencil pressure and gradually darken the tone as you go. Focus on creating a smooth, even tone across the surface of the moon. You can also use your blending tool to help smooth out any visible pencil strokes.
Step Four: Add Shadows
Using your pencil, add shading to create the shadows on the moon. Pay close attention to the curves and angles of the moon’s surface to create an accurate shadow pattern. Use your blending tool to smooth out the transitions between light and dark areas.
Step Five: Add Highlights
Using a kneaded eraser, gently lift the graphite from the paper to create highlights on the moon’s surface. Focus on adding highlights to the brightest areas of the moon, such as the crescent or full moon phases.
Step Six: Create Depth
Create depth by adding darker shading in the areas that are farther from your light source. This will create a more three-dimensional appearance and make your drawing look more realistic.
III. Video Tutorial
If you’re a visual learner, you may find it helpful to watch a video tutorial on how to draw the moon. Here’s a video tutorial that demonstrates the steps outlined above:
Additional Tips for Realistic Lunar Art
- Use lighter pressure on your pencil to create a more subtle tonal range in your drawing
- Practice blending your tones to create a smooth, even surface
- Experiment with different types of paper to see how they affect your drawing
- Try adding color to your lunar art using pastels, colored pencils, or watercolors
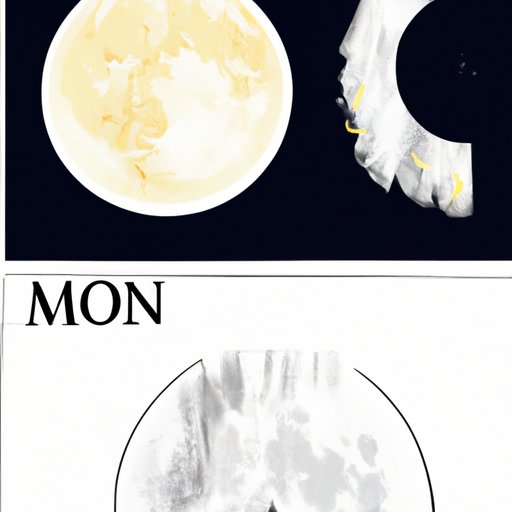
IV. Infographic
For a more visual guide to drawing the moon, check out our infographic below, which includes tips on shading, highlighting, and creating texture to create a stunning lunar masterpiece.
V. Historical Context
Throughout history, artists have depicted the moon in many different ways, from cave paintings to modern art. Here are some styles and techniques you can explore when drawing the moon:
- Romanticism – focus on the moon’s beauty and power in relation to nature
- Impressionism – capture the play of light on the moon’s surface
- Realism – focus on accuracy and detail, using careful shading to create a realistic depiction of the moon
VI. DIY Moon Calendar
Want a fun and creative way to track the moon’s phases? Try creating your own personalized moon calendar! Here’s how:
Materials Needed:
- Poster board or thick paper
- Pencil and eraser
- Paint or colored pencils
- Stencils or a compass
Step One:
Using your pencil and stencil or compass, draw circles onto the poster board to represent each lunar phase. You can label each phase if you like.
Step Two:
Using your colored pencils or paint, add shading and highlights to each phase to represent the moon’s appearance during that time.
Step Three:
Hang your DIY moon calendar in a prominent place and enjoy tracking the moon’s phases!
VII. Moon Art Project
Finally, here’s a fun and creative art project that involves drawing the moon:
Mixed Media Lunar Art
This lunar art project involves using a variety of materials to create a mixed media image of the moon. Here’s what you’ll need:
- Black paper
- Chalk
- Pastels
- Paint or ink
- White paper or cardstock
Step One:
On the black paper, draw an outline of the moon using your chalk.
Step Two:
Using pastels, add shading and texture to the moon. Experiment with different colors and techniques to create a unique lunar surface.
Step Three:
Using paint or ink, add a background to your lunar image. This could be a starry night sky or a vibrant abstract pattern.
Step Four:
Cut out your moon image and mount it onto a piece of white paper or cardstock to create a beautiful mixed media artwork that’s perfect for framing!
VIII. Conclusion
Drawing the moon is a challenging and rewarding endeavor for any artist. By following our step-by-step guide, video tutorial, and infographic, you can create stunning lunar art that captures the essence of this celestial object. We hope that this article has inspired you to explore the moon’s beauty and symbolism in your own art. Remember to have fun and experiment with different techniques and materials to create your own unique lunar masterpiece.


