Introduction
When we think of shapes, the cube is one that often comes to mind. As a three-dimensional shape, the cube can be found in countless objects in the world around us, and it is an essential skill for artists and designers to be able to draw them with accuracy and realism. In this article, we will explore the art of drawing cubic shapes, from simple to advanced techniques, and provide helpful tips and resources for beginners looking to master this traditional shape.
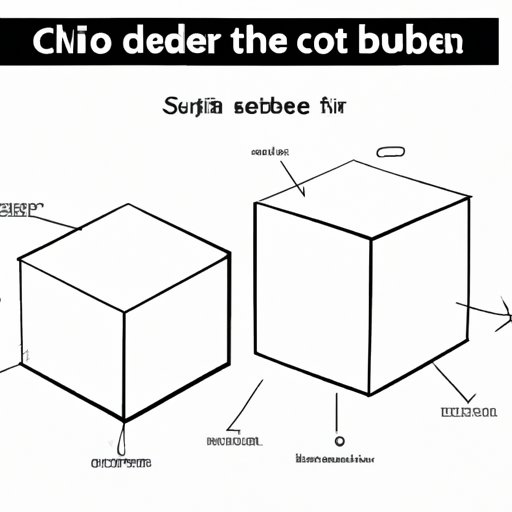
5 Easy Steps to Drawing Cubic Shapes
If you’re new to drawing cubes, it’s important to start with the basics. These five easy steps will help you create a simple cube:
Step 1: Sketch the base
Start by drawing a square on your paper. Use a ruler or other straight edge to ensure that the sides are equal in length. This square will be the base of your cube.
Step 2: Add height to the base
Draw vertical lines extending from each corner of the square. These lines should be of equal length and extend upwards from the corners of the square. Make sure they are straight and parallel to each other.
Step 3: Create another face on the opposite side
Extend lines from the top of each of your vertical lines to connect them in an imaginary square. This will be the top face of your cube.
Step 4: Connect the faces with lines
Connect the corners of each of your squares with vertical lines on each side. This will create the side faces of the cube.
Step 5: Add shading and details
Add shading to add volume to the cube. Shade each face in a consistent direction using a pencil or marker. You can also add details such as highlights or shadows for a more realistic-looking cube.
Mastering the Art of Cubic Drawing: Tips and Techniques
To truly master the art of drawing cubic shapes, there are some tips and techniques you can use to make your cubes look more realistic:
Perspective techniques to make cubes look realistic
One way to make your cubes look more realistic is to use perspective. This means that objects that are farther away will appear smaller than those that are closer to the viewer. Use this technique when drawing larger scenes with multiple cubes to create an overall sense of depth and distance.
Tips for shading and highlighting
The right shading and highlighting can make all the difference in creating a realistic-looking cube. Start by choosing a light source and decide where on the cube the light will hit. The areas that are closer to the light source will be brighter, while the areas that are farther away will be darker.
Use of different pencils to create varying tones
You can create different tones and shades of gray by using different types of pencils. A softer pencil like a 2B or 4B will create darker tones, while a harder pencil like a 4H or 6H will create lighter tones. Experiment with different types and hardnesses of pencils to achieve the desired look for your drawing.
Drawing Cubic Shapes: A Beginner’s Guide
If you’re just starting out with drawing cubic shapes, it’s important to have the right materials and follow some basic steps. Here is a beginner’s guide to drawing cubes:
Materials needed
To start drawing cubic shapes, you will need the following materials:
- Paper
- Pencil
- Straight edge (ruler or T-square)
- Eraser
Basic shapes to start with
Start with simple shapes like squares or rectangles. Once you feel comfortable with these shapes, move on to more advanced shapes like cubes or boxes. Practice drawing shapes from different angles and perspectives to improve your skills.
Step-by-step instructions and visuals
Follow the simple steps outlined in the previous section to create a cube. Make sure to follow each step closely and use a reference image if necessary. Use the shading and highlighting techniques discussed earlier to add depth and dimension to your cube.
Exploring the World of 3D: How to Draw Cubic Shapes
Now that you’ve mastered drawing simple cube shapes, it’s time to take things to the next level and explore how to draw cubic shapes in three dimensions:
How to create the illusion of depth and dimension
To create the illusion of depth and dimension, use perspective techniques like overlapping shapes and changing the size of shapes as they recede into the distance. Shading and highlighting will also help create the illusion of three-dimensionality.
Techniques for drawing cubes from different angles
To draw cubes from different angles, use basic perspective rules like the vanishing point. This technique involves drawing a diagonal line that intersects with the horizon line and extends to the vanishing point. All lines that are parallel to this diagonal line should converge at the vanishing point.
From 2D to 3D: Learning to Draw Cubic Shapes Like a Pro
For those looking to take their cubic drawing skills to the next level, here are some advanced techniques and practice exercises to improve your skills:
Advanced techniques for shading and highlighting
Advanced shading techniques like cross-hatching or stippling can create a more realistic-looking cube. Experiment with different styles and techniques to find the one that works best for you.
Combination of multiple cubic shapes to create complex objects
Cubes can be combined in different ways to create complex objects like buildings, cars, or furniture. Break down these objects into smaller cubic shapes and add shading and highlighting to create a more realistic effect.
Practice exercises to improve skills
Practice is key to improving your cubic drawing skills. Start with basic shapes and work your way up to more advanced ones. Use reference images to practice drawing cubes from different angles and perspectives. Experiment with different shading and highlighting techniques to create a unique style.
Conclusion
Drawing cubic shapes can seem daunting at first, but with practice and dedication, it can become a valuable skill for artists and designers. Remember to start with the basics, use perspective techniques, and experiment with shading and highlighting to create realistic-looking cubes. Don’t be afraid to push your skills to the next level with advanced techniques and practice exercises. The more you practice, the better you will become at drawing cubic shapes.


