Introduction
Are you feeling the Christmas spirit, but can’t find a perfect tree to add to your festive decoration? Look no further than drawing one yourself! This article is an informative guide on how to draw a Christmas tree. Perfect for all ages, and even those with no formal art training, this tutorial will make you feel confident in drawing a beautiful tree in no time.
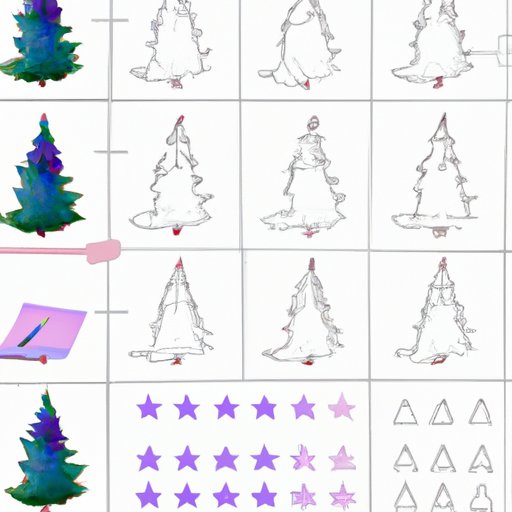
Step-by-Step Tutorial
Before we start, gather some basic supplies: a pencil, an eraser, and a sheet of paper. Let’s get started!
1. Begin with a vertical line for the trunk of the tree.
2. Draw a horizontal line near the top of the trunk for the first layer of branches.
3. Draw a second, smaller horizontal line above the first one for the second layer, and continue this pattern until your tree is sufficiently full.
4. Use your eraser to clean up the lines so your tree looks neat and tidy.
5. Add decorations, such as Christmas lights or ornaments.
Don’t be afraid to get creative with your decorations! Use your own imagination to get the most out of it. Try adding patterns, or using irregular shapes for ornaments.
Using Shapes
Basic shapes are the key to drawing a Christmas tree. Follow these steps to draw a tree using basic shapes:
1. Draw a large triangle, this is the main body of the tree.
2. Add a smaller triangle on top of the first triangle as the top of the tree.
3. Continue adding smaller triangles below the first two to create the branches.
4. Use your pencil to trace over the lines and create the outline of the tree.
5. Add decorations with details and textures.
Light and Shadow
Light and shadow give depth to your drawing, and it’s important to include those elements in your Christmas tree drawing. Follow these steps to add light and shadow to your tree:
1. Draw the basic form of your tree using simple shapes.
2. Identify the direction of your light source.
3. Determine which parts of the tree will be cast in shadow.
4. Shade the shadowed areas with your pencil or a darker colored medium.
5. Add highlights to the edges of branches and leaves that are catching the light.
Different Mediums
Different drawing mediums can produce different effects, so try experimenting with multiple mediums to draw your Christmas tree. Here is a guide on how to use different mediums to create different effects:
– Pencils: Best for creating fine details, shading, and texture.
– Crayons: Provide bright, bold colors and allow for layering.
– Markers: Provide a smooth, even coverage.
Creative Styles
Going beyond traditional colors and styles of festive drawing, create your own unique Christmas tree by adding alternate colors and textures. Consider these steps:
1. Use different colors to create an abstract tree.
2. Add non-traditional textures like polka dots, stripes, or plaid.
3. Incorporate small details, such as animals.
4. Add patterns such as chevron, houndstooth, or paisley prints to give a modern take to your drawing.
Personalization
Personalizing your drawing is the perfect way to make it unique. Follow these steps to add your individual touch to it:
1. Add personalized ornaments to the tree, such as family photo or a favorite book cover.
2. Create designs on the ornaments, such as initials, names, or fun patterns.
3. Use different colors or non-traditional materials like gems or feathers to decorate the tree.
Conclusion
Drawing a Christmas tree can be a fun, relaxing activity that is perfect for putting you in the holiday spirit. In this tutorial, we’ve covered a lot of different techniques and mediums for drawing a Christmas tree. Remember, there is no wrong way to draw a Christmas tree! It’s all about having fun and adding your special touch.


