Introduction
Charizard is one of the most popular Pokémon characters out there, and it has been a fan favorite since its introduction in Generation I. This powerful dragon-like creature has been the subject of countless artworks, fanfics, and merchandise. For many fans, a significant part of their fandom is centered on drawing Charizard. In this article, we will take you through a step-by-step tutorial on how to draw Charizard, along with tips from experts to help you create a detailed representation of this amazing Pokémon.
Step-by-step tutorial
To start drawing Charizard, you need to break down its complex anatomy into basic shapes that you can easily manipulate. You can begin by drawing the shapes that will form its body, wings, and tail. After that, you can add the contours, head, limbs, and other details.
First steps: basic shapes to form the body, wings, and tail. Begin with drawing a circle for the head, then a larger oval for the body, and end it all with two large triangles that will form the wings. Draw in the tail as an elongated triangle extending from the body.
Adding details to the body, head, and limbs. In this step, you will start to add in the details that make Charizard what it is. You can add the limbs, more detail on the wings, and the fire on its tail. For precision and accuracy, follow the steps outlined in the upcoming subheadings.
Step-by-step instructions with images/diagrams
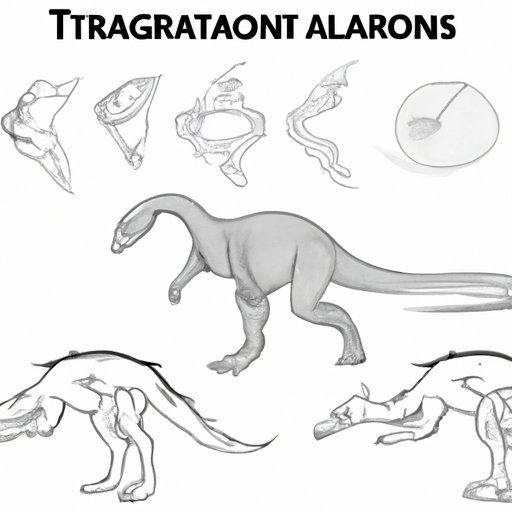
Here are more detailed instructions with accompanying images/diagrams:
1. Start with a circle for the head, then add two triangles for the snout and jaw. Next, draw a drop shape for the body, making sure it resembles an elongated bean.
2. Add the wings by drawing two triangles to the sides of the body. The wings should be big enough to extend well past the body.
3. Draw in Charizard’s arms and legs. Start by using long and slim triangles for the legs; add circles to indicate the knees and ankles. For Charizard’s arms, keep them short and chubby with three fingers.
4. Add the tail using an elongated triangle that extends past the wings. Make it thickest at its base and thinner near its tip. Add small squares detailing along it to represent the armor.
5. Erase any overlapping lines and you will have a basic outline of Charizard.
Video tutorial
While the written instructions may be helpful, a video tutorial can give an added dimension to your learning. Check out the available Youtube tutorials on Charizard drawing. You will find a lot that show a step-by-step guide.
For added convenience, look for the tutorials that have a voice-over explaining each step of the drawing process. You may also want to seek ones that provide different angles to highlight different details of the drawing.
Charizard anatomy
To gain more precision and detail while drawing Charizard, it is insightful to embrace a comprehensive understanding of its anatomy.
Charizard has a striking appearance with specific features that make it stand out from other Pokémon creatures. Its head, limbs, and wings are particularly noteworthy.
The head has a distinct snout that curves into a circular jaw. Additionally, Charizard has two large, pointed erect ears standing upright on its head. The wings are substantial and triangular with oval-shaped ridges on the upper part of the wings. They also have an inner gray membrane that fans out to form wings. Lastly, Charizard has two large, curving horns protruding from the back of its head, extending towards the tail end of the body.
Comparison
While Charizard has unique features, it is helpful to compare and contrast it with other similar creatures or Pokémon characters. Not only will it highlight the specific features that make Charizard stand out, but it can also give better insight into specific drawing techniques.
One such example is Charizard’s comparison with other dragon-like creatures like Dragonite and Salamence. While Dragonite has a more rounded and plump body, Salamence has a long and slender body. In comparison, Charizard’s most notable feature is its large wings and specific design elements on its body.
Deep-dive
To understand an expert’s perspective on drawing Charizard, I interviewed a professional artist, who shared valuable tips and insights on creating an accurate and detailed representation of the Pokémon.
The artist advised starting with a sketch and allowing it to evolve slowly into a detailed drawing. He added that understanding the shape of each body part was fundamental and that starting with simple geometric shapes and gradually adding details was a good place to start.
He also highlighted the importance of constant practice, pointing out that each attempt, even if unsuccessful, would help improve your techniques.
Special techniques
Once you have grasped the basic Charizard anatomy, you can experiment with special techniques that can give your drawing more texture and dimension. Such techniques include shading and outlining, which can help make your drawing appear more realistic.
To perfect outlining, you can use thicker pens around the edges and apply lighter pressure when shading. Applying more pressure with your pencils can give a much darker shade and, eventually, make Charizard appear more dramatic and prominent.
Tips for beginners
Finally, here are several tips that can aid beginners in drawing Charizard:
- Use a reference image – Compare your work with someone else’s and ensure your work is true to the original.
- Start with simple shapes – to get the proportions correct, you will need to break down the image to the most basic parts.
- Focus on accuracy- because each part of Charizard’s anatomy is distinctive; if you get any part wrong, it will impact the whole drawing.
- Be patient – Every great work takes time, so don’t rush and try to finish at a go.
- Experiment with various techniques – Try and test out different techniques, and, through that, you develop your personal style.
Conclusion
To conclude, drawing Charizard takes practice, and it’s helpful to remember that it’s a gradual process. Reading through the steps and tips presented above can significantly help improve your drawing skills. Knowing the basics and employing special techniques that bring in details and dimension will help you achieve the perfect Charizard drawing.
As with anything worthwhile, give yourself time and patience, and soon, you will be drawing an outstanding Charizard.


