I. Introduction
Butterflies are beautiful and fascinating creatures that have captured the hearts of people for centuries. Drawing butterflies is a fun and enjoyable way to appreciate their beauty and learn more about their unique characteristics. In this article, we will provide a step-by-step tutorial on how to draw a butterfly. Whether you are a beginner or an experienced artist, this guide will help you create a stunning butterfly drawing.
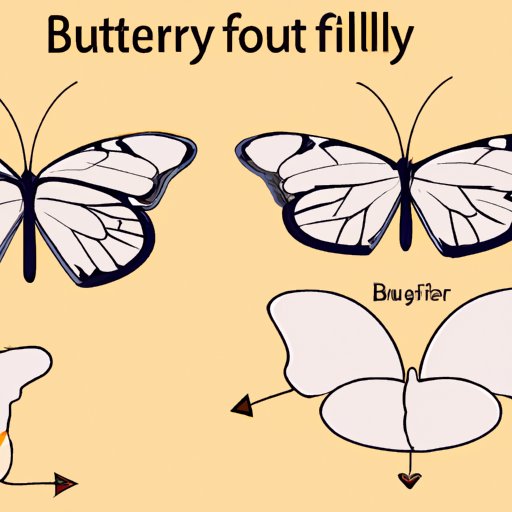
II. Step-by-Step Tutorial
Begin by drawing a small circle for the head and a larger circle for the body. Then, draw two small circles above the head for the eyes. Add two antennae on top of the head. Next, draw the wings by creating a larger and a smaller oval shape on either side of the body. Use simple curves to outline the wings’ edges.
Now, add the details like the veins on the wings, which form the butterfly’s natural patterns. Depending on the species of butterfly, these markings will vary. Draw the legs, making sure they are proportional to the size of the body. Finally, color in your butterfly drawing using the colors and patterns typical of the species you’re representing, and add any finishing touches.
III. Types of Butterflies and Their Characteristics
Butterflies come in a wide variety of colors, patterns, and shapes. Some of the most common types of butterflies include the monarch, swallowtail, and painted lady. Each species has unique characteristics that make it identifiable. For example, monarchs have orange and black wings with white spots, while swallowtails have long tails that extend from the hindwings. Knowing the unique characteristics of a particular butterfly species can help artists create more realistic and accurate drawings.
IV. How to Use Colors in Butterfly Drawing
Colors are an essential part of butterfly drawing as they help bring these creatures to life. For best color results, blend and layer colors in a way that captures the butterfly’s delicate and nuanced wings. When working with colors, it is best to use a set of quality colored pencils. Start by layering lighter colors first and work your way up to the darker colors gradually, then you may add the complementary colors that best depict the species of butterfly you want to draw. Use soft strokes to add depth and texture to the wings, and use subtle gradations to create a smooth transition between colors.
V. Butterfly Anatomy
Understanding butterfly anatomy is crucial for drawing them realistically. The anatomy of a butterfly consists of three primary body regions, including the head, thorax, and abdomen. The butterfly wings are attached to the thorax, and there are six movable legs attached to the thorax and abdomen. To create an accurate anatomy drawing, pay attention to the proportions, muscle structure, joints, and other significant details. This knowledge will help in making a life-like butterfly drawing.
VI. Tips for Drawing Butterflies in Motion
To create a sense of motion in a butterfly drawing, use motion lines to show the direction and speed of the butterfly. It is also essential to pay attention to the butterfly’s wing positioning when in motion. The position of the wings is critical to demonstrate the type of butterfly movement, whether it’s gliding, flapping, or hovering. Use flowing lines that convey motion for a dynamic drawing.
VII. Tools and Materials for Butterfly Drawing
Whether you are a beginner or an experienced artist, choosing the right tools and materials is crucial for a beautiful butterfly drawing. In addition to good quality colored pencils, you will also require some materials like a sketchbook, eraser, sharpener, and blending tools. Invest in quality materials to give you the desired results. Use different pencil types like soft lead pencils for rough sketching, while hard leads are ideal for detailed and final touches. A good quality sketchbook is a must-have for keeping all your butterfly ideas in one place.
VIII. Conclusion
We hope this guide on how to draw a butterfly has helped you gain a deeper appreciation and understanding of these beautiful creatures. While it may take some practice and patience to obtain a perfect butterfly drawing, this guide has shown you how to do so step by step. Remember to use quality tools, have a clear understanding of butterfly anatomy, and allow plenty of time to practice and refine your technique.


