Introduction
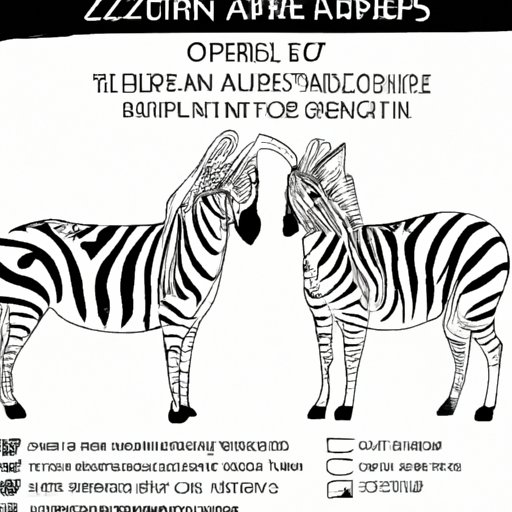
Zebras are beautiful and unique animals, instantly recognizable by their black and white stripes. But did you know that each zebra has its own distinct pattern? If you’re an aspiring artist looking to improve your skills, drawing a zebra can be a fun and challenging exercise. In this guide, we’ll provide a comprehensive tutorial on how to draw a zebra step-by-step, including expert tips and insights to help you take your animal drawings to the next level.
Fun facts about zebras
Before we dive into the step-by-step tutorial, let’s take a quick look at some fun facts about these mesmerizing creatures.
Did you know that zebras are actually black with white stripes, rather than the other way around? Or that each zebra’s pattern is unique, similar to a human fingerprint? Zebras are also known for their unique social structure, which revolves around the alpha mare and her family group. With these fun facts in mind, let’s explore how to draw a zebra from scratch.
Beginner’s guide
Before you start drawing, make sure you have all the materials you need. You’ll need a pencil, eraser, paper, and possibly a ruler or compass for more advanced drawings. Start by sketching the general shape of the zebra, using a light touch to avoid smudging the pencil marks.
When it comes to drawing the zebra’s stripes, remember that they are not uniform in thickness or spacing. Focus on drawing smooth, gradual curves to create a more natural look. For the zebra’s face, start with the eyes and work outward, paying close attention to the placement of different features.
One key technique to remember is to start with light sketch marks and gradually build up darker lines as you go. This will help you achieve a more realistic look and allow you to make changes easily as needed.
Step-by-step guide
Now it’s time to dive into the step-by-step guide. Let’s start with the basic outline of the zebra’s body:

Next, add the legs and hooves:

Now, let’s fill in the details of the face, including the eyes and mouth:

With the basic outline complete, it’s time to add in the stripes. Remember to vary the thickness and spacing to achieve a more natural look:

Expert tips
Anyone can draw a basic zebra with some practice, but to truly take your artwork to the next level, consider these expert tips:
Focus on the details. The zebra’s stripes are not uniform, and can vary in thickness, spacing, and direction. Pay close attention to these details to achieve a more realistic look.
Experiment with shading. Shading can add depth and dimension to your zebra drawing, especially when it comes to adding highlights and shadows to the stripes and other features.
Consider the background. When drawing a zebra, consider incorporating a background that allows the animal to stand out. Whether it’s a grassy field or a rocky landscape, the right background can make all the difference in bringing your drawing to life.
Video tutorial
For a more detailed look at the process of drawing a zebra, check out this helpful video tutorial:
Conclusion
Drawing a zebra can be a fun and challenging exercise for artists of all skill levels. By following the step-by-step guide, expert tips, and video tutorial provided in this guide, you can master the art of drawing zebras and improve your overall drawing skills. Remember to practice regularly, pay close attention to details, and experiment with various shading techniques to make your drawings truly stand out.
If you’re looking for more resources to help improve your animal drawing skills, consider checking out art courses or drawing books focused specifically on the subject. With hard work and dedication, you can take your art to the next level and create stunning drawings of zebras and other animals.


