I. Introduction
Drawing is a fun and rewarding hobby that allows you to express your creativity and imagination. However, it can be challenging to draw certain complex subjects, such as the human hand. Drawing a skeleton hand can be even more challenging due to the intricate details and unique structure. In this article, we will provide a step-by-step guide on how to draw a skeleton hand, along with various tips and tricks to enhance your drawing skills.
Drawing a skeleton hand accurately can benefit you in many ways. It can help improve your understanding of anatomy and proportion, enhance your ability to draw other complex subjects, and boost your confidence as an artist.
II. Step-by-Step Guide
Drawing a skeleton hand requires patience and attention to detail. Here’s a step-by-step guide to help you through the process:
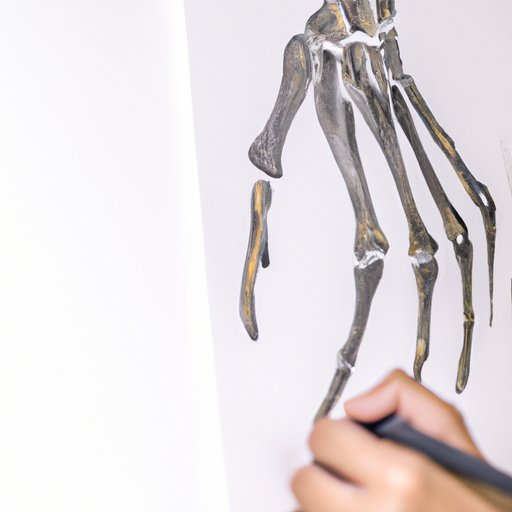
1. Start by sketching the bones of the hand. Draw the metacarpals (palm bones), phalanges (finger bones), and wrist bones. Use light pencil strokes as these lines will be erased later on.
2. Sketch the shape of the hand using basic shapes such as rectangles and curves. This will help you determine the appropriate size and proportion of the bones.
3. Refine the shape of the hand by adding more detail and complexity. Pay attention to the placement and size of each bone, and ensure that they are in the correct position. Continue to use light pencil strokes.
4. Once you’re satisfied with the overall shape of the hand, add shading and texture to create a more realistic appearance. Use your pencil to create darker, shadowed areas and lighter, highlighted areas.
5. Keep practicing until you’ve achieved your desired level of skill and accuracy.
III. Video Tutorial
If you prefer a more visual approach to learning, we have provided a video tutorial for you to follow. The video tutorial is a time-lapse video that shows the process of drawing a skeleton hand from start to finish. As you watch the video, take note of the techniques used by the artist and try to replicate them in your own drawings.
Click here to watch the video tutorial.
IV. Tips and Tricks
Drawing a skeleton hand can be challenging, but these tips and tricks can make the process easier and more enjoyable:
1. Position your hand correctly. To accurately draw a skeleton hand, it’s important to have a good understanding of how the hand moves and bends. Consider using a mirror to examine your own hand, or look up pictures of hands in various positions.
2. Hold your pencil correctly. The way you hold your pencil can affect the appearance of your drawing. Hold your pencil between your thumb and your index finger, and rest the pencil on your middle finger for added stability.
3. Use pressure to create depth. Varying the pressure you use on your pencil can create shading and depth. Use light pressure for lighter areas and heavy pressure for darker areas.
4. Experiment with different shading techniques. Try using cross-hatching, stippling, or smudging techniques to create different textures and effects.
5. Practice regularly. Like any skill, drawing takes practice. Set aside time each day to practice your drawing skills and work on improving your accuracy and skill.
V. Drawing Challenges
Drawing challenges are a great way to improve your skills and get inspiration from other artists. We suggest the following drawing challenges:
1. Weekly Skeleton Hand Challenge: Each week, challenge yourself to draw a skeleton hand from a different position or angle. Share your work on social media using the hashtag #SkeletonHandChallenge and see what other artists create.
2. Skeletal Anatomy Challenge: Draw the skeleton of different parts of the body, such as the skull or ribcage. This will help you improve your understanding of anatomy and proportion.
3. Daily Drawing Challenge: Challenge yourself to draw something every day, even if it’s just a quick sketch. This will help you develop a consistent drawing habit and continually improve your skills.
VI. Anatomy Lesson
Understanding the anatomy of the human hand is essential for accurately drawing a skeleton hand. Here are some basic anatomy lessons to help you:
1. The hand consists of 27 bones, including 8 carpal bones, 5 metacarpal bones, and 14 phalanges.
2. The thumb has 2 phalanges, while the other fingers have 3 phalanges each.
3. The wrist bones connect the hand to the forearm and allow for rotation and movement.
4. The metacarpals are the bones that make up the palm of the hand and connect to the phalanges.
VII. Drawing Exercises
Like any skill, drawing requires practice. Here are some drawing exercises to help you improve your skills:
1. Gesture Drawing: Sketching quick, loose lines to capture the overall shape and movement of the hand.
2. Study Other Artists: Find and study the work of other artists who have successfully drawn skeleton hands. Try to replicate their techniques and styles.
3. Continuous Contour: Drawing the hand without lifting the pencil from the paper, creating a continuous line.
VIII. Inspirational Gallery
Drawing inspiration from the work of other artists can be a great way to improve your own skills. Here are some expertly drawn skeleton hands to inspire you:
1. “Skeleton Hand” by Mark Reihill
2. “Skelly Hand” by Liza Lomax
3. “Skeleton Hand” by Zoe Thomson
IX. Conclusion
Drawing a skeleton hand can be challenging, but with patience and practice, anyone can improve their skills. Understanding anatomy, practicing regularly, and experimenting with different techniques can help you achieve your desired level of skill and accuracy.


