Introduction
Do you want to learn how to draw a grasshopper? Grasshoppers are fascinating creatures with an intricate and detailed anatomy. Whether you’re an experienced artist or a beginner, this step-by-step tutorial will teach you how to draw a grasshopper in no time!
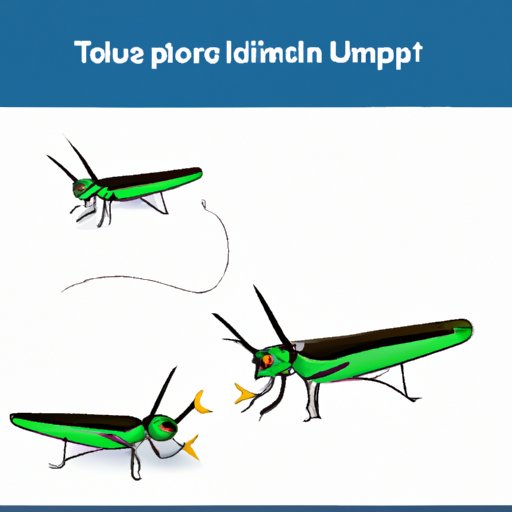
Step-by-Step Tutorial
Let’s get started with the step-by-step tutorial. Follow these simple steps:
- Draw a small circle for the head and a larger circle for the thorax.
- Add a smaller circle below the thorax for the abdomen.
- Sketch two long, thin lines for the antennae.
- Draw the eyes on the head.
- Sketch the legs. The grasshopper has six legs, with the first two legs being shorter than the rest.
- Add details to the body, such as the wings and the spikes on the legs.
- Erase the initial sketch lines and add shading and texture to finish the drawing.
For a more detailed explanation of each step with helpful tips and tricks, check out our full tutorial here.
Video Tutorial
If you prefer a visual guide, our video tutorial is perfect for you. Watch as each step is demonstrated by an expert artist:
Infographic
If you’re a visual learner, an infographic can be a great way to learn the steps to drawing a grasshopper. Check out our easy-to-follow infographic:

DIY with Kids
If you’re looking for a fun and engaging activity to do with your kids, why not try drawing a grasshopper together? Here are some easy steps to make it fun:
- Use a large piece of paper and crayons or markers.
- Instruct your child to draw a small circle for the head and a larger circle for the thorax.
- Add a smaller circle below the thorax for the abdomen.
- Sketch two long, thin lines for the antennae.
- Draw the eyes on the head.
- Sketch the legs. Encourage your child to be creative with the colors. Grasshoppers come in many different colors!
- Add details to the body, such as the wings and the spikes on the legs.
- Erase the initial sketch lines and let your child add shading and texture to finish the drawing.
Grasshoppers and Nature
Grasshoppers play an essential role in nature. They are a food source for many animals, including birds, reptiles, and other insects. The sound of their chirping is also a familiar sound in many outdoor environments. Drawing a grasshopper can help us appreciate the beauty and complexity of these fascinating creatures.
Final Thoughts
Drawing takes practice, but don’t be discouraged if your first attempt doesn’t quite look like a grasshopper. It takes time and patience to perfect your skills. Keep practicing, and you’ll get better over time! There are many resources available online to help you learn how to draw better, so keep exploring and trying new techniques.
Conclusion
In conclusion, we hope this tutorial has given you the tools and knowledge you need to draw a grasshopper. Whether you’re drawing for fun or to improve your skills, remember to have fun and enjoy the process! If you want to learn more about drawing or grasshoppers, check out some of our other resources and tutorials.


