Introduction
Drawing a bike can seem like a daunting task, especially for beginners. However, with the right guidance and practice, anyone can master the art of drawing a bike. That’s where this article comes in. In this comprehensive guide, we’ll take you through the step-by-step process of drawing a bike, provide tips from a pro, offer practice exercises, and even showcase inspiring bike drawings from other artists.
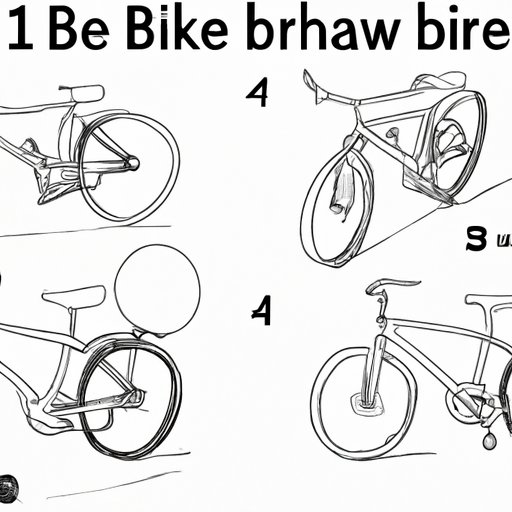
Step-by-Step Guide
The first step to drawing a bike is to start with basic shapes. Begin by drawing a large circle for the wheel. Then, draw two lines that intersect in the middle of the circle, creating a cross shape. These lines will be the center of the bike frame. From here, you can add the details such as the horizontal and vertical bars, the seat, pedals, and handlebars. Be sure to use references to ensure the proportions and details are accurate.
Video Tutorial
For a more visual and interactive experience, we’ve included a video tutorial that breaks down the bike drawing process into easy-to-follow steps. The video provides a brief introduction and conclusion and gives you a closer look at each step of the drawing process.
Infographic
In addition to the step-by-step guide and video tutorial, we’ve designed an infographic that lists the key steps to drawing a bike. This infographic uses visuals and concise language to make the information easily digestible.

Tips from a Pro
We’ve also had the pleasure of interviewing a professional artist who specializes in drawing bikes. They’ve provided us with their top tips and insights for readers to learn from and apply to their own drawing process. Some of their tips include using references, practicing with basic shapes, and experimenting with different styles and techniques.
Mistakes to Avoid
Of course, every artist makes mistakes. In this section, we’ll list common mistakes people make when drawing bikes and provide solutions and tips on how to avoid these mistakes in the future. Some of these mistakes include incorrect proportions, misaligned wheels, and inconsistent lines.
Inspiration Gallery
To provide readers with a dose of inspiration, we’ve compiled a collection of inspiring bike drawings and sketches created by other artists. This gallery showcases different styles and techniques to help readers find their own drawing style.

Practice Exercises
Lastly, we’ve offered a series of practice exercises that readers can use to enhance their drawing skills and apply what they’ve learned. These exercises focus on different elements of a bike drawing, such as wheels, handlebars, and frames. We’ve also provided tips and techniques for each exercise to help readers improve their skills.
Conclusion
By following this comprehensive guide to drawing a bike, you’ll be able to create beautiful bike drawings in no time. Remember to practice regularly and experiment with different styles and techniques. With dedication and patience, you can become a master at drawing bikes.


