How to Perfect Your Plank: A Step-by-Step Guide to Getting Stronger
Planks are one of the most popular bodyweight exercises for good reason. They’re easy to do, effective at toning your abs, and can be modified in plenty of different ways to increase their difficulty. If you’re new to planks or are looking to improve your form, this guide will help you do just that.
Step-by-Step Guide
First things first, it’s important to know how to perform a basic plank properly.
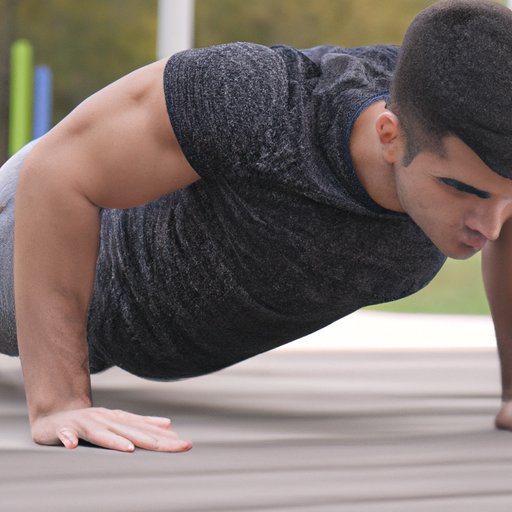
1. Start in a push-up position, with your arms shoulder-width apart and your body straight from head to heels.
2. Lower yourself down onto your forearms, keeping your elbows directly under your shoulders.
3. Your body should be in a straight line from your head to your heels, and your hips should be level with your shoulders.
4. Hold this position, keeping your abs engaged and your body tight.
Correct Duration
The length of time you hold a plank depends on your fitness level. If you’re new to planking, start with 10-15 seconds at a time, increasing the duration gradually as your strength improves. Eventually, aim for a minute or more. Remember to breathe regularly while holding the pose. If you feel like you can’t hold the position any longer, stop and take a break.
Motivation for Beginners
One of the hardest parts of starting a new fitness routine is staying motivated. Here are a few tips to help you stay committed to your planking practice:
1. Find an accountability partner: Whether it’s a friend, family member, or online community, having someone to check in with can help keep you motivated.
2. Set realistic goals: Start with small, achievable goals and gradually increase the difficulty each week.
3. Reward yourself: Treat yourself to a small reward each time you complete a plank workout.
Plank Variations
Once you’ve mastered the basic plank, it’s time to add some variation to your routine. Here are a few plank variations to try:
1. Side planks: These target your obliques and hips. Start in a regular plank position, then turn your body to one side, stacking your feet on top of each other. Hold for 10-15 seconds, then switch sides.
2. Plank jacks: These add a cardio element to your planking routine. Start in a plank position, then jump your feet out and back in again, like a jumping jack.
3. Walking planks: These target your chest, shoulders, and triceps. Start in a plank position, then walk your hands forward and back, like you’re doing a push-up.
Common Mistakes
Even the most experienced planks can make mistakes. Here are a few common ones to be aware of:
1. Letting your hips sag: This puts unnecessary pressure on your lower back. Keep your hips level with your shoulders.
2. Raising your butt too high: This takes the focus off your core muscles. Keep your body in a straight line from head to heels.
3. Allowing your head to drop: This puts extra strain on your neck. Keep your head in line with your spine.
Equipment
Believe it or not, you don’t need any equipment to perform most types of planks. However, if you’re looking to kick up the intensity, there are a few options:
1. Stability ball: This can make planks more challenging and help with balance. Place your forearms on the ball instead of the floor.
2. Resistance bands: You can wrap resistance bands around your legs to make side planks more difficult.
3. Weighted vest: Once you’ve mastered the basic plank, add a weighted vest to increase the difficulty.
Stretching
Before you begin your planking practice, it’s important to warm up and stretch your muscles. Here are a few stretches to try:
1. Cat-cow stretch: Get on all fours, with your hands directly under your shoulders and your knees under your hips. Round your back and drop your head, then arch your back and lift your head. Repeat several times.
2. Downward dog: Start on all fours, then lift your hips up and back, straightening your arms and legs. Hold for several breaths.
3. Hip flexor stretch: Lunge forward with one leg, keeping your back leg straight. Sink into the stretch until you feel a stretch in your hip flexor. Repeat on the other side.
Common Health Benefits
Planks are one of the best exercises you can do for your core muscles. Some of the other health benefits of planks include:
1. Better posture: Planking strengthens your back muscles, which can help improve your posture.
2. Increased flexibility: Planks stretch out your muscles, which can help you become more flexible over time.
3. Reduced risk of injury: By strengthening your core muscles, planks can help reduce your risk of injury during other workouts.
Advanced Plank Routines
If you’re looking to take your planks to the next level, here are a few more advanced exercises to try:
1. Spiderman planks: In this exercise, you bring your knee to your elbow as you hold a plank position.
2. Dolphin planks: Start in a downward dog position, then lower down onto your forearms, forming a plank.
3. Pike planks: Start in a downward dog position, then lift your hips up towards the ceiling, forming a V-shape with your body.
Conclusion
Planks are an excellent exercise for toning and strengthening your core muscles, improving your posture, and increasing your flexibility. By following this guide and incorporating planks into your fitness routine, you’ll feel stronger and more confident in no time. So go ahead and start your planking journey today.


