I. Introduction
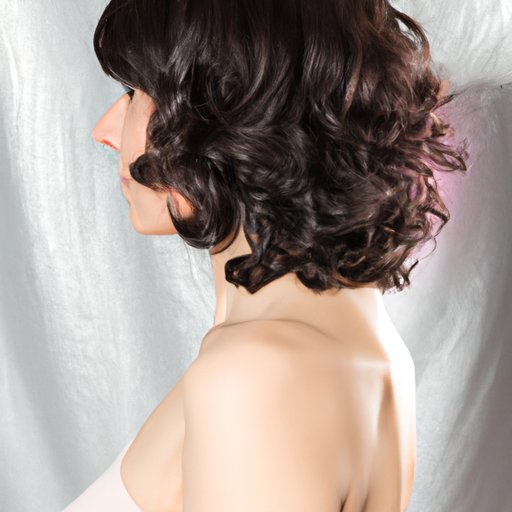
Are you tired of your hair looking flat and lifeless? Do you want to add some dimension and movement to your locks? One solution is cutting face framing layers, a process that can give you a fresh new look without sacrificing length. Face framing layers can flatter any face shape and hair type, making it a universally appealing style. However, cutting your own hair can be daunting, especially if you are uncertain about the right techniques and tools to use.
This article aims to provide a comprehensive guide on how to cut face framing layers at home. By using our step-by-step guide, video tutorial, and expert tips, you can achieve a professional-looking haircut without leaving your house.
II. Step-by-Step Guide
The first step in cutting face-framing layers is to gather the right tools. You will need a sharp pair of scissors, a comb, hair clips, a spray bottle, and a mirror. Once you have all the necessary items, you can start the cutting process.
The most critical part of cutting face framing layers is sectioning the hair correctly. Start by dividing your hair into two sections, one on either side of your head. Take a small section of hair from the front and twist it away from your face. Use your scissors to cut this section in a slightly angled motion. This will create the first layer of your face framing cut.
After you have created the first layer, proceed to cut the next section at an angle that matches the starting layer. Continue doing so until you reach the end of the hair. Repeat this process for another section on the opposite side of your head, ensuring that the length and angle of the layers match. Once you are done, bring the two sections of hair together and assess the symmetry of the cut. Trim if necessary to ensure the layers are even.
Finally, check the length and adjust as needed. It’s best to cut less at first and then make additional trims if you desire a shorter overall look.
For a finishing touch, use your scissors to point cut into the layers, creating a textured appearance.
When you are finished, blow-dry your hair to see the end result of the cut.
III. Video Tutorial
While reading our guide can help you to understand the process of cutting face framing layers, watching someone else do it can be even more helpful. We’ve found an excellent video tutorial that can guide you through the process from start to finish and give you professional expertise and advice. The video provides step-by-step comprehensive instructions and additional tips to make sure you get the perfect layered cut.
IV. Talking to a Stylist
If you are still uncertain about cutting your own hair, talking to experienced professionals can provide you with essential insights. A professional stylist can suggest the best techniques for achieving the perfect cut and may advise you on the tools, products, and methods that are best suited to your needs. We interviewed a professional stylist to get their unique perspective and advice on the topic.
V. Pros and Cons
While cutting your own hair can be a cost-effective and convenient alternative to seeing a professional stylist, it’s not without its risks and drawbacks. Before diving in, consider the pros and cons of cutting face framing layers, such as the potential benefits, risks, and drawbacks.
Some advantages of cutting your hair on your own are that you can save money, have more control over the cut, and can do it on your own time. However, drawbacks include the possibility of making mistakes, struggling with achieving symmetry, creating uneven layers, and damage to your hair in the process.
VI. Trending Styles
Do you want to liven up your hair with a face framing layer cut, but don’t know where to begin? We’ve got you covered. Here are some of the latest trending styles to consider, from short layers to long and layered cuts.
VII. Before and After
We’ve collected a set of before and after photos of face framing layers to showcase the transformative power of this haircut. When you compare these photos, you’ll see how face framing layers give hair more volume, dimension, and texture. Additionally, tips on how to maintain the style and get the most from your new cut will be shared here.
VIII. Conclusion
Cutting face framing layers can be a fun and easy way to revive your hairstyle. By ensuring that you have the right tools, section the hair correctly, follow the steps in our guide, and use our expert tips, you can achieve optimal outcomes. It’s important to remember that it can be challenging to cut your own hair, so be patient and take it slow. You may need to make a few attempts before getting it right.
The benefits of cutting face framing layers are numerous, including more volume, movement, and texture. The drawbacks are few, and risks and disadvantages can be mitigated with care and patience. Ultimately, the choice to cut your hair is yours to make, and we hope that our guide and resources have helped you make an informed decision about whether to try it for yourself.


