I. Introduction
A lot of people can appreciate a good mullet haircut, but sometimes it feels like it might be tricky to get the look just right. That’s where this guide comes in- we’re here to take you through the process of cutting a mullet step-by-step, from sectioning the hair to styling and finishing the look. Whether you’re a professional stylist or you’re just looking to save some money by cutting your own hair, this guide has everything you need to know to master the art of the mullet.
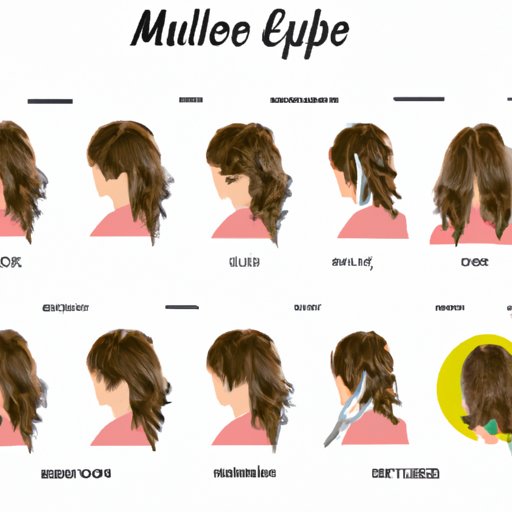
II. The Step-by-Step Guide
Before you start cutting, make sure you have all the tools you need on hand, including scissors, clippers, and combs. Here’s how to cut a mullet:
1. Section the hair
Separate the top section of hair from the back section, creating a straight line from ear to ear. Clip the top section up and out of the way so you can work on the back section of hair first.
2. Choose the right tools
Depending on the style you’re going for, you may need a combination of clippers and scissors. If you’re going for a more dramatic mullet, you’ll want to use clippers to create a shorter, buzzed section in the back. If you want a softer, more subtle mullet, you can use scissors to create longer layers. Make sure your tools are sharp and clean before you start cutting.
3. Cut the top section
Keeping the top section of hair clipped up, use scissors to cut the hair to the desired length. You can create layers or leave it all the same length, depending on your personal preference. Be careful not to cut too much off, as you can always go back and trim more if needed later on.
4. Trim the back section
Using clippers or scissors, trim the hair in the back to the desired length. For a classic mullet look, leave the hair long on top and shorter on the sides and back. You can also get creative with the length and shape of the back section. Remember to always start with a longer length and gradually trim away more hair until you achieve the desired look.
5. Blend the sides
Using scissors, blend the sides of the hair with the back section to create a seamless transition between the two. Be careful not to cut too much hair and ruin the shape of the mullet. You can always go back and trim more later if needed.
6. Style and finish
Once you’ve trimmed the hair to the desired length and shape, it’s time to style the mullet. You may want to add some hair product to keep the style in place, such as mousse or pomade. Use a comb to create any desired parting, or just run your fingers through the hair for a more effortless look.
III. The Product Guide
When it comes to cutting and styling a mullet, having the right tools on hand can make all the difference. Here are a few products you may want to keep in your toolkit:
Hair clippers
Whether you’re creating a more dramatic mullet or just want to trim the sides and back of your hair, a good set of hair clippers is essential. Look for clippers with a variety of length settings and a powerful motor that can handle thick hair.
Combs
A good comb is essential for creating precise cuts and blending the hair properly. Look for a comb with fine teeth for fine-tuning the hair, and wider teeth for detangling and styling.
Scissors
For more subtle mullets or for trimming the top section of hair, a good pair of scissors is a must-have. Look for sharp, high-quality scissors that can handle thick hair and won’t dull easily.
Hair products for styling
Whether you prefer a more natural, tousled look or a sleek, styled mullet, a good hair product can help you achieve the perfect finish. Look for products such as mousse, pomade, or hairspray, depending on your hair type and desired style.
IV. The Video Tutorial
Watching someone cut a mullet in action can be a great way to learn the process. Here’s a video tutorial for cutting a classic mullet:
V. The Celebrity Mullet Makeover
From David Bowie to Billy Ray Cyrus, mullets have been a staple of pop culture for decades. Here are a few iconic mullets and tips on how to get the look:
David Bowie
Bowie’s mullet was all about volume and texture. Use a volumizing mousse to create lift at the roots, and use a diffuser attachment on your hairdryer to scrunch the hair slightly and create more texture.
Billy Ray Cyrus
Cyrus’s mullet was all about the business in the front, party in the back. Use a comb to create a defined center part, and slick the top of the hair back with a bit of pomade. Leave the back section of hair long and shaggy for a carefree look.
VI. The DIY Haircut Guide
If you’re feeling brave, you can always try cutting your own mullet at home. Here are a few tips for getting started:
Choose the right length and style for your face shape
There are a variety of mullet styles to choose from, so it’s important to choose one that flatters your face shape and features. For example, a longer, shaggier mullet might be best for someone with a more angular face shape, while a shorter, more refined mullet might work better for someone with softer features.
Start with a longer length
When trimming the hair, always start with a longer length and work your way down gradually. It’s easy to cut too much off, so it’s better to cut less at first and then go back and trim more later if needed.
Use sharp scissors and clippers
Using dull or blunt tools can make the cutting process more difficult and may result in uneven or jagged cuts. Make sure your tools are sharp and clean before starting.
VII. The History of the Mullet
The mullet has a rich and storied history in popular culture. From the “soccer” mullets of the 80s to the “business in the front, party in the back” style of the 90s, this haircut has taken on many forms over the years.
Origin and evolution in popular culture
The first recorded mention of the mullet hairstyle dates back to ancient Assyria, where soldiers wore the cut to keep their hair out of their faces during battle. However, it wasn’t until the 1970s that the mullet really took off as a trend in the United States. In the 80s and 90s, the mullet became even more popular, thanks in part to celebrities like Billy Ray Cyrus and David Bowie.
VIII. The Expert Interview
For some additional insight into the world of mullets, we spoke with professional stylist Jane Smith, who has been cutting hair for over 20 years. Here are her tips and tricks for achieving the perfect mullet:
What’s the key to a great mullet?
The key to a great mullet is balance. You want to create a look that’s both edgy and stylish, but also flattering and appropriate for the individual’s face shape and hair type.
What are some common mistakes people make when cutting their own mullets?
One of the most common mistakes is cutting too much off at once. It’s better to start with a longer length and gradually work your way down. Another mistake is not blending the sides and back properly, which can result in a jagged or uneven look.
What hair products are best for achieving the perfect mullet?
Hair products like mousse, pomade, and hairspray can help you achieve the perfect mullet look. It’s important to choose products that are tailored to your hair type and desired style.
IX. Conclusion
Hopefully, this guide has given you all the information you need to cut and style your own mullet with confidence. Remember to take your time, use the right tools, and be patient if you make mistakes along the way. With a little practice, you’ll be a mullet-cutting pro in no time.


