Introduction
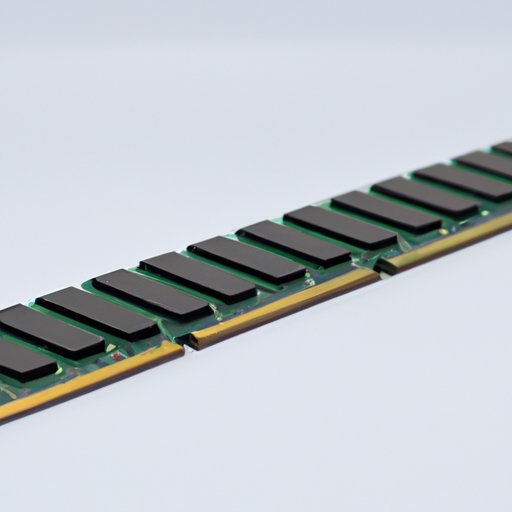
RAM, or Random Access Memory, is an essential component of your computer’s performance. It allows your computer to run multiple programs and perform tasks simultaneously. However, over time, your computer’s RAM may become insufficient for all the processes you want to run. Therefore, it’s critical to check how much RAM you have on your computer. In this article, we will walk you through the various methods to check your RAM capacity, why it’s important, and how to upgrade if necessary.
5 Simple Steps to Check How Much RAM Your Computer has
Checking how much RAM your computer has is a quick and straightforward process that anyone can do. Here are five simple steps that will guide you through the process:
- Press the Windows key and R simultaneously on your keyboard to open the Run box.
- Type ‘msinfo32’ in the text box and click ‘OK.’
- The System Information window will pop up. Under ‘System Summary,’ you will see your installed RAM and available memory
- Alternatively, you can press the ‘Ctrl + Shift + Esc’ keys to open the Task Manager. Click on ‘Performance,’ and under ‘Memory,’ you will see the amount of RAM installed on your computer.
- For Mac users, click the Apple icon, select ‘About This Mac,’ and click on ‘Memory.’
Why Knowing Your RAM Capacity is Important and How to Check it?
Knowing your RAM capacity is vital for several reasons:
- Running multiple programs simultaneously requires more RAM. Therefore, knowing your RAM capacity helps you avoid programs’ sluggish speeds.
- If you’re a gamer, you’ll want to ensure that you have enough RAM to play your favorite games. AAA games tend to require more RAM capacity to function properly.
- When your computer starts crashing or frequently freezes, it may indicate that your RAM capacity is not sufficient for your running processes.
To check your RAM capacity, go to the ‘Control Panel’ on your Windows computer. Click on ‘System and Security,’ then ‘System.’ You will see your device’s installed memory under ‘Installed Memory (RAM).’
For Windows 10 users, you can also check your RAM capacity by following these steps:
- Click on the Windows Start menu and go to ‘Settings.’
- Click on ‘System’ and select ‘About.’
- Scroll down to the ‘Device specifications’ section, where you will see the installed RAM.
For Mac users, you can find out how much memory you have by clicking on the Apple icon, selecting ‘About this Mac,’ and clicking on ‘System Report.’ You will see your installed memory under ‘Hardware.’
How to Tell How Much RAM You Have on a Mac or Windows Computer?
Different operating systems require different methods to check your RAM capacity, so here are specific instructions for Windows and Mac users:
For Windows Users
- Task Manager: Press Ctrl + Shift + Esc simultaneously to open the Task Manager. Under ‘Performance,’ you can view the memory and disk usage details.
- Control Panel: Open the Control Panel and select ‘System and Security.’ Click on ‘System,’ and under ‘Installed memory (RAM),’ you will see your RAM capacity.
- Settings: Go to the Windows Start button and click on ‘Settings.’ Select ‘System,’ and under ‘Device Specifications,’ you will find how much RAM is installed on your device.
For Mac Users
- About This Mac: Click on the Apple icon and select ‘About This Mac.’ Your memory is displayed under the ‘Overview’ tab.
Troubleshooting: How to Check if You Need to Upgrade Your RAM?
If your computer is still running slow even after closing all running programs, you may need to upgrade your RAM. Here are some signs that you may need to upgrade:
- Frequent freezing or crashing of programs;
- A slow startup, even after rebooting your device;
- Difficulty running large programs or applications;
- Not enough memory to save documents or perform operations.
To determine if you need a RAM upgrade, check the amount of RAM installed on your computer by following the previous steps mentioned in this article. Then check the RAM requirements of the program you want to run. If your RAM capacity is lower than the required capacity, it’s time to upgrade your RAM.
The Ultimate Guide to Checking Your RAM: From Beginners to Power Users
Are you a beginner or a power user who wants to dig deeper into your computer’s memory configuration? Here’s a comprehensive guide to checking your computer’s RAM:
- Beginners: Use any of the methods explained above to find out how much RAM your computer has.
- Intermediate: Press Windows + R simultaneously to open the Run box and type ‘dxdiag’ to access the DirectX Diagnostic tool. Go to the ‘System’ tab and check the amount of RAM installed.
- Power User: If you’re comfortable with using the command prompt, type ‘wmic MemoryChip get Capacity’ and press Enter to see the total installed memory capacity.
No matter your expertise level, knowing the amount of RAM you have on your computer helps optimize your device’s performance.
Conclusion
Checking your RAM capacity is an essential maintenance task that helps you optimize your computer’s performance. With the methods explained in this article, determining your RAM capacity has never been easier. Whether you’re a beginner or a power user, there is always a way to access this critical information. We recommend regular RAM checks to avoid crashes and ensure that your computer runs smoothly. We hope this article has provided sufficient guidance to check your RAM capacity and the necessary upgrades if required.


