Step-by-Step Guide
Keeping your car’s electrical system in good working condition is crucial for your safety and convenience on the road. The alternator is one of the key components of this system, as it charges the battery and powers the lights, radio, and other accessories. Therefore, if your alternator is failing, you may experience dimming or flickering headlights, dashboard warning lights, strange noises, or stalling. Here’s how to check your alternator:
Preparation
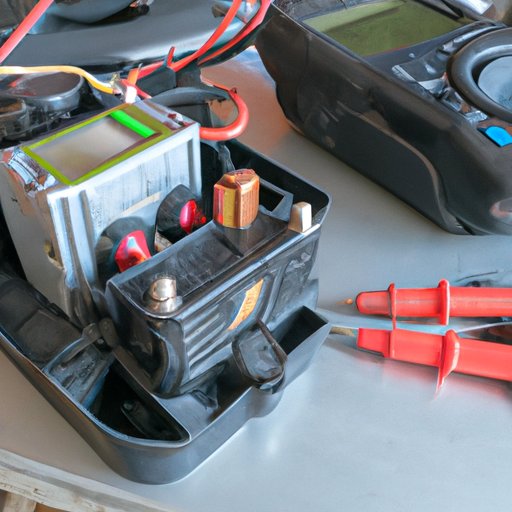
Before you begin, gather the following tools and materials:
- Multimeter or voltmeter
- Wrench or pliers
- Safety glasses
- Gloves
Also, be sure to wear appropriate clothing and follow these safety tips:
- Disconnect the battery to avoid electrical shocks and short circuits
- Protect your eyes and hands from debris and fluids
- Work in a well-ventilated and well-lit area
- Consult a manual or a professional if unsure or uncomfortable with the procedure
Steps
Follow these steps to check your alternator:
Step 1: Disconnect the Battery
Open the hood of your car and locate the battery. Use a wrench or pliers to remove the negative (-) cable from the battery to disconnect it.

Step 2: Locate the Alternator and Inspect Its Parts and Connections
The alternator is usually located near the engine, and is belt-driven or gear-driven. Look for the serpentine belt or V-belt that connects the alternator to the engine. Check the belt for cracks, frays, or wear, and the tensioner arm for proper tension. Also, inspect the alternator’s housing, bolts, wires, and terminals for damage, corrosion, or looseness.

Step 3: Test the Alternator with a Multimeter or a Voltmeter
Set your multimeter or voltmeter to the DC voltage or volts setting, according to the instructions and specifications of your particular device. Connect the probes of the device to the positive (+) and negative (-) terminals of the alternator. Start the car’s engine and rev it up to about 2000 RPM. Observe the readings on the screen of the device.
Step 4: Interpret the Readings and Determine if the Alternator is Faulty or Functional
The normal voltage output of the alternator should be in the range of 13.5-14.5 volts. If the reading is significantly lower or higher than this range, then the alternator may be defective. If the reading stays constant even when you turn on the headlights, air conditioner, or other high-load accessories, then the alternator is likely functioning properly.
Step 5: Reconnect the Battery and Check if the Problem is Solved
If you have determined that the alternator is faulty, you may need to replace it or repair it. However, if the problem was caused by a loose or corroded connection, a broken belt, or a discharged battery, then you can fix it by repairing or replacing the damaged part, recharging the battery, or reconnecting the cable.

Conclusion
Checking your alternator may seem daunting at first, but with the right tools, knowledge, and safety precautions, it can become a routine task that helps you avoid costly repairs and breakdowns. Remember to follow the steps carefully and consult a professional if needed. Happy motoring!
Video Tutorial
If you prefer to learn by watching, we have created a video tutorial that complements the written guide. You can find it on our website or YouTube channel. Here’s a brief overview of the video:
Overview
The video shows a professional mechanic checking the alternator of a car, using a multimeter and a wrench. The video is about 10 minutes long, and includes narration, close-up shots, and replays of key steps. The video is in high definition (HD) and has subtitles in multiple languages.
Script
Here’s a sample script for the video tutorial, corresponding to the steps and tips in the written guide:
Hi, and welcome to our video tutorial on how to check your car’s alternator. In this video, we’re going to show you the step-by-step process of inspecting and testing the alternator, using a multimeter and a wrench. We’ll also give you some safety tips and troubleshooting advice. So, let’s get started!
First, make sure you have the right tools and protective gear. You’ll need a multimeter or voltmeter that can measure DC voltage, a wrench or pliers to remove the battery cable, safety glasses and gloves to protect your eyes and hands, and some rags or towels to clean and dry the parts.
Next, open the hood of your car and locate the battery. Use the wrench or pliers to disconnect the negative (-) cable from the battery. This will prevent any electrical current from flowing through the system.
Now, find the alternator. It’s usually near the engine, and has a belt that connects it to the crankshaft or the pulley. Check the belt for any signs of wear or damage, such as cracks or frays. Also, inspect the alternator’s housing, bolts, wires, and terminals for any visible defects, such as rust or looseness.
Once you’ve done the visual inspection, it’s time to test the alternator’s voltage output. Set your multimeter or voltmeter to the DC volts setting, and connect the probes to the positive and negative terminals of the alternator. Start the car’s engine and rev it up to about 2000 RPM. Watch the readings on the screen of the device. A normal alternator should produce a voltage output of about 13.5 to 14.5 volts. If the reading is significantly lower or higher than this range, then the alternator is likely faulty.
If you’ve determined that the alternator is defective, you’ll need to replace or repair it. If you’re not comfortable doing it yourself, or if you don’t have the tools or the time, then you can take your car to a mechanic or an auto parts store. They can help you diagnose the problem and find the right replacement parts or repair services.


