Introduction
Do you ever feel like your computer mouse cursor is a bit dull or boring? Did you know that you can change it to something more unique and exciting? Whether you want to improve your productivity by customizing your mouse cursor or just want to add a personal touch to your computer, this article will guide you through the process. In this article, we’ll cover everything you need to know about changing your mouse cursor.
Step-by-Step Guide
The process of changing your mouse cursor is relatively straightforward. Follow these easy steps:
Step 1: Click on the Start Menu and go to Settings.
Step 2: Click on Devices, followed by Mouse.
Step 3: Click on the additional Mouse options.
Step 4: Click on Pointers.
Step 5: Browse through the list of available cursor sets.
Step 6: Click on Apply after selecting the desired cursor set.
Step 7: Click on OK to save the changes.
Screenshots can be helpful to guide you through the process visually. Also, keep in mind that this process may not work the same way for all versions of windows. Make sure you check the right tutorial for your computer’s operating system.
Comparison of Cursor Styles
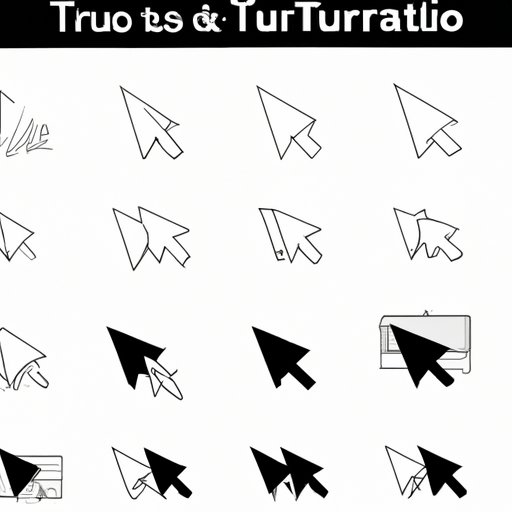
There are many cursor styles that you can choose from. Some of the most common cursor styles include the default, busy, precision, and text cursor.
The default cursor is the most straightforward and the one you see most of the time. It usually appears as a small arrow icon.
The busy cursor is the animated hourglass or the spinning circle that appears when your computer processor is working or processing information.
The precision cursor is useful when dealing with smaller items and clicking on specific parts of the screen, such as checkboxes, radio buttons, and dropdown menus.
The text cursor is the cursor that appears when you are typing in a document or text field. It usually appears as a blinking vertical line.
Knowing about cursor styles is essential because it can improve your productivity and efficiency while using your computer. So experiment with different cursor styles and see which ones suit your needs best.
Customizing Cursors
Customizing cursors can be a fun and innovative way to personalize your computer. You can customize your cursor by finding a pre-existing cursor pack or by creating your own cursor set. There are many resources available online to help you with this process.
Step 1: Go to the Control Panel and select Hardware and Sound.
Step 2: Click on Mouse and select Pointers.
Step 3: Click on ‘Browse’ and locate the cursor file that you downloaded or created.
Step 4: Click on Apply and then OK to confirm the changes.
You can install cursor packs by downloading them from the internet and importing them into your computer’s “Pointers” menu. After installing a cursor, follow the same steps as above to apply the new design.
Common Issues and Solutions
While changing your mouse cursor, you may run into some problems, such as cursor disappearing or cursor design distortion. Here are two common issues and their solutions.
Issue: Cursor disappears after an update
Solution: Reinstall your cursor using step 4 and restart your computer
Issue: Cursor design looks distorted
Solution: Make sure you’re using the correct size and format. Use the recommended file format, and ensure the cursor size is appropriate.
Video Tutorial
If you’re more of a visual learner, a video tutorial may be the best option. Here’s a quick and straightforward video tutorial that walks you through the process of changing your cursor:
[Video tutorial will be inserted here]
Conclusion
Changing your mouse cursor may seem like a small task. However, it makes a significant impact on your computer aesthetics and productivity. We hope this guide has provided you with a step-by-step process of changing your cursor so that you can customize it according to your preferences, boost your productivity, and add a unique touch to your computer. Remember to experiment with different styles and designs to find your perfect cursor. If you still encounter any issues, check our common issues and solutions section or follow our video tutorial step-by-step.


