I. Introduction
If you own an AirTag, you know how important it is to keep it functioning properly. AirTags are compact and stylish devices that help you keep track of your belongings. They use Bluetooth technology to help you locate lost items with the help of the Find My app. It is essential to know how to change AirTag battery as it helps the device run smoothly without any hiccups. This article will provide you with a step-by-step guide on how to change an AirTag battery, along with some maintenance tips, troubleshooting guide and a product review.
II. Step-by-Step Guide
The following steps will guide you on how to change your AirTag battery:
Step 1: Gather necessary tools
Before you begin, gather all the necessary tools to make the process smooth. You will need a pair of small scissors and a replacement battery. AirTags use a CR2032 battery, and it is readily available in most stores.
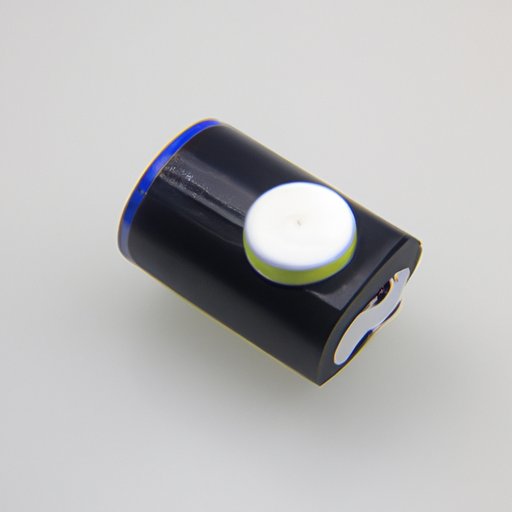
Step 2: Remove the old battery
First, you need to remove the old battery from your AirTag. To do this, take the AirTag and place it upside down on a flat surface. Use the small scissors to twist and pull the back cover of the AirTag anti-clockwise until it comes off. You will see the battery inside. Use the tip of the scissors to pry the battery out of the compartment gently.
Step 3: Insert the new battery
Once the old battery is removed, take the new battery and insert it into the compartment, making sure that the positive side is facing up. You should be able to hear a small beep sound once the new battery is in place.
Step 4: Close the AirTag
Now, place the back cover on the AirTag and twist it clockwise until it clicks into place. Make sure it is sealed correctly to avoid any damage to the AirTag or battery.
Step 5: Check if the AirTag is working fine
Now that you have replaced the battery, turn the AirTag over and press the metal button in the center of the device. If the AirTag blinks once, it is working fine, and the battery replacement was successful.
III. Video Tutorial
If you are a visual learner, here is a video tutorial that can help you through the battery replacement process. The video covers everything mentioned in the step-by-step guide in detail.
Video Tutorial: AirTag Battery Replacement
IV. Maintenance Tips
Here are some maintenance tips that can help prolong the life of an AirTag battery:
- Check battery level regularly
- Store AirTags properly to prevent battery drain
- Use low-power mode when possible
In addition to the above tips, here are some additional tips that can help you get the most out of your AirTag battery:
- Use genuine batteries
- Avoid exposing AirTags to heat or sunlight
- Replace batteries when necessary to avoid any damage to the AirTag
V. Troubleshooting Guide
If you encounter any problems with your AirTag battery replacement, here are some troubleshooting tips:
Signs that the battery needs to be replaced
If you notice that your AirTag is not working correctly, it may be a sign that the battery needs replacement. Some common signs include:
- The AirTag is not connecting to your iPhone
- The AirTag button is not responding
- The AirTag is not audible when you press the button
What to do if the AirTag won’t open
If you face difficulties opening your AirTag, try the following:
- Use the correct tools
- Ensure that the AirTag is placed flat on a surface
- If the cover is stuck, use a mild adhesive to loosen it
Common mistakes to avoid
Here are common mistakes you should avoid when changing your AirTag battery:
- Using a different type of battery
- Forgetting to check the positive and negative orientation of the battery
- Not correctly sealing the back cover after battery replacement
VI. Product Review
Replacing the AirTag battery is relatively easy and can be done by anyone with the right tools. The cost of a CR2032 battery is affordable and readily available. The battery life is subject to the usage of the AirTag and its settings, but it typically lasts around a year. Overall, replacing the battery is not a complicated process, and maintenance can help prolong the life of the battery.
VII. Conclusion
Changing an AirTag battery is an essential process that every user should know. The step-by-step guide and video tutorial can help you through the process, and the maintenance tips and troubleshooting guide can help prolong the life of the battery. Remember to use genuine batteries and avoid common mistakes when changing an AirTag battery. AirTag is an excellent investment for anyone who tends to lose their personal belongings, and proper maintenance can help you get the most out of this device.


