Introduction
Braiding your own hair can seem daunting, especially if you’re not used to doing it. But with the right knowledge and techniques, it can be easy and even enjoyable! This article will provide you with a step-by-step guide on how to braid your own hair, including photos, a video tutorial, and an infographic. We’ll also provide tips and tricks to help you achieve a perfect braid every time.
Step-by-Step Guide
1. Start by brushing your hair to remove any tangles or knots.
2. Decide which type of braid you want to create, such as a French braid, Dutch braid, or fishtail braid.
3. Section your hair into three equal parts at the top of your head.
4. Cross the right section over the middle section, then cross the left section over the middle section.
5. Pick up a small section of hair from the right side of your head and add it to the right section. Cross this new section over the middle section. Repeat on the left side.
6. Continue alternating between adding hair to the right and left sections until you reach the nape of your neck.
7. Once you reach the nape of your neck, you can continue braiding normally by crossing the three sections over each other until you reach the end of your hair.
8. Secure the end of your braid with an elastic.
Video Tutorial
Video tutorials can be incredibly helpful for those who learn better through visual examples. Check out this video tutorial to see the steps in action.
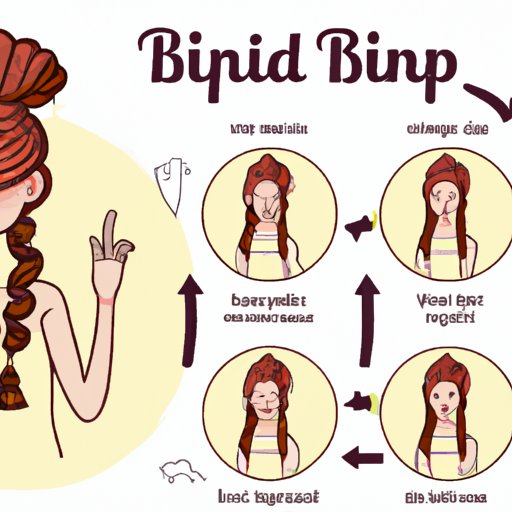
Infographics
A visual guide to the different types of braids and their respective steps can make the process much easier. Use this infographic to see the variations of braids out there.
Text-Based List
For those who want a quick overview of the process, here is a clear and concise list of the steps for braiding your own hair:
- Brush your hair to remove any tangles or knots.
- Decide which type of braid you want to create.
- Section your hair into three equal parts.
- Cross the right section over the middle section, then cross the left section over the middle section.
- Pick up a small section of hair from the right side and add it to the right section. Cross this new section over the middle section. Repeat on the left side.
- Continue adding hair to the right and left sections until you reach the nape of your neck.
- Finish braiding normally by crossing the three sections over each other until you reach the end of your hair.
- Secure the end of your braid with an elastic.
Tips and Tricks
Here are some tips and tricks to help you achieve a perfect braid:
- Use hair-friendly products to prevent damage.
- Section your hair evenly to make it easier to braid.
- Maintain tension on your hair to prevent your braid from becoming loose.
- Practice, practice, practice!
Conclusion
Braiding your own hair can seem daunting at first, but with these steps, any newbie can become a pro. Remember to choose the right braid for your hair type, section your hair properly, and use the right products and techniques to achieve the look you desire. Practice makes perfect, so don’t give up if your first attempt isn’t perfect. With time and patience, you’ll be able to create a variety of braids that will make a statement.


