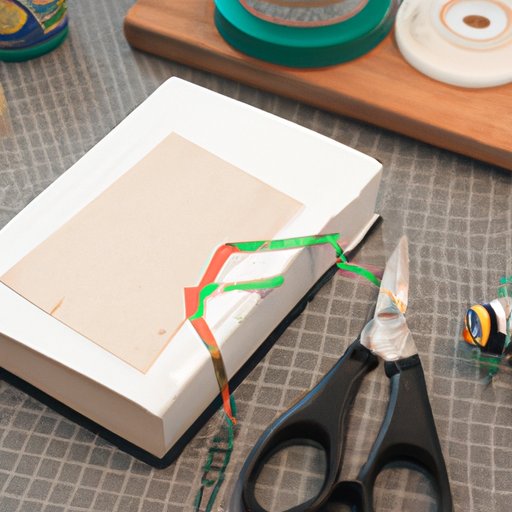
Introduction
Bookbinding is a centuries-old art that has continued to thrive in the digital age. There’s something special about holding a handmade book in your hands, whether it’s a journal, notebook, or novel. In this article, we’ll be exploring how to bind a book using simple, easy-to-follow steps. By the end of this article, you’ll be able to create your own masterpiece!
Materials Needed
Before diving into the bookbinding process, it’s important to gather all materials needed. Here is a list of materials necessary for most bookbinding projects:
– Paper: Select paper to be used for the pages of your book.
– Covering Material: Choose material for covering the boards, such as bookbinding cloth or paper.
– Board: Cut a piece of cardboard or bookboard to the size needed for your book’s cover.
– Needle and Thread: You’ll need a needle and thread specific to the binding method.
– Glue: Choose a quality glue for securing the pages and binding.
You can find these materials at art and crafts stores or online retailers. Be sure to plan your project and purchase materials that suit your needs.
Preparing the Pages
Before starting the binding process, you’ll need to prepare your pages. Here are some important steps to follow:
– Fold the pages in half: Take one or several sheets at a time and fold them in half. Use a bone folder to ensure a crisp fold.
– Cut the pages: Once folded, cut the pages to size with a paper cutter or sharp scissors.
– Organize the pages: Group the pages together in the order you want them to be in your book. Make sure you have a clean, flat surface to work on.
– Align and center the pages: Use a bone folder to ensure all pages are properly aligned and centered.
Creating the Cover
The cover of your book is just as important as the pages. Here are the steps to create a sturdy, durable cover:
– Measure and cut the board: Take a piece of board and cut it to the exact size you want your book to be. Use a ruler and a sharp knife to achieve a smooth edge.
– Attach covering material: Choose a covering material and cut it to size. Apply glue to the board and carefully lay the material over it, smoothing out any wrinkles or bubbles. Fold the material over the edges of the board and glue down.
– Attach the spine: Cut a strip of covering material to the same width as the spine and glue it to the center of the cover material.
Binding the Book
Now it’s time to bind your book! Here are some popular binding techniques to consider:
– Coptic Binding: This binding method is perfect for books that need to lay flat when opened. It involves sewing the pages together with a pattern of exposed stitching.
– Long Stitch Binding: This technique involves sewing the cover directly to the pages. The binding is created by a long stitch that is visible on the spine of the book.
– Japanese Binding: This binding style is perfect for thin books or journals. Each page is sewn to the cover with a simple method that creates a beautiful, exposed binding.
Whichever method you choose, here are some general tips to help you through the process:
– Thread the needle: Thread your needle with the appropriate thread and tie a knot at the end.
– Make the holes: Use a template or spacing technique to make evenly spaced holes along the center of the book.
– Start sewing: Beginning with the first hole, sew through each page until you reach the last hole.
Remember to take your time and double-check your stitching as you go. Be sure to keep your tension even and your stitches tidy.
Finishing Touches
Congratulations – you’ve bound your book! Now it’s time for those final touches.
– Trim the edges: Once the glue has dried, use a straight edge and a sharp knife to trim the pages to the exact size of the cover.
– Cover any mistakes: If you’ve created any mistakes or blemishes during the binding process, cover them with decorative paper or tape.
– Add final touches: Add endpapers, ribbon bookmarks, or any other final touches that will elevate your book’s design.
Conclusion
There’s something special about holding a handmade book in your hands, and you’ve now learned how to create one yourself! In this guide, we’ve covered the basics of bookbinding, from preparing the pages to adding the final touches. We hope this has inspired you to try bookbinding for yourself.


