How to Adjust Your Rain Bird Sprinkler Heads for Optimal Performance
If you’re a homeowner with a Rain Bird sprinkler system, you already appreciate the convenience of automated watering for your lawn and plants. However, to maintain an efficient system, it is important to regularly adjust the sprinkler heads for optimal performance. A well-adjusted system can save you money on your water bill, promote the health of your lawn and plants, and reduce environmental waste. So, let’s explore how to adjust your Rain Bird sprinkler heads and keep your system running smoothly.
A Step-by-Step Guide to Adjusting Rain Bird Sprinkler Heads
Before diving into the specifics of adjusting your Rain Bird sprinkler heads, it’s important to understand the different types of adjustments you can make. These adjustments include arc, radius, direction, and more. Depending on your specific system, you may need to make one or all of these adjustments. Here’s a step-by-step guide to help you through the process:
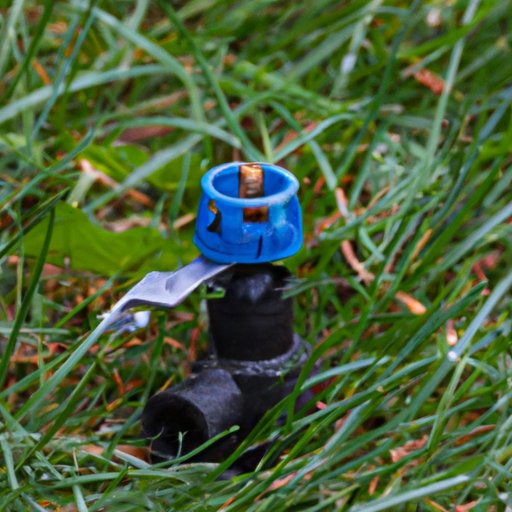
- Arc Adjustment: To adjust the arc of your sprinkler head, identify the arc stop pin near the base. Use a flathead screwdriver to twist the pin counterclockwise until it stops, and then use the screwdriver to rotate the nozzle to your desired angle. Return the pin to its original position by turning it clockwise.
- Radius Adjustment: To adjust the distance that your sprinkler head sprays, locate the radius adjustment screw near the nozzle. Use a small flathead screwdriver to twist the screw clockwise to decrease the distance and counterclockwise to increase the distance.
- Direction Adjustment: To adjust the direction that your sprinkler head is pointing, hold the base of the nozzle steady and use your hand to rotate the nozzle in the desired direction.
It’s important to note that improper adjustment can result in overwatering or poor coverage, so be sure to follow the manufacturer’s guidelines and avoid overcompensating for any missed areas. If you’re not sure how to make the necessary adjustment, consult the user manual or contact a professional for help. A well-adjusted system will ensure even coverage and a healthy landscape.
Understanding Different Types of Rain Bird Sprinkler Heads
Rain Bird offers a variety of sprinkler heads, each with its own unique features and benefits. Some of the most common types include:
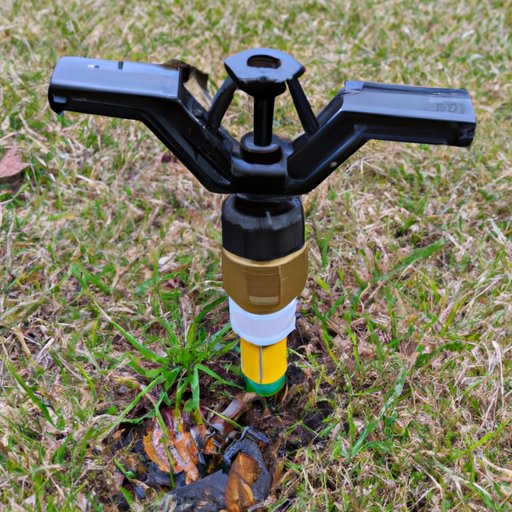
- Rotary Nozzles: These types of nozzles deliver water in an adjustable pattern, depending on the specific model. They are great for both small areas and large landscapes.
- Fixed- Spray Nozzles: These nozzles are stationary and provide a fixed coverage area in various patterns. They are great for precise watering, such as flower beds or garden areas.
- Stream-Rotator Nozzles: These nozzles conserve water by delivering a mixture of rotating streams and droplets. They are ideal for slopes and windy areas.
It’s important to identify which type of nozzle you have before attempting to make any adjustments. You can typically find the model number on the nozzle itself or in the user manual. Once you’ve identified the type of nozzle, consult the user manual for specific steps on how to adjust the nozzle for optimal performance.

Common Issues with Rain Bird Sprinkler Heads and How to Fix Them
Like any other piece of equipment, sprinkler heads can encounter a variety of problems over time. Here are some of the most common issues and how to fix them:
- Clogging: Over time, debris can build up in the nozzle, causing it to clog and disrupt the spray pattern. To fix this, remove the nozzle and clean it thoroughly with a small brush or compressed air.
- Leaking: Leaks can occur at the base of the nozzle or on the riser. To fix this issue, check the seal and tighten it if necessary. If the problem persists, the nozzle may need to be replaced.
- Misalignment: Misaligned sprinkler heads can be caused by damage or shifting soil. To fix this issue, loosen the collar at the base of the head and adjust it until it is level. Retighten the collar once the head is properly aligned.
If you’re unsure how to fix a problem with your sprinkler head, don’t hesitate to contact a professional. Attempting to fix a problem that is beyond your expertise can lead to costly damage or additional repairs.
Tips for Maintaining a Rain Bird Sprinkler System
Proper maintenance is key to keeping your Rain Bird sprinkler system running smoothly. Here are some tips for keeping your system in top shape:
- Clean Your Nozzles Regularly: As mentioned earlier, clogging can significantly impact your sprinkler’s performance. Be sure to remove and clean your nozzles every few months to prevent buildup.
- Inspect Your System for Damage: Regularly inspect your sprinkler heads and other system components for damage or wear and tear. Replace damaged components promptly to avoid any long-term problems.
- Test Your System: Periodically test your system to ensure proper coverage. This can be done by setting out shallow containers (such as tuna cans) around your lawn and running your system. Check each container to ensure that it has an equal amount of water in it. If any areas are missed, make the necessary adjustments accordingly.
- Winterize Your System: In colder months, it’s important to take steps to prevent damage to your system. This includes draining pipes and turning off the main shut-off valve. Consult the user manual for specific steps on winterizing your system.
Best Practices for Adjusting Your Rain Bird Sprinkler Heads
Now that you understand the basics of adjusting your Rain Bird sprinkler heads, here are some additional tips to keep in mind:
- Adjust Your Sprinklers During the Cooler Part of the Day: This will help prevent evaporation and promote better water retention in your lawn and plants.
- Check for Obstructions: Ensure that there are no trees, plants, or other obstructions blocking the spray pattern of your sprinkler heads. This will help avoid overwatering in some areas and under-watering in others.
- Regularly Monitor Your Performance: Keep an eye on your system’s performance and make the necessary adjustments as needed. This will help ensure that your lawn and plants remain healthy and vibrant.
The Benefits of Maintaining and Adjusting Your Rain Bird Sprinkler System
A properly maintained and well-adjusted Rain Bird sprinkler system can offer numerous benefits, including:
- Water conservation by minimizing waste and overspray
- Healthy and vibrant lawn and plants
- Reduced risk of costly repairs or damage
- Cost savings on your water bill
By following the tips and suggestions outlined in this article, you can enjoy all of these benefits while promoting sustainable watering practices.
Conclusion
As a homeowner, it’s easy to take your sprinkler system for granted. However, regular maintenance and adjustment are essential for optimal performance and efficiency. By following the step-by-step guide and best practices outlined in this article, you can keep your Rain Bird sprinkler system running smoothly and enjoy a healthy, beautiful lawn and landscape.


