How to Take a Screenshot on iPhone: A Step-by-Step Guide
As the saying goes, “a picture is worth a thousand words.” Sometimes, in order to show someone exactly what you’re seeing on your iPhone screen, you need to take a screenshot. Fortunately, taking a screenshot on an iPhone is a quick and easy process, and it can be done with just a few taps of your finger. In this article, we will explore several different ways to take a screenshot on your iPhone and answer some frequently asked questions about this important feature.
Basic Steps for Taking a Screenshot on an iPhone
The basic process for taking a screenshot on any iPhone is the same. Follow these simple steps:
A. Find the Buttons for Taking a Screenshot
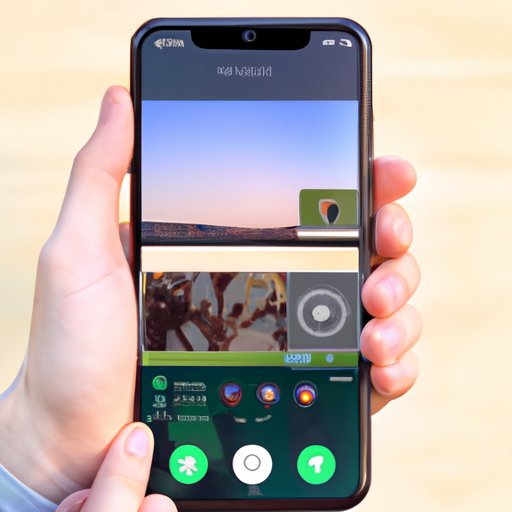
The first step is to locate the buttons that you will need to press in order to take a screenshot. These buttons are the Home button and the Power button (or Side button on newer models).
B. Press Both Buttons Simultaneously
Once you have located the buttons, simultaneously press the Home button and the Power button (or Side button). You should hear a click sound, which indicates that the screenshot has been taken.
C. The Screenshot Is Saved in the Photos App
Your new screenshot will be saved in the Photos app on your iPhone. You can find it by opening the Photos app and looking in the “Screenshots” album.
Create a Video Tutorial of How to Take a Screenshot
Sometimes it’s easier to see someone actually perform a task rather than just read about it. To help you even further, we have created a video screencast of the process:
Comparison of the Various Methods for Taking Screenshots
In addition to using the Home button and the Power button, there are two other ways to take a screenshot on an iPhone: Siri and AssistiveTouch.
Comparison of Siri, AssistiveTouch, and the Home Button
Siri is a voice-activated assistant that can be used to take a screenshot. Simply say, “Hey Siri, take a screenshot.” However, some users may find it easier to take a screenshot using AssistiveTouch, which is an accessibility feature that allows you to perform a variety of tasks by tapping on a virtual button on your screen.
While Siri and AssistiveTouch can be useful for some users, most people will likely find it easiest to use the Home button and the Power button to take a screenshot.
Pros and Cons of Each Method
Each method for taking a screenshot has its own pros and cons. The Home button and the Power button method is the easiest and most reliable, but it can be difficult to press both buttons at the same time on larger iPhones or for people with limited mobility in their hands. Using Siri or AssistiveTouch can be a good alternative for these users, but it can be slower and less intuitive than using the physical buttons.

Frequently Asked Questions About Taking Screenshots on an iPhone
Here are answers to some of the most common questions people have about taking screenshots on an iPhone:
Q: How do I take a screenshot on an iPhone without a Home button?
A: If you have a newer iPhone model that does not have a Home button (such as the iPhone X, iPhone XR, or iPhone XS), you can take a screenshot by pressing the Side button and the Volume Up button at the same time.
Q: How do I take a screenshot of a specific area on my iPhone screen?
A: If you have an iPhone running iOS 11 or later, you can take a screenshot of a selected area on your screen by using the built-in Markup tool. To do this, take a screenshot as usual, and when the preview appears in the bottom left corner of your screen, tap on it. This will open the Markup tool, which allows you to draw on, crop, and share your screenshot.
Q: Can I take a screenshot of a video on my iPhone?
A: Yes, you can take a screenshot of a video on your iPhone, but it may not work for all videos. For example, you cannot take a screenshot of a video that is playing through a streaming service like Netflix or Hulu, but you can take a screenshot of a video that you have downloaded to your phone or recorded yourself.
Editing and Sharing Screenshots Taken on an iPhone
Once you’ve taken a screenshot, you may want to edit it or share it with others. Here are some tips on how to do both:
Tips on How to Edit a Screenshot
You can easily edit a screenshot on your iPhone by opening it in the Photos app and tapping on the “Edit” button. This will allow you to crop, rotate, or adjust the colors of the image. You can also add text, emojis, and other annotations to your screenshot by using the Markup tool.
Strategies for Resizing and Cropping Images
If you need to resize or crop your screenshot, you can do so by using the built-in Photos app. Simply select the screenshot you want to edit, tap on the “Edit” button, and then tap on the crop/resize tool. From there, you can adjust the size and shape of your image as needed.
How to Share Screenshots on Social Media
Sharing a screenshot on social media is easy – simply open the screenshot in the Photos app, tap on the “Share” button (which looks like a square with an upward-facing arrow), and select the social media app you want to use. You can then add a caption, tag your friends, and share your screenshot with the world.
How to Create an Infographic That Explains How to Take a Screenshot on an iPhone
If you prefer visual aids, we have also created an infographic that illustrates the process of taking a screenshot on an iPhone:

Recent Updates and Changes for Taking Screenshots on iPhones
Over the years, Apple has made several changes and updates to the screenshot feature on iPhones. For example, iOS 11 introduced the ability to take a screenshot of a selected area on your screen, while iOS 12 introduced a new shortcut for taking screenshots on the iPhone X and later models.
Overview of the History of Screenshot Feature in iOS
The ability to take screenshots on an iPhone was first introduced with the release of iOS 2.0 in 2008. Since then, Apple has continued to refine and improve the feature with each new iOS release.
Explanation of Recent Updates and New Features in the Newest iOS Versions
With the release of iOS 13, Apple added a new feature to the screenshot tool that allows users to capture an entire web page instead of just the visible portion. This can be helpful for those who need to save an entire article or webpage for later reading or reference.
Conclusion
Taking a screenshot on an iPhone may seem like a small task, but it can be essential for sharing information with others and troubleshooting problems on your device. We hope this guide has provided you with all the information you need to take a screenshot on your iPhone, as well as some tips for editing and sharing your screenshots. Don’t be afraid to experiment and try taking some screenshots of your own – you never know when you might need to capture something important.


