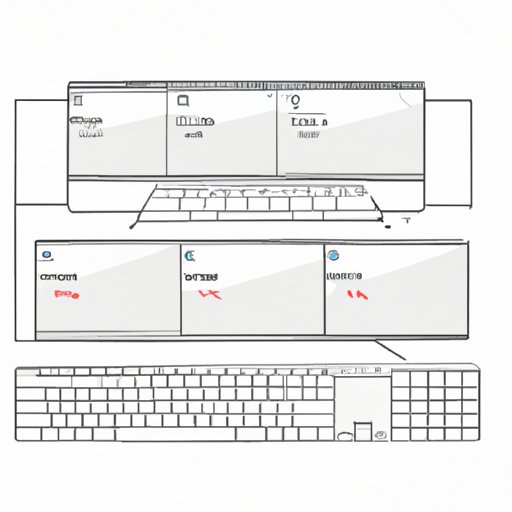
Introduction
Splitting the screen on Mac can be a useful feature if you are looking to increase your productivity. It allows for the ability to have multiple applications open at once, side by side. However, not everyone knows how to access the screen splitting feature on their Mac. This guide will provide an in-depth look at the different ways to split your screen and how to use it effectively, taking your productivity to the next level.
Step-by-Step Guide: How to Split the Screen on Mac Using Keyboard Shortcuts
Mac offers multiple keyboard shortcuts to split the screen, making it easy to use by anyone. The easiest way to access this feature is through a Mission Control, which can be accessed through the Mac’s dock or using a keyboard shortcut.
Here is a step-by-step guide on how to split your screen on Mac:
Split View
Split View allows two apps to take up an equal amount of the screen. Here’s how to use it:
- Select the first app you want to open in Split View and take it into full-screen mode by clicking the full-screen button on the app’s title bar, or using the keyboard shortcut “Control + Command + F”.
- Now, click and hold on the second app you want to open and drag it to the edge of the screen where Split View is active. A grey space should appear, and you can release your click once you’re happy with the size of the Split View window.
- Your screen is now split, and you can begin working on both apps simultaneously.
Alternatively, you can use the keyboard shortcut “Control + Up Arrow” to open Mission Control and drag an app into the Split View view window.
Full-screen mode
You can also use full-screen mode to split the screen:
- Select the first app you want, and enter full-screen mode as previously described.
- Now, open “Mission Control” by either pressing the F3 button or swiping up with three fingers. Mission Control displays all your windows and spaces simultaneously.
- Drag and drop the second app onto the top of the window where your first app is located.
Maximizing Productivity: The Benefits of Splitting Your Screen on Mac
Splitting your screen can increase your productivity in several ways. Aside from the obvious benefit of having multiple apps open simultaneously, splitting your screen can help you more easily switch between applications. You don’t have to keep minimizing and maximizing windows-which often results in wasted time. By having multiple applications open and viewable at once, your workflow becomes more seamless.
Save Time
Splitting your screen frees up time and creates a more efficient user experience. Rather than losing time while waiting for a program to close or searching for the window you need, having everything open in Split View can save you a few minutes every time you use your Mac.
Multitasking
You can multitask on a new level, with multiple screens open and viewable. Want to work on a project in Safari while you take notes in Word or Pages? No problem! Splitting your screen allows you to work on both applications simultaneously, reducing the need to constantly switch between applications – improving your multitasking techniques.
Customizing Your Mac Experience: Exploring the Multiple Ways to Split Your Screen on Mac
Mac offers multiple ways to split your screen, including third-party apps. One such app is “BetterSnapTool,” which has been specifically created to make it easier to manage and arrange windows and displays. Another app is “Mosaic,” which has a wide range of customizable options for arranging and displaying your open apps.
Mastering the Art of Mac Multitasking: Using Split Screen to Your Advantage
The ultimate goal of multiple screens is increasing efficiency, so it’s essential to know how to make the most of what’s at your disposal. Here are a few tips:
Researching and Writing at the Same Time
Often a necessity when it comes to studying or writing, alongside having multiple windows open in Full Screen mode and Split View. One useful way to do this is to have a source document opened up next to your writing space. This enables you to jot notes down quickly without losing concentration causing your workflow to suffer.
Rearranging Apps
You can position and adjust where your apps are located to suits your needs. To keep the same ones on top and open, you can right-click on the application in the Dock, go to “Options” and “Keep in Dock.”
The Ultimate Guide to Split Screen on Mac: Tips, Tricks, and Tools for Efficient Workflows
We’ve covered the basic ways to access and use the split screen on your Mac. But here are additional tips, tricks, and tools you can use:
Additional Tips
If you use apps like Safari, that may have many open windows, you can press “Command-Tab+H” on your keyboard to hide all apps and windows except the document that’s active.
Tricks
Using hotkeys becomes useful when you become familiar with them and start using them frequently. Mastering the shortcuts we’ve mentioned in this guide will save you considerable time.
Tools
“Spectacle” is a powerful and free utility for Mac. It allows you to drag windows to specific locations on the screen, open apps in full-screen mode, and more. “Breeze” is a paid app that allows for customizable layouts to remain the same across workspaces, streamlining interactions with your MacOS and effectively managing your screen time.
Conclusion
Splitting your screen can be a game-changer in terms of productivity. Whether you are a student, a professional, or someone who uses their Mac for personal reasons, utilizing these techniques can help your workflow and create a seamless user experience. Try out different methods (as outlined) and see what works best for you, as finding your perfect match could take you to the next level of efficiency.


