Introduction
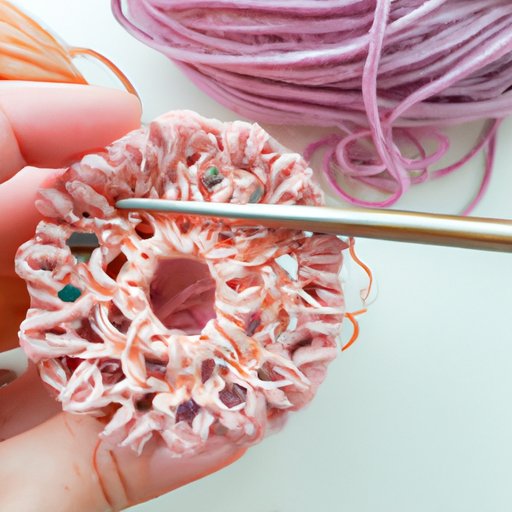
Crocheting is a popular technique for creating beautiful and functional projects, but traditional crocheting can require a lot of time, skill, and equipment. Fortunately, there’s an easier way to get started with crochet that only requires your hands: finger crochet. Finger crochet is a technique that uses your fingers to create crocheted projects without the need for crochet hooks. It’s a fun, easy, and portable craft that can be done almost anywhere. In this ultimate guide to finger crochet, we’ll teach you everything you need to know to get started with this amazing craft.
A Beginner’s Guide to Finger Crochet: How to Get Started
Before you start finger crocheting, you’ll need a few basic supplies. The good news is you probably already have everything you need at home. To get started with finger crochet, you will need yarn in any color, texture, or weight and your two hands.
The basic finger crochet stitch is simple: you create a slipknot around your index finger and then crochet over your fingers to create the rows. Here’s how to create a slipknot:
1. Make a loop with the tail of the yarn over the strand of yarn.
2. Insert your index finger into the loop.
3. Place the yarn over your index finger and pinch it with your thumb and middle finger.
4. Gently pull the strand of yarn through the loop and tighten it around your finger.
Step-by-Step Instructions on How to Start a Finger Crochet Project
Once you have learned how to create a slipknot, you are ready to start your first finger crochet project. Here are the steps for starting a finger crochet project:
1. Start with a slipknot on your index finger.
2. Hold the yarn between your pinky finger and your thumb and wrap it around your index finger.
3. Insert your finger under the first strand of yarn and pull it over the second strand, creating a loop.
4. Insert your finger under the second strand of yarn and pull it over the third strand, creating another loop.
5. Repeat this process until you reach the desired length.
5 Easy Finger Crochet Projects for Beginners
Now that you know how to finger crochet, it’s time to start your first project. Here are five beginner-friendly projects with free patterns to get you started:
1. Finger crocheted scarf – Level: Easy – Estimated Time: 1-2 hours
2. Finger crocheted headband – Level: Easy – Estimated Time: 30 minutes
3. Finger crocheted coasters – Level: Easy – Estimated Time: 1-2 hours
4. Finger crocheted mug cozy – Level: Easy – Estimated Time: 30 minutes
5. Finger crocheted blanket stitch cowl – Level: Easy – Estimated Time: 30 minutes
Tips and Tricks for Finger Crocheting Like a Pro
Finger crocheting may be easy, but there are some tips and tricks to help you master this craft. Here are some essentials to keep in mind:
1. Maintain even tension.
2. Keep your fingers relaxed.
3. Try not to twist the stitches.
4. Start with a small project.
5. Experiment with different yarn textures and weights
6. Practice, practice, practice!
7 Creative Finger Crochet Patterns to Try
Once you’ve mastered the basics of finger crochet, it’s time to try some more advanced projects. Here are seven fun and unique projects with free patterns that will keep you engaged:
1. Finger crocheted pumpkin – Level: Intermediate – Estimated Time: 1 hour
2. Finger crocheted baby blanket – Level: Intermediate – Estimated Time: 4-5 hours
3. Finger crocheted sun hat – Level: Intermediate – Estimated Time: 3 hours
4. Finger crocheted rug – Level: Intermediate – Estimated Time: 6 hours
5. Finger crocheted basket – Level: Intermediate – Estimated Time: 3-4 hours
6. Finger crocheted pot holder – Level: Intermediate – Estimated Time: 1-2 hours
7. Finger crocheted shawl – Level: Intermediate – Estimated Time: 4-6 hours
A Step-by-Step Guide to Making a Finger Crochet Blanket
If you’re ready to tackle a larger project, a finger crocheted blanket is a great place to start. Here’s how to finger crochet a blanket:
1. Select the appropriate yarn and hook size.
2. Choose a blanket pattern.
3. Make a foundation row as wide as you want the blanket to be.
4. Create rows of the basic crochet stitch to reach the desired length.
5. Weave in any leftover yarn ends.
6. Finish the blanket with a border.
How to Use Different Yarn Weights for Finger Crochet Projects
Not all yarn is created equal, and your choice of yarn weight will make a significant difference in the final outcome. Here are some things to keep in mind when selecting yarn for your finger crochet project:
1. Chunky yarn is great for quick and cozy projects.
2. Lightweight yarn is perfect for delicate and dainty projects.
3. Medium weight yarn is a great all-purpose choice.
4. Try a range of textures, including wool, cotton, and acrylic.
The Benefits of Finger Crocheting and Why It’s Worth Learning
Finger crocheting is an excellent creative outlet that has numerous benefits, including:
1. Decreases stress and anxiety
2. Improves focus and enhances memory
3. Provides an outlet for creativity
4. Enhances fine motor skills and brain function
5. Can be done anywhere and at any time
Conclusion
Finger crocheting is a simple yet exciting craft that can provide hours of fun and relaxation. By following this ultimate guide to finger crochet, you’ll be well on your way to creating beautiful and functional projects in no time. Whether you’re a beginner or a seasoned crocheter looking to try something new, finger crocheting is definitely worth learning.


