Introduction
If you’re looking for an affordable and low-maintenance way to secure your property, a chain link fence might be the perfect solution. Installing a chain link fence might seem like a daunting task, but with the right preparation and tools, it can be a manageable DIY project. Proper installation can also ensure that your fence lasts many years and provides the security and privacy you need. In this article, we’ll guide you through the step-by-step process of installing a chain link fence, including tips for installing on sloped terrain, the pros and cons of a DIY installation, necessary tools, and ways to maximize the fence’s lifespan.
Step-by-Step Guide to Installing a Chain Link Fence
Pre-installation considerations
Before starting your project, there are a few things to consider. First, check your local codes and regulations regarding fence height, type, and placement. Second, gather necessary materials such as fence fabric, posts, rails, and hardware. You can purchase these materials from a local home improvement store or order them online.
Preparing the area for installation
Next, mark and measure the fence line using stakes, string, and a measuring tape. Ensure that your fence line falls on your own property, avoiding property line disputes with your neighbors. Then, clear and level the ground using a shovel, rake, and flat edge. You should also remove any rocks, roots, or debris that could interfere with the installation.
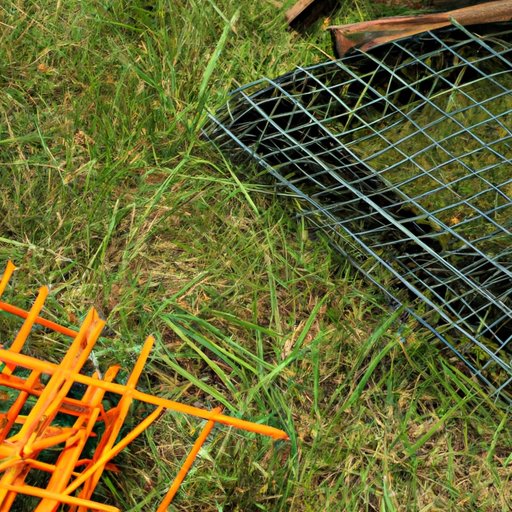
Installing the fence
With the area prepared, you can begin installing the fence. Firstly, set your fence posts into the holes, ensuring that they are level and plumb. Use concrete to fill the holes and securely set the posts into place. After 24 hours, attach the tension wire along the top and bottom of the posts using wire clamps. Then, attach the top rails to the posts using rail ends, being careful to keep them level. Finally, unroll the chain link fabric along the fence line, and secure it to the posts using tension bars and tie wires. Finish by attaching the bottom tension wire and rail using more wire clamps.
Post-installation considerations
Following the installation, you should check the tension of the fence using a tension bar and tensioning device. This ensures that the fence remains secure and that the fabric does not sag. Consider adding additional security measures such as barbed wire, privacy slats, or a locking gate.
Tips for Installing a Chain Link Fence on Sloped Terrain
Explanation of challenges presented by sloped terrain
Installing a chain link fence on sloped terrain can present some additional challenges, such as uneven post spacing and compromised integrity due to grade changes.
Addressing slope-specific issues
To address these issues, adjust post depth and spacing to compensate for grade changes. Use swivel fittings to allow for flexible rail placement and to maintain consistent tension across the fence. Consider stair-stepping the fence, an installation method where the fence panels are installed on stepped posts. This allows for smooth transitions and maintains a level top rail.
Best practices for installation on a slope
To maximize your chain link fence’s lifespan on a slope, ensure that your posts are deeply set, and levels are regularly checked. Consider adding diagonal bracing to gates and corners to support fence panels and maintain their shape.
The Pros and Cons of DIY Chain Link Fence Installation
Advantages of a DIY project
One of the most notable advantages of a DIY installation is cost savings. Doing the work yourself cuts out labor costs and can save you hundreds or even thousands of dollars. Additionally, a DIY installation gives you greater control over the project, and the flexibility to work on your timeline.
Drawbacks of a DIY project
The main drawback of a DIY installation is the lack of expertise. Installing a chain link fence requires some specialized knowledge and tools, and mistakes can be costly. It’s also time-consuming and can be physically demanding, depending on the scope of the project.
Factors to consider when deciding whether to DIY or hire a professional
When deciding whether to take on a DIY project or hire a professional, consider your budget, timeline, and comfort level with DIY projects. If you have some DIY experience, the right tools, and plenty of time, a DIY installation might be right for you. However, if you lack expertise or tools, or the project is particularly complex, it might be worth the investment of hiring a professional.
Common Tools You Need for a Chain Link Fence Installation
The necessary tools
To install a chain link fence, you’ll need several essential tools, including a post hole digger, level, pliers, and wire cutters. These tools can be purchased or rented from home improvement stores.
Optional tools for advanced installation or repairing
If you’re looking to install a fence on a slope or want to achieve a more advanced installation, you might need additional tools such as swivel fittings, tensioning devices, gate hardware, and diagonals for bracing.
Where to purchase or rent necessary tools
Tools can be purchased or rented from local home improvement or hardware stores. Some stores offer rental services that can provide additional cost savings.
How to Maximize Your Chain Link Fence’s Lifespan With Proper Installation
Explanation of the importance of proper installation for fence lifespan
Proper installation can have a significant impact on the lifespan of your chain link fence. A well-installed fence will be able to withstand weather conditions and physical wear and tear, therefore providing a secure and lasting barrier to your property.
Pre-installation steps to maximize lifespan
To maximize your fence’s lifespan, it’s important to choose the right materials, and properly prepare the site. Ensure that the posts and materials you choose are suitable for the fence’s intended purpose and environment.
Installation steps to maximize lifespan
To maximize your fence’s lifespan, ensure that your posts are deeply set and spaced correctly, and that the fence is correctly tensioned to prevent fabric sagging. Using appropriate bracing methods and ensuring your gate hardware is secure can also help to maintain the fence’s integrity.
Post-installation maintenance to maximize lifespan
Lastly, it’s important to maintain your fence to prevent premature wear and tear. Regular cleaning and prompt repairs can extend the lifespan of the fence, ultimately increasing its value and function as an investment.
Conclusion
In conclusion, installing a chain link fence requires some work but is generally a manageable DIY project. It’s essential to follow the necessary steps and properly prepare the site to maximize the fence’s lifespan. If you’re looking for additional security and privacy, a chain link fence can be a great option. With the right tools and materials, you can create a lasting and secure barrier to your property.
Final tips or words of advice
Before taking on a DIY project, it’s important to consider your experience level and the demands of the project. Remain safe by wearing the right protective gear such as gloves, eye protection, and work boots. Lastly, be sure to consult with local codes and regulations before purchasing or installing your fence.
Call-to-action for feedback or questions
We hope this guide has been helpful in your chain link fence installation journey.


