I. Introduction
Have you ever wanted to make a trendy rubber band bracelet but didn’t know where to start? Look no further! In this article, we’ll cover everything you need to know to create your own stylish bracelet.
We’ll start by providing a step-by-step guide on how to make a basic rubber band bracelet. But don’t worry, we’ll also cover more advanced techniques and provide a gallery of patterns to choose from. We’ll also discuss the tools and materials needed and offer tips on how to style your new bracelet. Let’s get started!
II. Step-by-Step Guide
Before we start, it’s important to choose the right rubber bands. Quality matters, and you want to make sure your bracelet will hold up over time. Check the package for any information on durability or strength. You can also feel the rubber bands to test their elasticity.
Now, let’s dive into the step-by-step guide:
- Choose your desired colors and arrange them in a line.
- Tie a knot at one end of the line of rubber bands, leaving a small loop.
- Place the loop over one end of the loom. Hold the loom in one hand and the other end of the rubber bands in the other hand.
- Use an S-clip to connect the last rubber band on one side to the first rubber band on the other side. Make sure the rubber bands are in the correct order.
- Start looping the rubber bands over the pegs on the loom in the correct order.
- Once you’ve reached the end of the loom, connect the last rubber band to the S-clip on the other side.
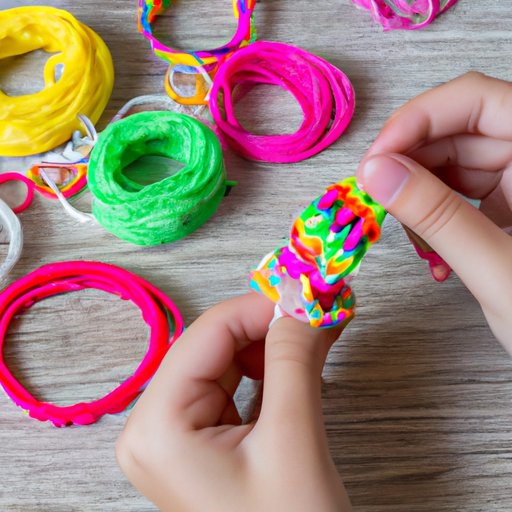
- Remove the bracelet from the loom and tie a knot using the two loose rubber bands on each end. Your bracelet is now complete!
Don’t forget to check out the accompanying photos for each step!
III. Video Tutorial
If you’re a visual learner, a video tutorial can be especially helpful. Check out this tutorial for a detailed explanation of the process.
Some key takeaways from the video include making sure the rubber bands are straight and not twisted, and using the correct amount of tension when looping the bands over the pegs. The video also includes some great tips on how to handle mistakes and fix any issues that may arise during the process.
IV. Pattern Gallery
Once you’ve mastered the basic rubber band bracelet, you may want to branch out and try some different patterns. There are endless possibilities when it comes to rubber band bracelets!
Check out our gallery of patterns, complete with photos and step-by-step instructions for each one. Some popular patterns include the fishtail, ladder, and diamond.
V. Tools and Materials
Now that you know how to make a rubber band bracelet, you’ll need to gather the right tools and materials. Most importantly, you’ll need a rubber band loom and plenty of rubber bands in various colors.
You can find these items at most craft stores, but we also recommend checking out online retailers like Amazon. Here are some links to get you started:
As a beginner, we recommend starting with simpler patterns and working your way up to more complex designs. It’s also a good idea to practice on cheaper bands before using higher-quality materials.
VI. Style Guide
Rubber band bracelets aren’t just for kids! They make a great accessory for any age and can be dressed up or down. Here are some tips on how to wear and style your new bracelet:
- Stack multiple bracelets on one arm for a fun, trendy look.
- Pair a rubber band bracelet with a more sophisticated piece of jewelry, like a watch or bangle bracelet.
- Add beads or charms to your rubber band bracelet for a unique touch.
- Choose colors that complement your outfit or show off your personality.
The possibilities are endless, so don’t be afraid to get creative with your new accessory!
VII. Conclusion
Congratulations, you’ve made it to the end of our comprehensive guide on how to make a rubber band bracelet! We hope this article has been helpful in getting you started on your jewelry-making journey. Don’t forget to check out the accompanying photos, pattern gallery, and video tutorial.
Now it’s your turn – go ahead and give it a try.


