I. Introduction
Drawing a horse can be a daunting task for anyone, especially for beginners. One of the most common problems people face when trying to draw horses is not knowing where to start or how to create a realistic-looking form. In this article, we will provide you with helpful tips and techniques to make it easier for you to draw a horse.
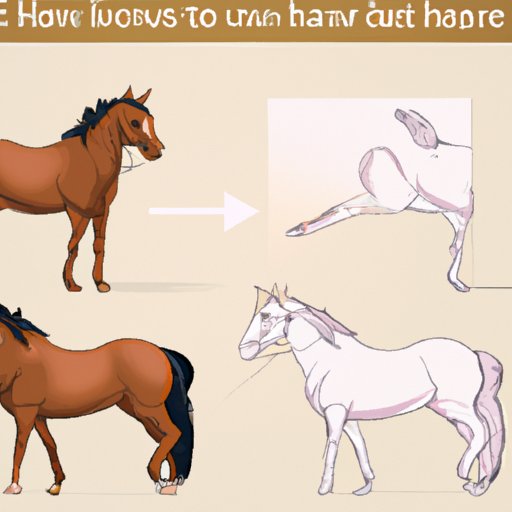
II. Teach the basic shapes
Breaking down the horse into simple shapes can help you create its form more easily. Basic shapes like circles, rectangles, and ovals can be used to create the horse’s body, legs, and head. Start by sketching these shapes lightly and then use them to build up the form of the horse. For example, a circle can be used to create the horse’s head, while an oval can be used to create the body.
III. Start with stick figures
A popular technique for drawing horses is to use stick figures to create the basic form of the horse. Start by sketching a stick figure that represents the horse’s body, then add the legs, head, and tail. Once you have the basic form down, you can fill out the form and add details as you go.
IV. Practice with reference images
Practicing drawing horses several times can help improve your skills. Find images of horses to use as a reference and practice drawing them from different angles. Try focusing on different parts of the horse each time you practice, such as the legs, head, or body. Every time you practice, you will improve your skills and get better at drawing horses.
V. Use guide lines
Guide lines can be used to help you create the correct proportions for the horse’s body. Start by sketching a line down the center of the paper, then add lines to represent the length and width of the body and legs. Once you have the proportions established, you can start adding details to the horse’s form.
VI. Add shading
Shading is an essential part of creating a realistic-looking horse drawing. It can give the drawing depth and dimension. When shading, use a light pencil stroke and build up the layers slowly. This will create a more realistic look. Use shading to create highlights and shadows to make the horse look like it is standing on the ground.
VII. Focus on the head
The horse’s head is the focal point of the drawing. Start by drawing the head and then move on to the body, legs, and tail. When drawing the head, focus on the horse’s eyes, nose, and ears. Remember that the horse’s ears can show its mood, so be sure to draw them accurately. Drawing the head can help establish the overall proportions of the horse.
VIII. Take breaks
Drawing can be frustrating, so it’s essential to take breaks when practicing. Taking regular breaks can help you avoid becoming frustrated and losing patience. It is also essential to let your hand rest to protect it from fatigue or cramping. A break of 5-10 minutes after every hour of drawing is recommended for beginners. Try to come back to your drawing with a clear, refreshed perspective.
IX. Conclusion
Learning how to draw a horse takes time and practice. By following these tips and techniques, you will develop your skills and be on your way to creating realistic horse drawings. Remember to start with basic shapes, use stick figures, practice with reference images, use guide lines, add shading, focus on the head, and take breaks when necessary.


